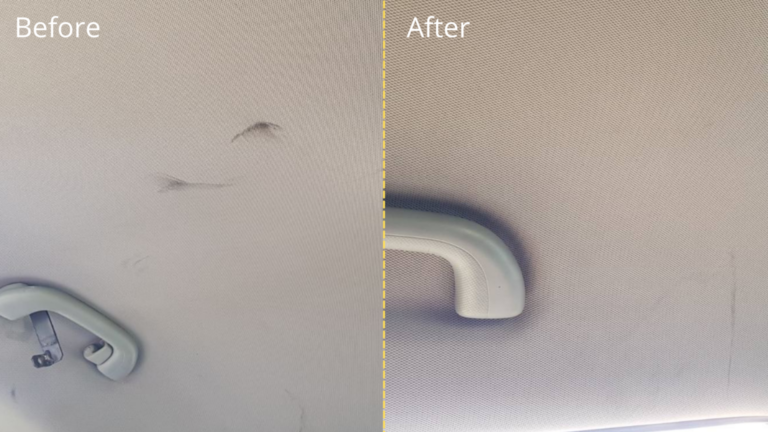
How To Clean Headliner In Truck: Easy Stain Removal Guide
A truck headliner can be cleaned at home with a vacuum, a soft brush, clean microfiber cloths, and a small amount of mild cleaner. The safest method is to clean one small area at a time, use very little moisture, and avoid soaking or scrubbing the fabric. Too much water can loosen the headliner adhesive and make the fabric sag.
Introduction
In the United States, truck headliners are exposed to dust, road film, smoke, food odors, pet hair, and heat from parked vehicles. Pickup trucks, work trucks, and semitruck cabs all use headliner materials that can look similar but may react differently to water and cleaners.
This guide explains how to clean a cloth truck headliner, remove common stains, reduce odors, and avoid damage. Always check the truck owner’s manual before using a chemical, removing a trim part, or applying heat.

What You Need to Clean a Truck Headliner
You only need a few basic tools. The goal is to lift dirt from the surface without pushing moisture through the fabric.
Recommended supplies
- A vacuum with a soft brush attachment
- Two or three clean microfiber cloths
- A soft interior brush or clean upholstery brush
- A small spray bottle
- Warm water
- Mild upholstery cleaner or a small amount of gentle dish soap
- A dry towel
- Cotton swabs for small marks
- Nitrile gloves
- Painter’s tape for protecting nearby trim
Use a cleaner made for vehicle interiors when possible. Read the product label first. Some cleaners contain strong solvents that can stain fabric, weaken foam, or affect the adhesive under the headliner.
What to avoid
Do not use:
- A hose or pressure washer
- A soaking wet cloth
- Bleach
- Ammonia-based glass cleaner
- Acetone or paint thinner
- Strong degreasers
- A stiff brush
- A household steam cleaner
- A hair dryer or heat gun
- Heavy scrubbing
A truck headliner is not the same as a removable floor mat. It is usually a thin fabric layer bonded to foam and a backing board. If the backing gets wet, the headliner may bubble, sag, or separate.
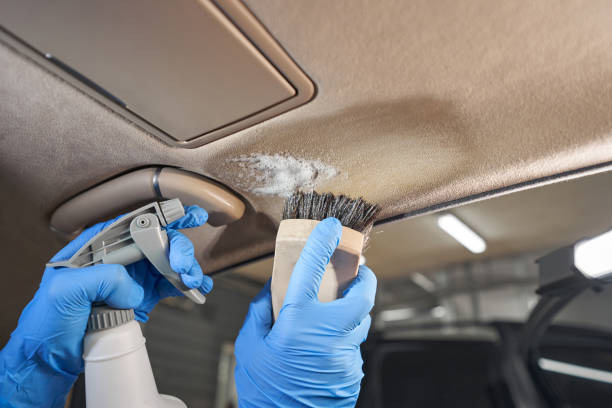
How to Clean a Truck Headliner Step by Step
The best way to clean a truck headliner is to start dry and then use controlled moisture only where needed.
1. Park the truck in a safe place
Park the truck in a shaded, dry area with good air flow. Keep the doors open if weather and security allow it. Avoid cleaning in direct summer sun because heat can dry cleaner unevenly and may increase the chance of adhesive failure.
Turn off the ignition. If you plan to work near overhead lights, microphones, or wiring, follow the owner’s manual for any required electrical precautions.
2. Remove loose items from the cab
Take out hats, papers, tools, food, and other items. Lower or remove floor mats so dust does not get stirred back into the cab.
Use painter’s tape to protect areas such as:
- The top edge of the windshield
- Door trim
- Grab handles
- Sun visor mounts
- Overhead consoles
- Seat belts
- Plastic pillars
Do not remove trim, visors, or an overhead console unless the truck’s service information explains how to do it safely. Some overhead areas may contain wiring, microphones, sensors, or air-bag components.
3. Vacuum the headliner gently
Set the vacuum to a low or moderate setting if it has adjustable suction. Use the soft brush attachment and move it lightly across the headliner.
Work in straight, overlapping passes. Do not press hard. The brush should touch the fabric, not pull on it.
Pay special attention to:
- The area above the driver’s seat
- The headliner near an open window
- The area around door seals
- Corners and seams
- The space around the sun visors
- Areas near the rear window
Vacuuming removes loose dust and prevents dry grit from turning into mud during the next step.
4. Test the cleaner in a hidden area
Before cleaning a visible section, test the solution behind a sun visor or near the rear edge of the headliner.
Apply a small amount to a cloth, not directly to the roof. Dab the test area once or twice. Wait until it dries, then check for:
- Color change
- Water rings
- Stiffness
- Fuzzing
- Bleeding dye
- Adhesive marks
- A different texture
If the test area changes, stop and use only a dry method or seek professional help.
5. Make a mild cleaning solution
For light soil, mix warm water with a small amount of mild soap. The mixture should be weak, not thick or foamy.
A ready-to-use automotive upholstery cleaner may also work. Choose one that lists fabric or upholstery use on the label.
Do not make the headliner wet. The cloth should be damp, not dripping.
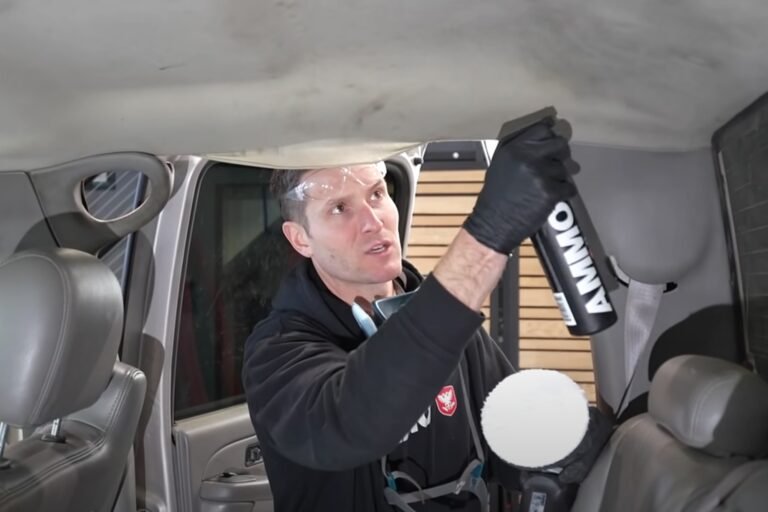
6. Clean small sections
Divide the roof into sections of about 6 to 12 inches. This makes it easier to control moisture and check your progress.
Spray the cleaner onto a microfiber cloth or soft brush. Never saturate the headliner or spray upward toward electrical parts.
Gently dab or wipe the soiled area. Use short strokes with light pressure. Stop after a few passes and inspect the surface.
For a greasy spot, allow the cleaner to sit briefly if the label permits it. Then blot with a clean, slightly damp cloth.
7. Blot away residue
Use a second microfiber cloth dampened with plain water. Wring it out well, then lightly blot the cleaned area.
This step removes leftover soap. Too much soap can leave a sticky film that attracts more dust.
Follow with a dry towel. Press lightly to lift moisture. Do not twist, rub, or push the fabric into the backing.
8. Let the headliner dry naturally
Leave the truck doors open in a safe, dry place. Use the vehicle’s ventilation system only if it does not blow excessive heat directly at the roof.
Allow the headliner to dry fully before closing the truck for a long period. Do not use a heat gun. High heat can soften adhesive and cause the fabric to pull away from the backing.
9. Inspect the finished area
A clean headliner should have:
- Less visible dust and staining
- No wet rings
- No loose fabric
- No new wrinkles or bubbles
- No sticky residue
- No strong chemical odor
If a stain remains after one gentle attempt, let the area dry fully before trying again. Repeated wet cleaning can cause more harm than the original mark.

How to Remove Common Headliner Stains
Different stains need different levels of care. Start with the least aggressive method.
| Stain or problem | First method | Main caution |
|---|---|---|
| Dust | Vacuum with a soft brush | Do not press hard |
| Finger marks | Damp microfiber cloth | Avoid spreading the oil |
| Food or drink | Blot, then mild cleaner | Do not scrub dried residue |
| Grease | Automotive upholstery cleaner | Test for discoloration |
| Smoke odor | Clean surface soil and air out cab | Do not soak to hide odor |
| Mold-like spots | Stop and inspect the cause | Moisture may be inside the roof |
| Ink | Professional cleaning is safer | Solvents can spread the mark |
| Water stain | Find the leak first | Cleaning alone will not solve it |
Food and drink stains
Remove solid material with a spoon or the edge of a plastic card. Do not scrape hard enough to pull the fabric.
Blot the mark with a slightly damp cloth. Then apply a small amount of mild cleaner to another cloth. Work from the outside of the stain toward the center to reduce spreading.
Grease and oily marks
Grease can come from hands, hair products, food, or work clothing. Use a cleaner labeled for automotive fabric or upholstery.
Apply it to a cloth and dab the mark. Avoid aggressive rubbing. Friction can roughen the fabric and create a larger visible patch than the original stain.
Smoke odor
Surface cleaning may reduce smoke residue, but it may not remove odor trapped in seats, carpets, vents, and other soft materials.
Clean the headliner gently, then air out the cab. Replace the cabin air filter if the owner’s manual lists it as serviceable and if odor returns through the vents. Do not spray fragrance directly onto the headliner.
Water stains or brown marks
A water stain may indicate a leak from:
- A roof seam
- A windshield seal
- A sunroof drain
- A third brake light
- An antenna
- A roof-mounted accessory
- A door seal
Find and repair the source before cleaning. Otherwise, the mark will return and hidden moisture may damage the backing.
Mold-like spots
Black, green, or musty growth should not be treated as a simple cosmetic stain. Moisture may be trapped behind the headliner or inside the roof structure.
Wear gloves, avoid brushing the area into the air, and inspect the leak. A professional detailer or qualified repair shop may be needed, especially if the area is large or the odor persists.

How to Clean a Sagging or Loose Truck Headliner
Cleaning cannot repair a headliner that has already separated from its backing. If the fabric is sagging, bubbling, or drooping, stop wet cleaning.
Common causes include:
- Old adhesive
- Heat exposure
- Moisture intrusion
- Foam breakdown
- Incorrect previous cleaning
- A leaking roof component
Do not use spray adhesive through the fabric. It may create hard spots, stains, or uneven bonding. It can also make later repairs more difficult.
A small loose edge may be repairable, but the correct adhesive and preparation depend on the headliner material and backing. A full headliner replacement may be the better option when the foam has failed or the fabric has widespread separation.
If the truck has curtain air bags near the roof pillars, avoid fastening or gluing the headliner in a way that could interfere with air-bag deployment. Consult the truck’s service information or a qualified technician.

How Often Should You Clean a Truck Headliner?
Clean the headliner when it shows dust, marks, or odor. Most truck owners do not need to deep-clean it often.
A practical schedule is:
- Vacuum during regular interior cleaning
- Spot-clean spills as soon as possible
- Check for water stains after heavy rain or a car wash
- Clean smoke residue when the source has been removed
- Inspect the roof area if the headliner begins to sag
Frequent wet cleaning is not better. The headliner can usually stay in good condition with regular vacuuming, quick blotting, and protection from leaks.
Keep windows closed during rain. Avoid touching the roof with dirty hands. Do not store wet clothing or gear against the headliner.

Common Mistakes That Damage Headliners
The most common mistake is using too much water. A headliner may look clean while the backing remains wet. Later, the fabric can develop rings, loosen, or sag.
Other common mistakes include:
Spraying cleaner directly onto the roof
Overspray can reach lights, switches, microphones, and wiring. Spray the cleaner onto a cloth instead.
Scrubbing one spot too hard
Hard scrubbing can flatten or roughen the fabric. It can also spread the stain.
Cleaning the whole roof at once
Large wet areas dry unevenly and are harder to control. Work in small sections.
Using a steam cleaner
Steam adds heat and moisture. That combination can soften adhesive and push water into the backing.
Ignoring a roof leak
A clean-looking headliner will become stained again if water still enters the cab.
Using household chemicals without testing
A cleaner that works on glass, counters, or clothing may damage automotive fabric. Read the label and test first.
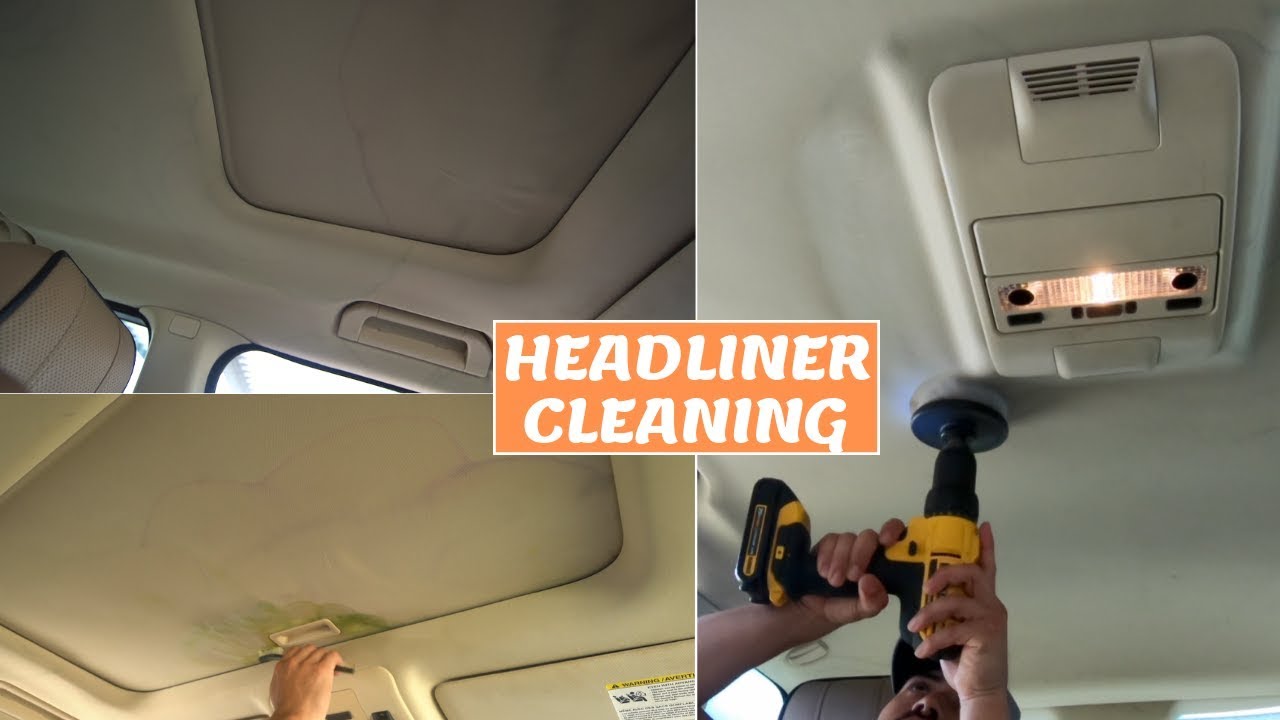
When to Hire a Professional Detailer
Professional help makes sense when the headliner has severe staining, smoke odor, mold-like growth, or widespread water damage.
Ask the detailer how they clean headliners before work begins. A careful service should include:
- A fabric and color test
- Low-moisture cleaning
- Protection for lights and trim
- Controlled drying
- Inspection for leaks or loose fabric
Choose a repair shop or headliner specialist instead of a general cleaner when the fabric is sagging, the backing is exposed, or roof-mounted safety equipment may be involved.
Cleaning is not always the right repair. If the foam has broken down, replacement may provide a better result than repeated chemical treatment.

Key Takeaways
- Vacuum the truck headliner before using any liquid.
- Test the cleaner in a hidden spot.
- Apply cleaner to a cloth, not directly to the roof.
- Use very little moisture.
- Dab and blot instead of scrubbing.
- Dry the headliner with air, not high heat.
- Repair roof leaks before removing water stains.
- Stop if the fabric sags, bubbles, or separates.
FAQs About Cleaning a Truck Headliner
Can I use dish soap on a truck headliner?
You can use a very small amount of mild dish soap diluted in warm water for light soil, but test it first. Apply the mixture to a cloth, not directly to the headliner. Too much soap can leave residue.
Can I use a carpet cleaner on a headliner?
Avoid using a carpet extractor unless the equipment and cleaning method are specifically approved for automotive headliners. Carpet machines can inject and remove too much water, which may loosen the headliner adhesive.
Can I use vinegar to remove headliner stains?
Vinegar is not the safest first choice. Its odor may linger, and acidic cleaners can affect some fabrics or backing materials. Use a mild automotive upholstery cleaner after testing it in a hidden area.
How do I remove cigarette smoke from a truck headliner?
Clean the headliner with a low-moisture upholstery method, then air out the cab. Smoke odor may also be inside the seats, carpet, door panels, vents, and cabin air filter. Cleaning only the roof may not remove the full odor.
Why did my headliner sag after cleaning?
The most likely causes are excess moisture, heat, weak adhesive, or foam breakdown. Stop applying cleaner and heat. If the fabric has separated, the headliner may need professional repair or replacement.
Conclusion
The safest way to clean a truck headliner is to use a gentle, low-moisture process. Vacuum first, test the cleaner, work in small sections, and blot with light pressure. Never soak, steam, or aggressively scrub the roof fabric.
If the headliner is sagging or the stain comes from a roof leak, solve the underlying problem before cleaning. Start with a hidden-area test, then clean one small section and allow it to dry fully before continuing.