How To Clean Foam From Headliner: Easy Guide
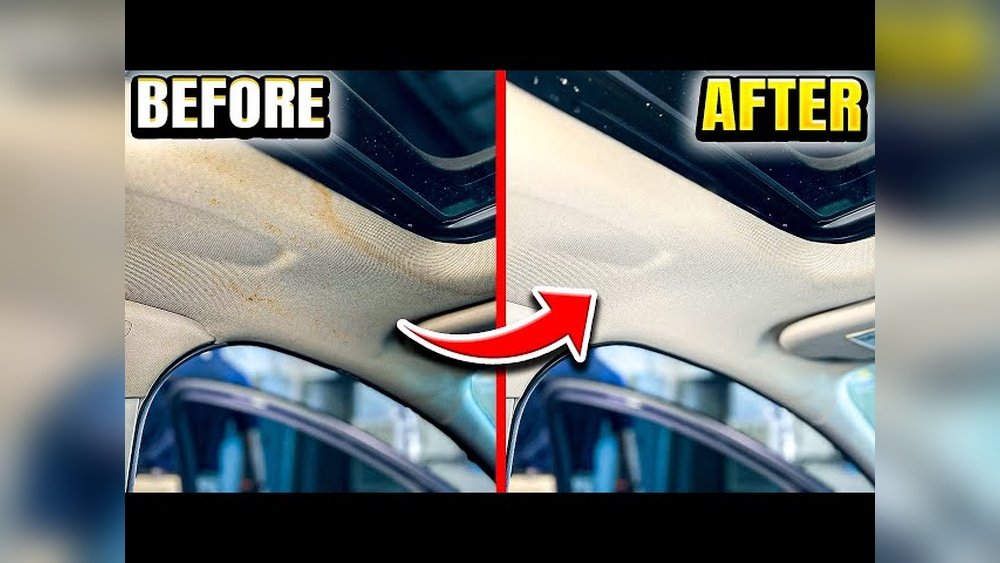
The safest way to clean foam from a car headliner is to remove loose foam while it is dry, then lift the remaining residue with a soft brush, plastic scraper, and a small amount of upholstery-safe cleaner. Avoid soaking the headliner, using harsh solvents, or spraying near airbag trim. Old foam often means the headliner fabric backing has broken down, so cleaning may only be a temporary fix.
This guide applies to vehicles commonly sold in the United States, including cars, trucks, SUVs, and vans. It covers foam dust, crumbling foam backing, and adhesive residue left on the headliner board.

Why Foam Comes Off a Car Headliner
Foam comes off when the foam backing behind the headliner fabric breaks down with age, heat, and moisture. The fabric may still look intact, but the yellow or tan foam can turn into powder, flakes, or sticky crumbs.
Most automotive headliners use three layers:
- The visible cloth or fabric.
- A thin foam backing.
- A rigid headliner board made from compressed fiber, fiberglass, or plastic-like material.
Heat inside a parked vehicle can speed up foam failure. Repeated exposure to high cabin temperatures can weaken the foam and the adhesive that holds the fabric to the board. Water leaks, smoke residue, and poor past repairs can also make the problem worse.
Foam dust versus adhesive residue
These two problems need different methods.
- Loose foam dust: Dry, powdery material that falls when you touch the fabric.
- Foam chunks: Larger pieces of old backing that cling to the fabric or board.
- Sticky residue: Glue or softened foam that feels tacky.
- Hard residue: Dried adhesive that forms a thin crust or rough layer.
Dry foam is usually easier to remove. Sticky residue needs more care because a strong solvent can stain the fabric, dissolve the headliner board, or spread the glue over a larger area.
Cleaning also differs based on the headliner’s condition. If the fabric is sagging, badly stained, or separating from the board, cleaning will not restore the original bond. In that case, replacing the headliner fabric is usually the more durable repair.
What You Need Before Cleaning
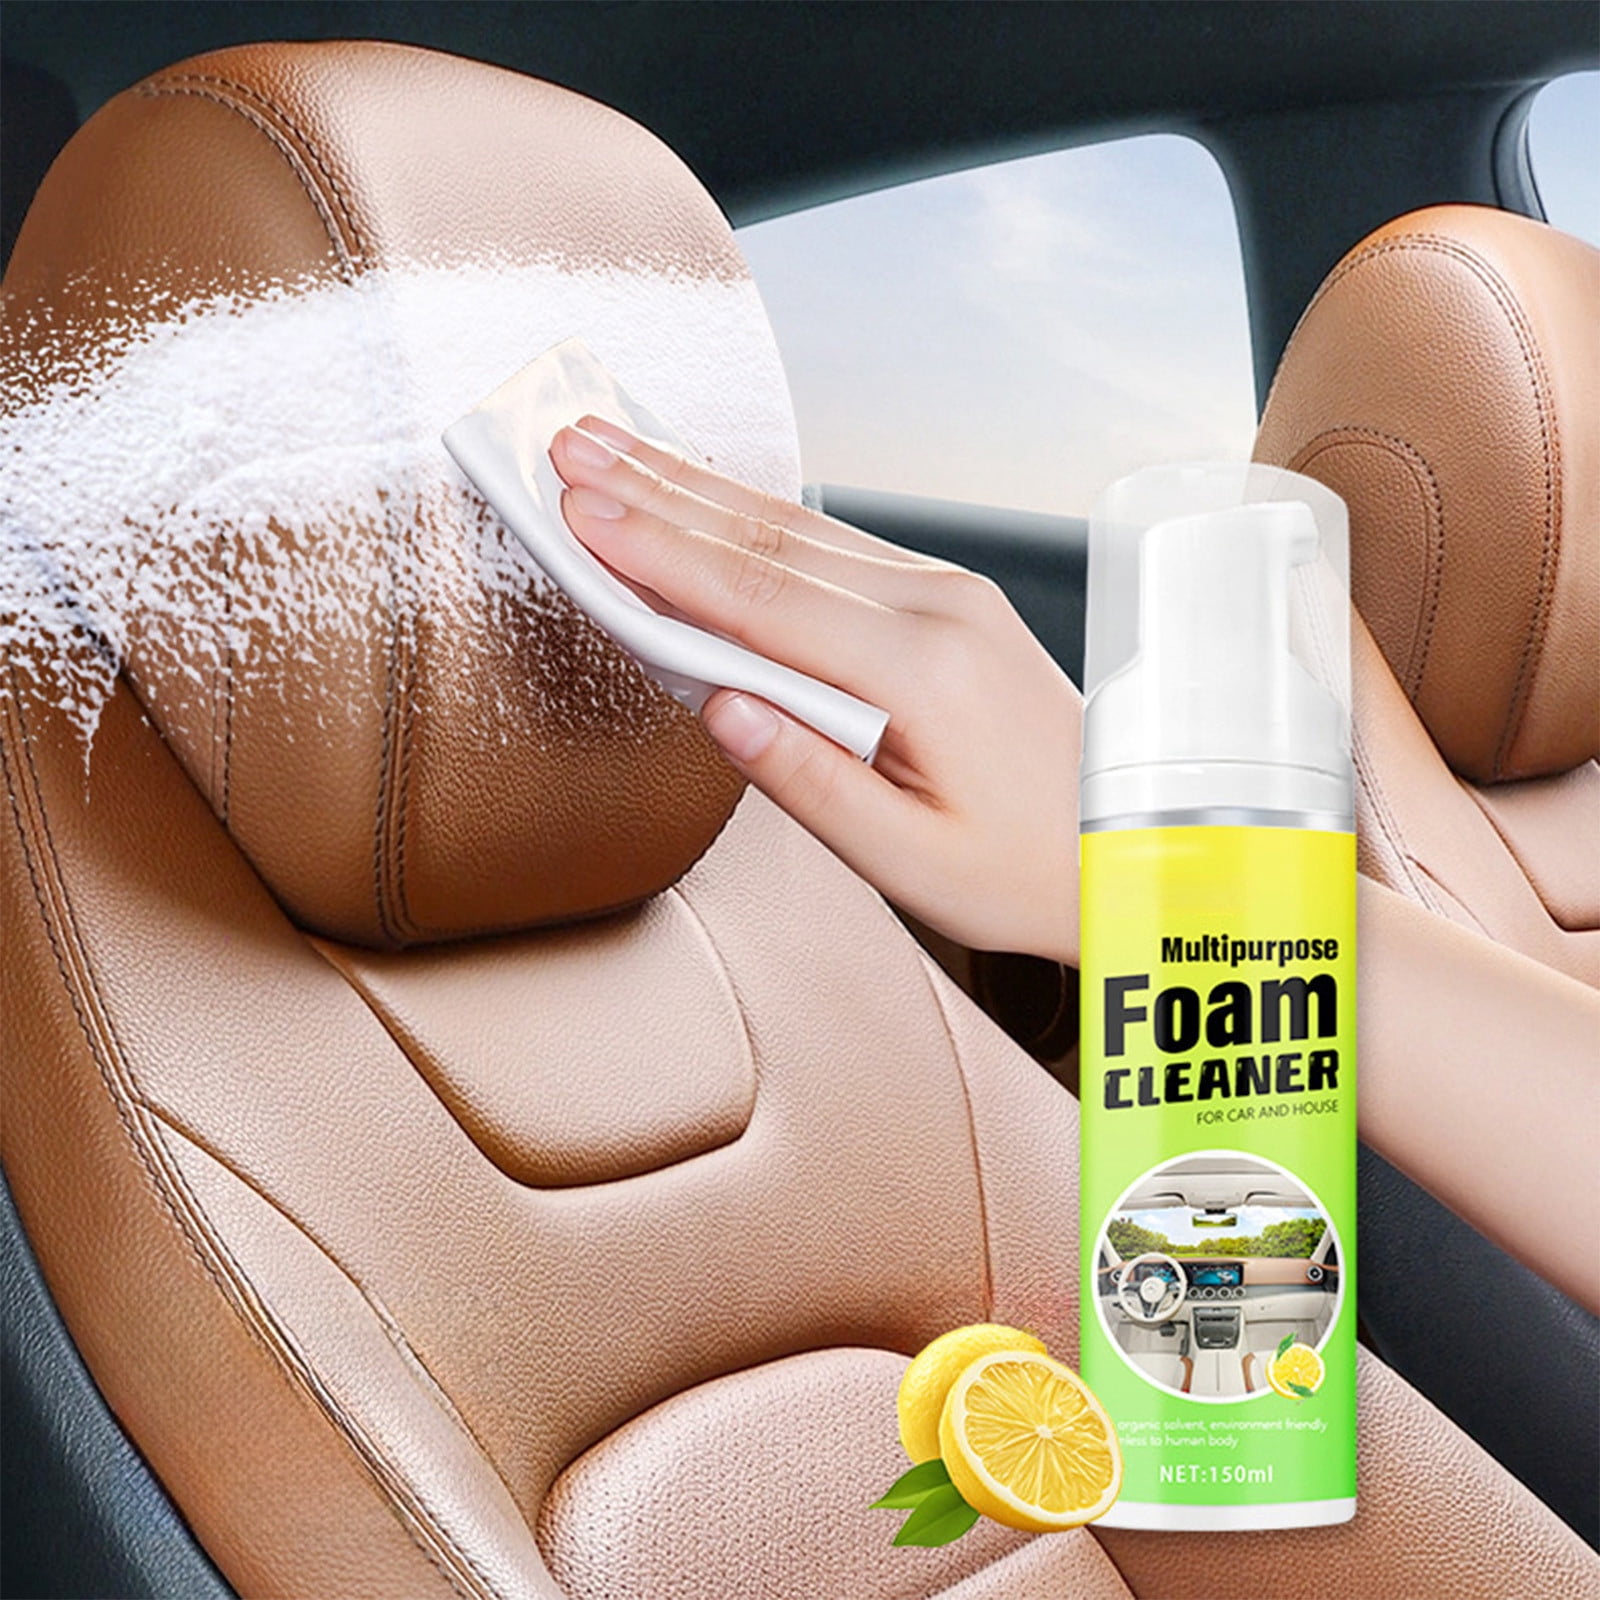
Gather the tools before you begin. The goal is to use the least aggressive method that works.
Basic tools
- Vacuum with a soft brush attachment
- Soft nylon brush or clean upholstery brush
- Plastic scraper or old plastic card
- Microfiber cloths
- Nitrile gloves
- Safety glasses
- Painter’s tape
- Small bowl of clean water
- Mild automotive upholstery cleaner
- Lint roller, if the fabric is stable
Use a plastic tool, not a metal knife or razor. Metal can cut the fabric, gouge the headliner board, and leave sharp edges.
Cleaner selection
Choose a cleaner labeled for automotive upholstery or fabric headliners. Avoid pouring cleaner directly onto the headliner. Apply a small amount to a cloth or brush instead.
Do not use these products unless the vehicle or material manufacturer specifically approves them:
- Acetone
- Lacquer thinner
- Paint thinner
- Brake cleaner
- Carburetor cleaner
- Gasoline
- Mineral spirits
- Strong adhesive remover
- Household bleach
- High-alkaline degreasers
These chemicals can dissolve foam, discolor cloth, weaken the board, or create harmful fumes inside the vehicle.
Test first
test the cleaning method in a hidden place. Good test areas include:
- Behind a sun visor
- Near the rear edge of the headliner
- Under a trim overlap
- Inside a removed grab-handle opening
Wait until the test area dries. Check for color change, rings, loosened fabric, stiffness, or a sticky surface. If any of these appear, stop and use a gentler method.

How to Clean Foam From a Headliner Step by Step
Work slowly. Rushing can turn loose foam into a larger stain or push residue deeper into the fabric.
1. Park safely and protect the cabin
Park the vehicle in a dry, shaded area with the doors open for ventilation. Do not work in direct sun. Heat can soften adhesive and make the foam more difficult to control.
Cover the seats, dashboard, and center console with clean sheets or plastic protection. Keep the windows open if the cleaner has a smell.
If you plan to remove the headliner, read the vehicle service information first. Many U.S. vehicles have curtain airbags in the roof pillars. Headliner removal near airbag modules requires vehicle-specific procedures. If you are unsure, leave the headliner installed and have the work done by a qualified automotive technician or trim shop.
2. Remove loose foam while it is dry
Start with the soft brush attachment on a vacuum. Hold the nozzle close to the surface without pressing hard against the fabric.
Use short, light strokes. Do not scrub at first. Scrubbing can push foam dust into the cloth and create dark areas.
If the foam is stuck to the fabric, lift it gently with a plastic scraper. Keep the scraper almost flat. Work under the edge of the foam rather than digging into the cloth.
For loose crumbs, a lint roller may help. Roll in one direction and replace the adhesive sheet when it becomes coated with foam. Do not use a lint roller on fabric that is already loose or sagging.
3. Brush away the remaining dry particles
After vacuuming, use a soft nylon brush. Move in one direction with light pressure.
Vacuum again after brushing. Repeat this cycle until no more dry foam falls from the surface. Removing the loose material before using liquid reduces the chance of making a muddy residue.
If the foam continues to crumble each time you touch the headliner, the backing has likely failed over a broad area. Stop trying to clean the entire surface. A fabric replacement may be more practical.
4. Lift foam chunks with a plastic scraper
For larger pieces, place the edge of a plastic card beneath the foam. Lift slowly and keep the tool flat.
Do not pull hard on the fabric. If the fabric stretches, wrinkles, or begins to separate from the board, stop. Pulling can create a permanent bubble or sag.
Remove the lifted pieces by hand or with the vacuum. Avoid rubbing them across clean sections of the headliner.
5. Treat light residue with a barely damp cloth
If a thin layer remains, dampen a microfiber cloth with clean water. The cloth should feel slightly moist, not wet.
Press and lift the residue rather than rubbing it. Turn the cloth often so that removed foam does not transfer back to the headliner.
Use very little water. A headliner can develop water rings, loosen adhesive, or sag when moisture reaches the foam and board layers.
6. Use upholstery cleaner only for stubborn residue
If water does not remove the residue, apply a small amount of automotive upholstery cleaner to a cloth or soft brush. Never flood the headliner.
Work on a small section, about the size of your hand. Use light dabbing motions. Then blot the area with a dry microfiber cloth.
Allow the section to dry fully before deciding whether another pass is needed. Several light passes are safer than one wet pass.
7. Remove dried adhesive with controlled pressure
Dried adhesive may need gentle scraping after it has softened slightly. Apply the approved cleaner to a cloth and hold it against the residue for a short time. Then test whether the residue lifts with a plastic card.
Do not force the process. If the adhesive smears, stop and let the area dry. Smearing usually means the cleaner is softening the glue without removing it.
Some adhesives bond so strongly that complete removal without damaging the headliner board is not realistic. If the fabric will be replaced, a trim professional may remove the old residue during board preparation.
8. Let the headliner dry completely
Keep the vehicle ventilated until the cleaned area is fully dry. Do not use a heat gun, hair dryer on high heat, or open flame.
The headliner should feel dry, clean, and firm. It should not feel cool and damp when pressed lightly. Moisture trapped under the fabric can lead to stains, odor, or further separation.
How to Clean Foam From a Removed Headliner Board
Removing the headliner board gives better access, but it also adds risk. The board can crack, fold, or lose its shape. Roof trim may also connect to curtain airbag areas, lights, microphones, and wiring.
If you remove it, label each clip, screw, connector, and trim piece. Store the board on a clean, flat surface. Do not bend it sharply.
Use this order:
- Vacuum loose foam.
- Brush the board with a soft or medium nylon brush.
- Scrape remaining foam with a plastic scraper.
- Vacuum again.
- Wipe only the hard board with a lightly damp cloth if needed.
- Let the board dry before installing new fabric or adhesive.
Do not soak a fiberboard headliner. Water can make the board swell, soften its edges, or change its shape.
If the old foam has turned into a sticky layer, remove as much as possible with dry methods first. The goal is a clean, stable surface, not necessarily a perfectly smooth surface. Deep sanding can thin the board and create weak spots.
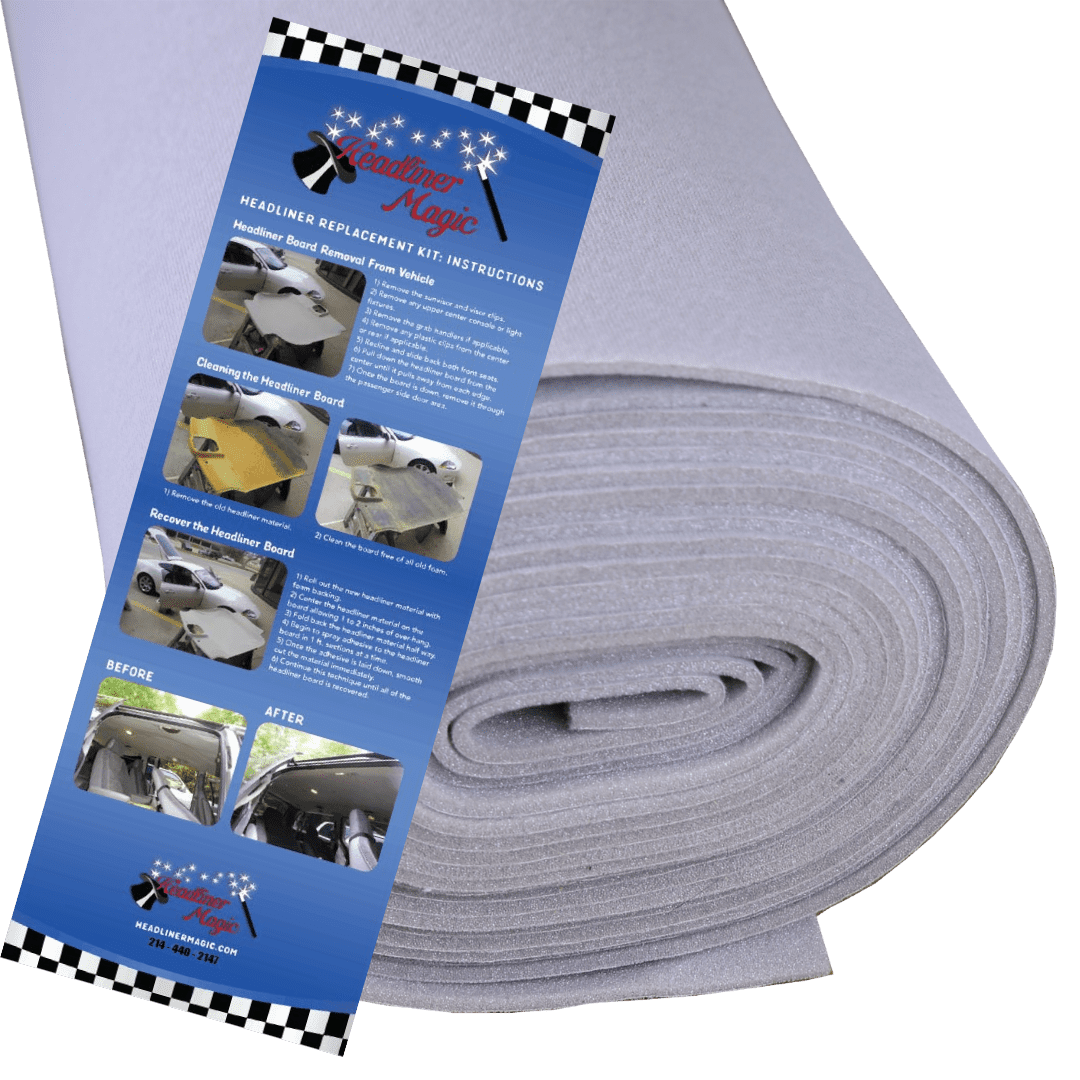
When installing replacement fabric, use adhesive made for automotive headliners. General-purpose spray glue may fail under high cabin temperatures. Follow the adhesive label for ventilation, flash time, coverage, and surface preparation.

What to Do If the Foam Will Not Come Off
Some foam residue will not release safely from the fabric. The correct response depends on the part affected.
| Symptom | Likely cause | Best next step |
|---|---|---|
| Fine yellow dust returns after cleaning | Foam backing is failing | Replace the headliner fabric or board covering |
| Foam feels sticky and spreads | Softened foam or adhesive | Stop rubbing; use dry removal and test cleaner |
| Fabric has dark rings | Too much moisture or cleaner | Let it dry fully; avoid more liquid |
| Fabric pulls away from the board | Adhesive bond has failed | Plan a headliner repair or replacement |
| Board crumbles during scraping | Aged fiberboard | Replace the board or seek trim-shop help |
| Strong chemical odor remains | Cleaner or solvent residue | Ventilate the vehicle and stop using that product |
| Residue is near an airbag pillar | Airbag-related access area | Avoid removal and consult a qualified technician |
A small spot may be manageable. A large area of failing foam usually is not. If more foam appears every time the fabric moves, cleaning cannot correct the underlying failure.
When replacement is the better choice
Replace or recover the headliner when:
- The fabric is sagging.
- Foam falls across most of the roof.
- The fabric has many stains or water marks.
- The board is cracked or warped.
- The adhesive has failed over a wide area.
- Cleaning would require soaking the fabric.
- The headliner sits near an airbag or electrical component that you cannot safely access.
A professional automotive upholstery shop can often recover the existing board if it remains sound. If the board is damaged, the shop may recommend a replacement board or a used matching part.
Mistakes to Avoid When Removing Headliner Foam
The most common mistake is using too much liquid. A headliner is not like a removable floor mat. Its layers are thin, and moisture can travel through the fabric quickly.
Avoid these errors:
- Scrubbing before vacuuming loose foam
- Spraying cleaner directly onto the ceiling
- Using a razor or metal scraper
- Pulling fabric away from the board
- Cleaning in direct sunlight
- Applying heat to dry the headliner
- Using a household carpet machine
- Mixing cleaning chemicals
- Ignoring a roof leak
- Removing trim without checking for curtain airbags
Fix water leaks before repairing the headliner. A roof leak, failed sunroof drain, damaged door seal, or antenna leak can cause fresh stains and repeated adhesive failure.
Also check the source of any smoke or oil contamination. Smoke film and greasy residue may prevent new adhesive from bonding. In that case, surface preparation matters as much as foam removal.

How to Tell When the Headliner Is Clean
A cleaned headliner should meet four simple checks:
- No loose foam falls when the surface is lightly brushed.
- The fabric does not feel sticky.
- The cloth remains attached and does not stretch or wrinkle.
- No wet spots, strong odor, or cleaner marks remain after drying.
Use bright, indirect light to inspect the surface. A flashlight held at a low angle can reveal raised residue and uneven patches.
Do not judge the result while the headliner is damp. Wet cloth can look darker and may hide rings or streaks that appear after drying.
If the surface looks clean but foam returns later, the backing is still breaking down. That is a material failure, not a cleaning failure.

Key Takeaways
- Remove loose foam dry before using any cleaner.
- Use a vacuum, soft brush, and plastic scraper.
- Apply cleaner to a cloth, not directly to the headliner.
- Test every cleaner in a hidden area first.
- Avoid harsh solvents, excess water, and high heat.
- Do not work near curtain airbags unless you know the vehicle-specific procedure.
- Replace or recover the headliner if the foam backing continues to crumble.
Frequently Asked Questions
Can I use rubbing alcohol to remove foam from a headliner?
Rubbing alcohol may soften some adhesives, but it can also discolor fabric, affect dyes, or damage foam and board materials. Do not use it without testing an unseen area and checking the material or cleaner guidance. A mild automotive upholstery cleaner is usually the safer first choice.
Can I use a steam cleaner on a car headliner?
A steam cleaner is usually a poor choice for an installed headliner. Heat and moisture can loosen the adhesive, create water marks, and cause sagging. Use dry cleaning methods and a barely damp cloth instead.
How do I remove yellow foam dust from headliner fabric?
Vacuum the fabric with a soft brush attachment, then use a soft nylon brush and vacuum again. Avoid rubbing the dust into the cloth. If yellow material keeps returning, the foam backing is deteriorating and the fabric likely needs replacement.
Can I clean foam from a headliner without removing it?
Yes. Small areas can often be cleaned while the headliner remains installed. This is safer because it avoids damage to trim, wiring, and curtain airbag components. Large repairs may require removal by an automotive trim professional.
Why does my headliner keep shedding foam after cleaning?
The foam backing has probably broken down across a larger area. Cleaning removes loose material but does not rebuild the backing. Recovering the headliner with new automotive fabric is the lasting repair.
What should I do if the headliner is sagging?
Do not rely on pins, staples, or household glue near the roof. A sagging headliner can obstruct visibility and may interfere with airbag deployment paths. Have it repaired or replaced by an automotive upholstery shop familiar with your vehicle.
Final Answer
To clean foam from a headliner, begin with dry vacuuming and gentle brushing. Lift stuck pieces with a plastic scraper, then use a barely damp microfiber cloth or a tested automotive upholstery cleaner for small amounts of residue. Keep moisture and chemicals to a minimum.
If the foam continues to crumble, the headliner fabric has reached the end of its useful life. Cleaning can remove the mess, but only recovering or replacing the headliner can correct the failed foam backing.