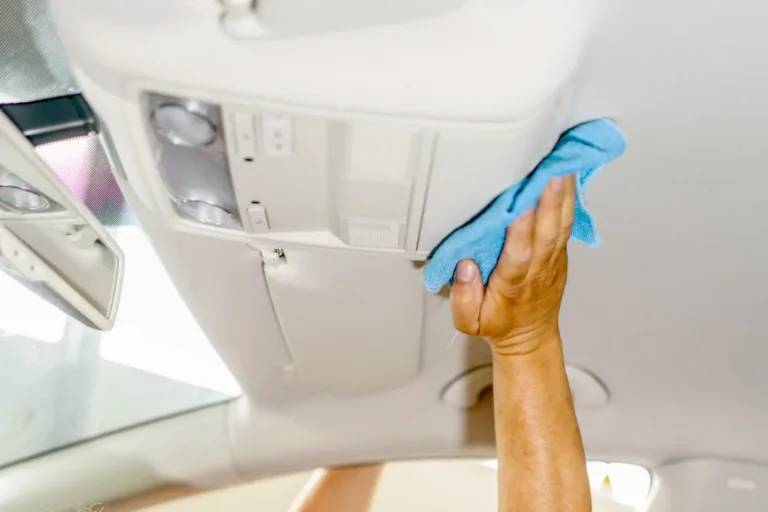
How To Clean Mold From Car Headliner: Safe DIY Guide
Mold on a car headliner usually means moisture has entered the vehicle. In the United States, common causes include a leaking sunroof, windshield seal, door seal, roof antenna, air conditioner drain, or flood exposure. You can often clean a small surface spot yourself, but large growth, a strong musty smell, or a sagging headliner may require professional help.
For a small area, remove loose debris, test a mild cleaner, gently blot the fabric, and dry the headliner fully. Do not soak the fabric. Water can loosen the adhesive that holds the headliner to its backing and create a larger repair problem.

What You Need Before Cleaning Mold From a Car Headliner
Gather the right supplies before you start. The goal is to lift mold from the surface without soaking the headliner or spreading spores through the cabin.
Supplies
- Nitrile or rubber gloves
- Safety glasses
- An N95 respirator or similar particulate respirator
- Long sleeves
- A small HEPA vacuum, if available
- Soft microfiber cloths
- A soft detailing brush
- Mild, fragrance-free dish soap
- Clean water
- Two spray bottles
- A small fan
- Plastic bags for used cloths and disposable PPE
- A flashlight
Use a clean, light-colored cloth. Dark or dyed towels may transfer color to the headliner.
Before you begin
Park the vehicle outdoors or in a well-ventilated area. Turn off the engine and remove personal items from the cabin. Keep children, pets, and people with asthma or mold sensitivity away from the vehicle while you work.
Check the headliner first. If it is sagging, soft, stained across a wide area, or wet behind the fabric, do not begin with heavy scrubbing. The backing may already be damaged.
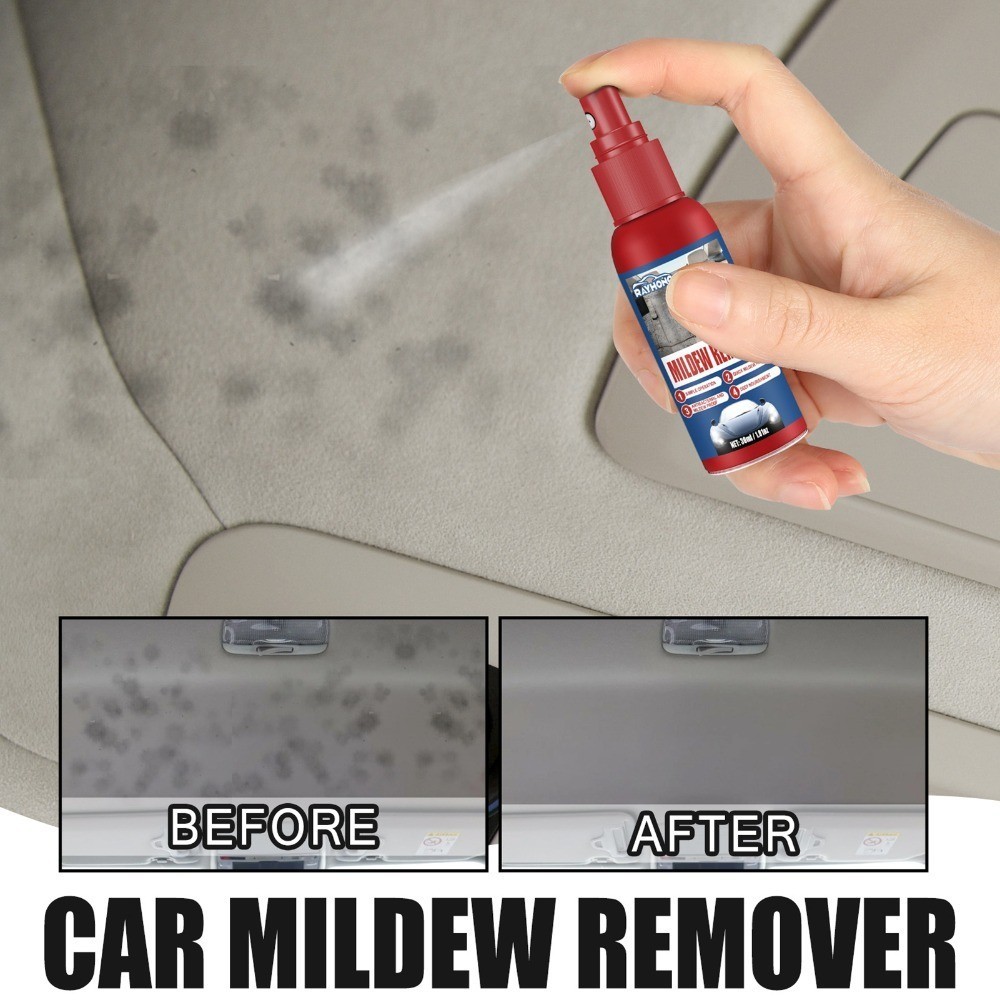
Find and Fix the Moisture Source First
Cleaning mold without fixing the leak is a short-term repair. Mold can return because moisture remains inside the roof, insulation, trim, or headliner backing.
Inspect these common leak points:
| Area to inspect | What to look for |
|---|---|
| Sunroof | Wet roof trim, blocked drains, water trails, damp corners |
| Windshield | Damp fabric near the upper glass edge or A-pillars |
| Roof antenna | Water marks around the antenna base |
| Door seals | Torn rubber, wet upper trim, damp carpet |
| Roof rack mounts | Loose hardware or water stains near mounting points |
| Air conditioner drain | Wet front carpet or a musty smell after using the A/C |
| Flood or spill damage | Damp padding, rust, dirty water marks, persistent odor |
A clean-looking exterior does not rule out a leak. Water may travel behind trim before appearing on the headliner.
If you can safely do so, have another person run a gentle stream of water over one area at a time while you inspect the interior. Do not use a pressure washer. Stop if water enters the cabin, and dry the vehicle before mold spreads.
A repair shop, glass shop, or automotive water-leak specialist may be needed when the leak involves the windshield, sunroof drain, roof antenna, or hidden body seams.

How to Clean a Small Mold Spot on a Car Headliner
This method is for a small, surface-level area on a headliner that remains firmly attached. Work slowly. The headliner should feel damp only at the surface, not wet through.
1. Dry the area if it is wet
Do not scrub a soaked headliner. Open the doors and let the surface air-dry in a shaded, ventilated place. Direct heat can shrink fabric, damage foam, or weaken adhesive.
If the vehicle has visible standing water, remove it first with towels or a wet vacuum designed for automotive interiors. Do not use a standard household vacuum on wet material.
2. Remove loose surface debris
Put on your gloves, eye protection, and respirator. If the mold is dry and powdery, use a HEPA vacuum held slightly above the fabric. Avoid pressing the nozzle against the headliner.
A regular vacuum may release fine particles back into the cabin. If you do not have a HEPA vacuum, skip this step and use gentle blotting instead.
3. Make a mild cleaning solution
Mix a small amount of mild dish soap with clean water. The mixture should be weak and lightly sudsy, not thick.
Put the solution in a spray bottle, but spray it onto a microfiber cloth rather than directly onto the headliner. Direct spraying can force liquid into the foam and adhesive layer.
4. Test a hidden area
Dab the solution on a hidden section near the edge of the headliner. Wait several minutes, then check for:
- Color transfer
- Fabric discoloration
- Water rings
- Surface fuzzing
- Adhesive failure
- A change in texture
Do not continue if the test area changes. A professional automotive detailer or upholstery specialist can select a safer product for that material.
5. Blot the mold gently
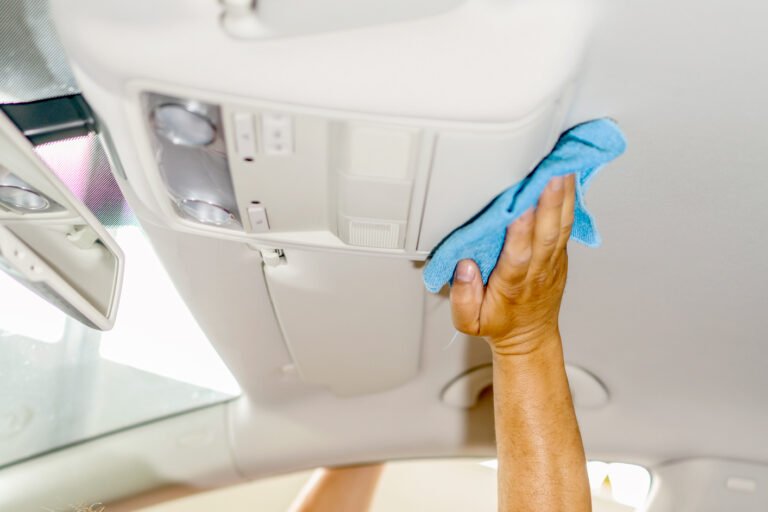
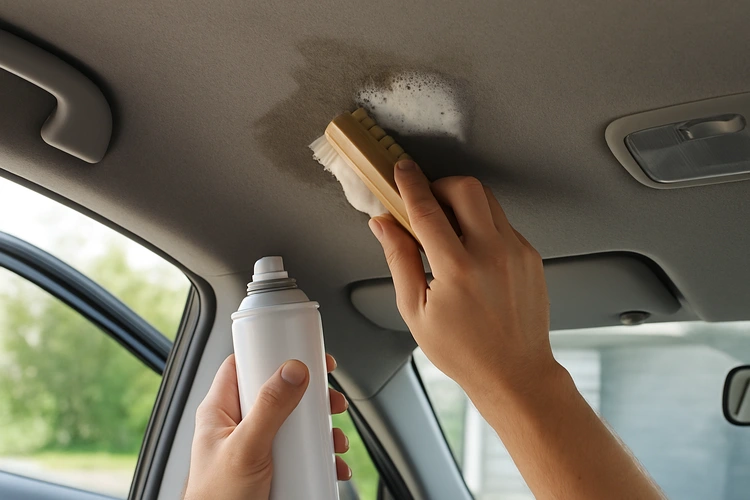
Use the damp cloth to blot from the outside of the stain toward the center. Do not scrub in circles. Scrubbing can spread the stain, push mold deeper into the fabric, and pull fibers from the headliner.
Turn the cloth often so you do not transfer mold back onto the surface. Use a fresh cloth when the first one becomes dirty.
For a small textured area, use a soft brush with very light strokes. The brush should move the surface fibers, not press into the backing.
6. Remove soap residue
Dampen a new microfiber cloth with clean water and wring it out well. Blot the cleaned area to remove soap. Use as little water as possible.
Do not pour water, flood the panel, or repeatedly spray the same spot.
7. Dry the headliner completely
Open the doors or windows and aim a fan across the cabin. Keep the fan outside the vehicle when possible, and keep electrical equipment away from wet areas.
Allow the headliner to dry fully before closing the vehicle. Drying time depends on temperature, humidity, airflow, and how much moisture was used. A musty smell, cool damp feeling, or darkened fabric means it may not be dry.
8. Inspect the result
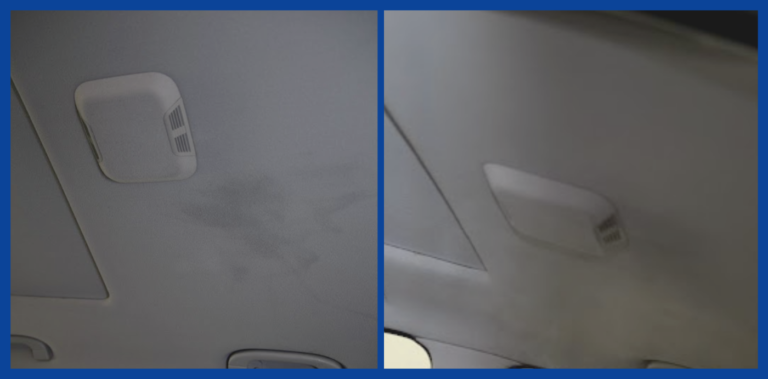
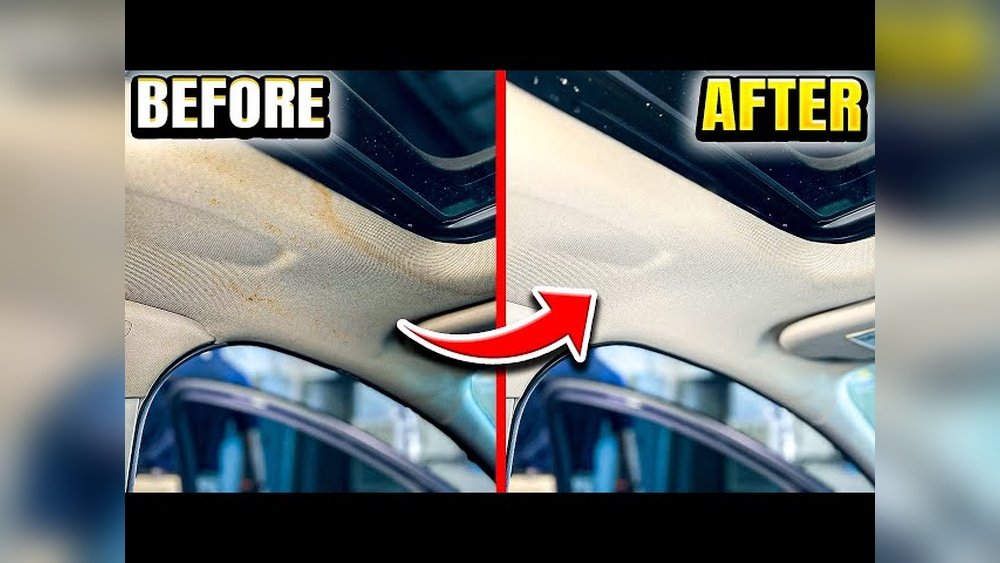
After drying, check the area in bright light. A stain may remain even after surface mold is removed. That does not always mean active mold remains, but a returning odor, new spots, or continued dampness suggests a deeper problem.

What Not to Use on a Moldy Headliner
Many household mold products are too harsh for automotive fabric and foam. The wrong product may damage the headliner faster than the mold does.
Avoid chlorine bleach
Bleach is a poor choice for most fabric headliners. It can discolor fabric, damage fibers, corrode nearby metal, and leave moisture inside the backing. Bleach also does not solve the moisture problem.
The U.S. Environmental Protection Agency generally does not recommend bleach as a routine mold-cleaning method. Never mix bleach with ammonia, vinegar, acids, or other cleaners.
Avoid soaking cleaners
Upholstery shampoo, carpet cleaner, and steam cleaners may add too much moisture when used on a headliner. Some can also loosen the adhesive that bonds the fabric to the board.
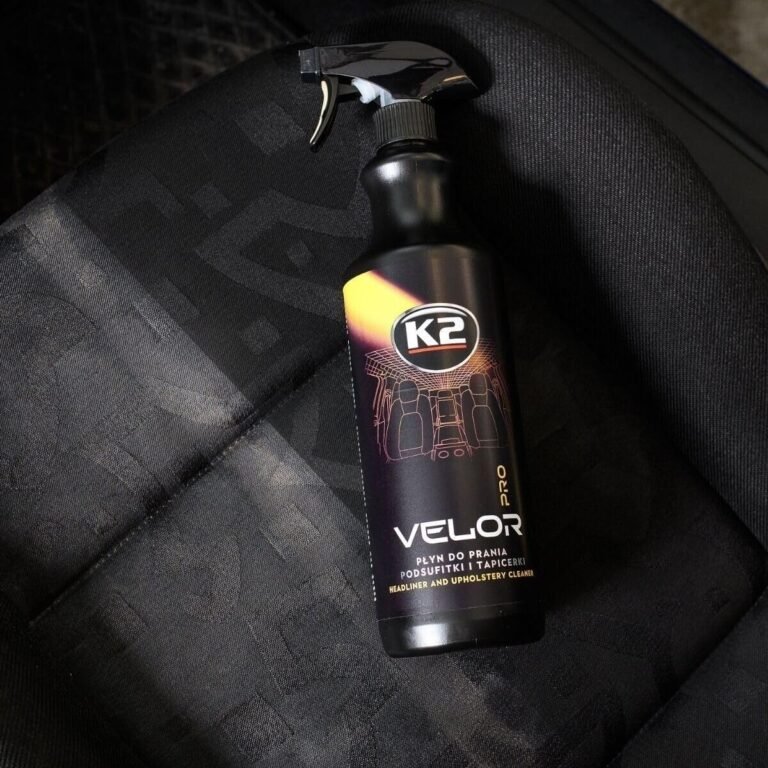
If you use an automotive upholstery product, follow its label and test it first. Apply it to a cloth when the product instructions allow it.
Avoid strong solvents
Acetone, gasoline, paint thinner, lacquer thinner, and strong alcohol products can dissolve adhesives or stain synthetic fabric. They also create fire and inhalation hazards inside a small cabin.
Avoid aggressive scrubbing
A headliner is not like a floor mat. Its thin fabric is bonded to foam and a rigid or semi-rigid board. Excess pressure may create a bald patch, ripple, tear, or sag.
Avoid ozone machines as a first response
Ozone may reduce some odors under controlled conditions, but it does not remove the moisture source or reliably clean mold hidden in porous materials. Ozone can also irritate the lungs and damage rubber, plastics, and other cabin materials.

When You Should Replace the Headliner or Call a Professional
Professional cleaning or replacement is the safer choice when mold has spread beyond a small surface spot. The visible patch may be only part of the contamination.
Contact a qualified automotive detailer, upholstery specialist, or restoration professional if:
- Mold covers a large part of the headliner
- The odor returns after cleaning and drying
- The fabric is wet behind the visible stain
- The headliner is sagging or separating
- Mold appears on the roof insulation or trim
- The vehicle had flood or sewage-water exposure
- Water entered through the windshield, sunroof, or roof structure
- Someone in the household has severe asthma, allergies, or immune suppression
- You cannot find or repair the leak
- Mold appears in several parts of the vehicle
The EPA uses a roughly 10-square-foot threshold for some indoor mold-remediation decisions, but that guidance is written for buildings, not specifically for vehicle headliners. Treat it as general context, not a precise automotive rule.
Replacement may be more practical than cleaning when the foam backing has broken down. A headliner that has started to sag often will not return to its original shape after cleaning.
Some vehicles have curtain airbags in the roof pillars and headliner area. Do not remove trim, airbags, or the entire headliner unless you understand the vehicle’s service procedure. Check the owner’s manual or use a qualified technician.

How to Remove the Musty Smell After Cleaning
A lasting odor usually means moisture or contamination remains somewhere in the vehicle. Masking the smell with fragrance does not remove the cause.
Use this order:
- Dry the headliner and roof area completely.
- Remove damp floor mats and inspect the carpet underneath.
- Check the trunk, spare-tire well, door pockets, and seat tracks.
- Clean visible mold on hard, washable surfaces with an appropriate cleaner.
- Replace heavily contaminated porous items when they cannot be cleaned.
- Run the vehicle ventilation system only after the cabin is dry.
- Replace the cabin air filter if it is damp, dirty, or moldy.
- Repair the leak before closing the vehicle for long periods.
Do not spray fragrance, disinfectant, or essential oils into the headliner. These products may add residue and can make later cleaning harder.
If the smell is strongest when the air conditioner starts, inspect the cabin air filter, evaporator area, and condensate drain. Mold in the HVAC system may need a separate service.

How to Tell Whether the Cleaning Worked
A successful surface cleaning has several signs:
- The headliner is dry all the way through
- No new spots appear after several days
- The musty odor does not return
- The fabric remains attached and smooth
- The cleaned area does not feel cold or damp
- The moisture source has been repaired
A remaining brown or gray mark may be a permanent stain rather than active mold. Still, watch the area over the next few weeks. If the spot grows, feels damp, or develops a stronger odor, stop DIY cleaning and seek an inspection.
Take a photo before cleaning. It gives you a useful record if the stain returns or if a shop needs to assess the problem.

Common Mistakes When Cleaning Mold From a Car Headliner
Cleaning before fixing the leak
This is the most common mistake. New moisture can bring back mold even after careful cleaning.
Using too much water
A wet headliner may look cleaner at first but can later sag, bubble, or develop water rings.
Scrubbing hard
Pressure can spread mold and damage the thin fabric layer.
Using bleach
Bleach may whiten the surface while damaging the fabric, foam, or nearby materials.
Closing the car too soon
A closed, damp cabin creates the warm, humid conditions mold needs.
Ignoring the HVAC system
A moldy cabin filter or wet evaporator area can keep sending odor into the vehicle.
Removing the headliner without checking for airbags
Roof trim can be part of the vehicle’s restraint system. Follow the service manual or hire a trained technician.
Frequently Asked Questions
Can I use vinegar to clean mold from a car headliner?
Vinegar is not the best first choice for a fabric headliner. It can leave an odor, affect some materials, and still requires moisture that may damage the adhesive. A small amount of mild soap and water applied to a cloth is usually a gentler starting method.
Is mold on a car headliner dangerous?
Mold can irritate the eyes, skin, nose, throat, and lungs. People with asthma, allergies, or weakened immune systems may be more sensitive. Wear suitable protection, ventilate the vehicle, and use professional help for extensive growth or flood contamination.
Can I use a steam cleaner on the headliner?
Steam can force heat and moisture into the fabric, foam, and adhesive. It may cause sagging or separation. Avoid steam unless the headliner manufacturer or a qualified automotive upholstery professional confirms that the material and method are suitable.
Can I clean mold without removing the headliner?
Yes, a small surface spot can often be treated in place. Do not remove the headliner unless necessary. Removal can expose wiring, clips, curtain airbags, and fragile trim.
Why does mold keep coming back after cleaning?
The vehicle may still have a leak, trapped moisture, contaminated insulation, or a moldy HVAC component. Recleaning the visible spot will not solve a continuing moisture problem.
Final Recommendation
For a small mold spot, use protective gear, a HEPA vacuum if available, a mild cleaner on a nearly dry cloth, gentle blotting, and thorough air-drying. Avoid bleach, harsh solvents, steam, and heavy scrubbing.
If the headliner is sagging, broadly stained, repeatedly damp, or affected by floodwater, professional inspection is the better option. The lasting fix is not just removing the visible mold. It is finding the water, drying the interior, and repairing the source.
References
- U.S. Environmental Protection Agency, Mold Cleanup in Your Home: https://www.epa.gov/mold/mold-cleanup-your-home
- U.S. Environmental Protection Agency, Mold Remediation in Schools and Commercial Buildings: https://www.epa.gov/mold/mold-remediation-schools-and-commercial-buildings
- Centers for Disease Control and Prevention, Basic Facts About Mold and Dampness: https://www.cdc.gov/mold-health/about/index.html
- National Institute for Occupational Safety and Health, Mold, Fungi, and Indoor Air Quality: https://www.cdc.gov/niosh/topics/indoorenv/mold.html