How To Clean Felt Headliner: Easy Stain Removal Guide
Introduction
A felt headliner can be cleaned at home with a vacuum, soft brush, microfiber cloths, and a small amount of mild cleaner. The safest method is to work gently, use very little moisture, and avoid soaking the material. Too much water can loosen the adhesive, leave water marks, or make the headliner sag.
This guide applies to felt headliners in cars, trucks, SUVs, and vans in the United States. Always check your vehicle owner’s manual before using a chemical cleaner, especially if the roof has a sunroof, overhead electronics, or side-curtain air bags.

What Is a Felt Headliner?
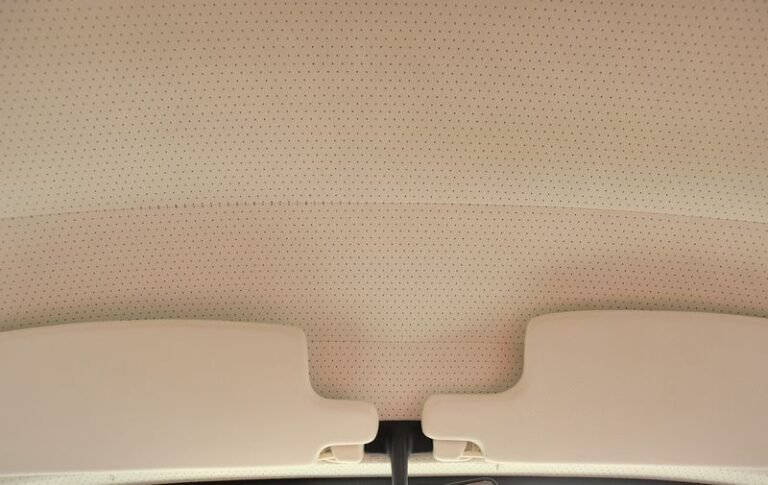
A felt headliner is the fabric-covered panel attached to the inside roof of a vehicle. It helps reduce road noise, improves cabin comfort, and gives the roof a finished appearance.
Many headliners have several layers:
- A thin felt, cloth, or foam-backed surface
- An adhesive layer
- A rigid fiberboard or molded backing panel
- Openings for lights, handles, microphones, and other roof parts
The visible fabric may look tough, but the backing and adhesive are sensitive to water and pressure. This is why cleaning a headliner differs from cleaning a floor mat or cloth seat.
Why headliners need a dry-cleaning approach
The headliner fabric is often bonded to a board. If liquid reaches the adhesive, it can soften the bond. The fabric may then bubble, wrinkle, or pull away from the backing.
Use this simple rule:
Clean the surface, not the whole panel.
Apply cleaner to a cloth or soft brush instead of spraying the roof directly. Use short, gentle passes rather than hard scrubbing.

What You Need to Clean a Felt Headliner
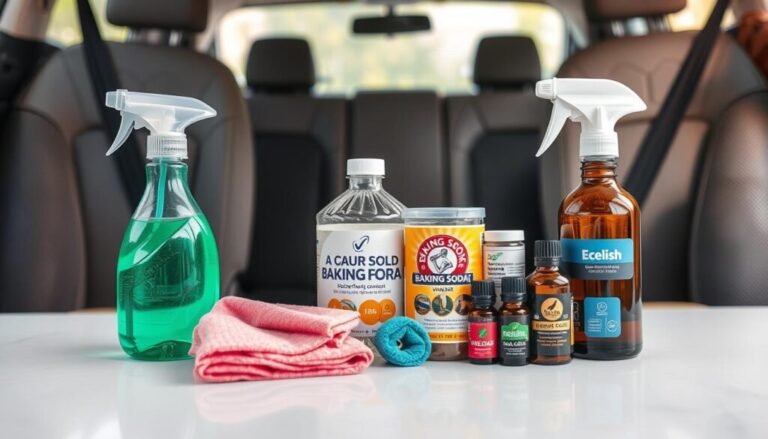
Gather the following items before you begin:
- Vacuum with a soft brush attachment
- Two or three clean microfiber cloths
- Soft-bristle detailing brush or clean upholstery brush
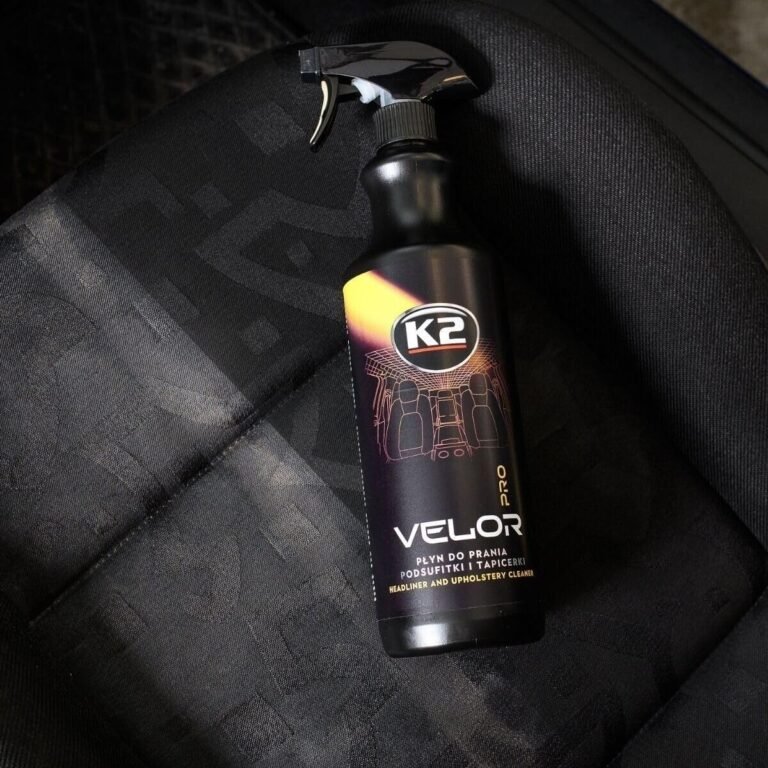
- Mild interior or upholstery cleaner
- Distilled water, if dilution is needed
- Small spray bottle
- Cotton swabs for seams and trim edges
- Dry towel
- Nitrile gloves, if the cleaner label recommends them
Choose a cleaner that is labeled for automotive fabric or upholstery. Avoid products made for leather, glass, dashboard plastics, or heavy carpet stains unless the label clearly says they are safe for headliner fabric.
Test the cleaner first
Find a hidden area, such as behind a sun visor or near the edge of the headliner. Apply a small amount of diluted cleaner to a cloth, then dab the test area.
Wait until it dries. Do not use the cleaner if you see:
- Color transfer
- Bleaching
- A dark ring
- Stiff or rough fibers
- Fabric separation
- A lasting chemical smell
A product that is safe for one vehicle may damage another. Headliner fabrics and adhesives vary by vehicle make, model, and year.

How to Clean a Felt Headliner Step by Step
Follow these steps for light dirt, dust, fingerprints, and small surface stains.
1. Park in a shaded, dry place
Clean the vehicle indoors or in a shaded area with good airflow. Avoid cleaning a hot roof in direct sunlight. Heat can cause cleaner to dry too fast and leave marks.
Close the doors and windows if the area is dusty. Keep the vehicle dry during the entire process.
2. Remove loose dust
use a vacuum with a soft brush attachment. Hold the nozzle just above the felt or use light contact. Move in one direction with slow passes.
Do not press hard. A stiff vacuum nozzle can flatten the fibers, create shiny patches, or pull at loose material.
If you do not have a soft vacuum brush, use a clean, dry detailing brush. Brush dust toward a vacuum nozzle rather than pushing it deeper into the fabric.
3. Prepare a mild cleaner
Follow the cleaner label for dilution. If no dilution guidance is provided, use a very small amount of product on a damp microfiber cloth rather than making the cloth wet.
For a simple mild cleaning mix, use:
- Cool or lukewarm distilled water
- A small amount of mild fabric-safe cleaner
Do not add bleach, ammonia, strong solvent, dish soap, or harsh degreaser. These products may change the color, leave residue, or weaken the adhesive.
4. Apply cleaner to the cloth
Lightly dampen a microfiber cloth. The cloth should feel damp, not wet enough to drip.
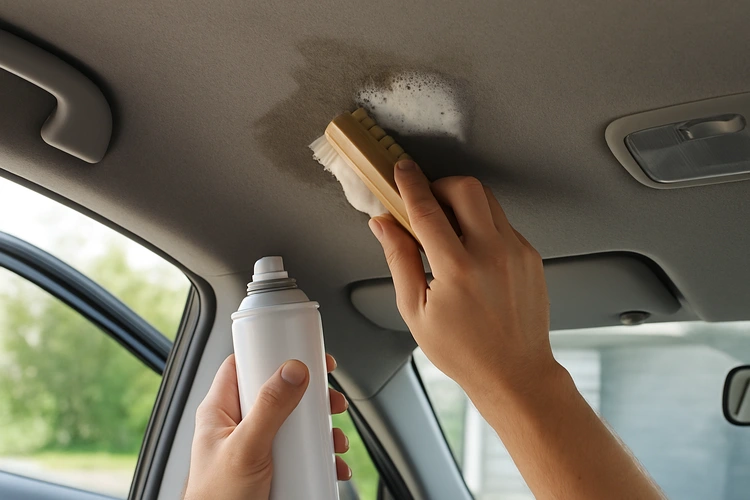
Never flood the headliner. Direct spraying can send liquid into the roof liner, wiring, dome-light housing, microphones, or air-bag areas.
5. Dab and wipe gently
Work on a small section at a time. Use light dabs or short strokes in one direction. Start at the outside of the stain and move toward the center.
Do not scrub in circles. Circular scrubbing can spread a stain and create a visible change in the nap, or direction, of the felt fibers.
For general dirt, use a clean section of the cloth as soon as the first section becomes dirty. This prevents you from moving grime across the roof.
6. Treat stains in short passes
For a stubborn mark, hold the damp cloth on the spot for a few seconds. This helps loosen the soil without adding much liquid.
Blot with a dry microfiber cloth. Repeat once or twice if needed. Stop if the stain does not improve after a few light passes.
More pressure is not always better. If the stain is deep, repeated rubbing may damage the headliner before it removes the mark.
7. Wipe away residue
Use a second cloth that is barely damp with clean water. Lightly blot the cleaned area to remove cleaner residue.
Do not rinse the headliner with water. The goal is to remove surface residue while keeping the backing as dry as possible.
8. Let the headliner dry naturally
Leave the doors open or lower the windows slightly in a safe, dry location. Use normal cabin airflow to help the area dry.
Avoid placing a high-heat hair dryer close to the roof. Heat may shrink the fabric, soften the adhesive, or leave a patch with a different texture.
The headliner should feel dry and look even before the vehicle is returned to normal use.

How to Remove Common Headliner Stains
Different stains need different levels of care. Always test a cleaner first and use the least aggressive method.
| Stain or mark | First method | Main caution |
|---|---|---|
| Dust and light dirt | Vacuum and dry brush | Do not press hard |
| Fingerprints | Slightly damp microfiber cloth | Avoid spreading skin oils |
| Food or drink | Blot, then use mild fabric cleaner | Do not soak dried residue |
| Grease | Blot with a dry cloth first | Avoid strong solvents |
| Smoke odor | Clean the surface and air out the vehicle | Odor may be inside the padding |
| Mold-like spots | Stop and inspect the cause of moisture | Surface cleaning may not solve it |
| Ink | Professional treatment is often safer | Solvents can create a larger mark |
| Water ring | Lightly blend the surrounding area | The backing may already be affected |
Food and drink stains
Remove solids with the edge of a plastic card or a dry cloth. Do not scrape with a knife or metal tool.
Blot the stain with a slightly damp cloth. Apply a small amount of fabric-safe cleaner to the cloth, not the roof. Work slowly so the liquid does not spread beyond the original mark.
Grease and oily marks
Blot fresh grease with a dry microfiber cloth. Do not rub it into the felt.
Avoid household degreasers. They may dissolve the adhesive or leave a bright patch. If the mark remains, an automotive upholstery professional may be able to treat it with a controlled solvent and extraction method.
Smoke odor
Cleaning the visible surface may reduce light odor, but heavy smoke smell can remain in the foam, carpet, seats, and air-conditioning system.
Air out the vehicle and clean other interior surfaces. Do not spray fragrance or deodorizer directly onto the headliner. Added moisture can create a second problem.
Mold or mildew
Mold-like spots often point to a leak, condensation problem, wet carpet, or blocked drain. Do not simply cover them with cleaner.
Check for moisture around:
- The sunroof
- Windshield and rear glass
- Roof-mounted antennas
- Door seals
- Dome-light openings
- Roof-rack mounting points
If the headliner is wet, sagging, or heavily affected, seek professional help. Cleaning the surface alone may not remove contamination inside the backing material.

What Not to Do When Cleaning a Headliner
Avoid these common mistakes:
Do not soak the fabric
Excess water is the main risk. It can cause sagging, adhesive failure, water rings, and long drying times.
Do not spray the roof directly
Spray can travel into electrical parts and openings. Spray onto a cloth or brush instead.
Do not use a stiff brush
A stiff brush may roughen the felt, pull fibers, or leave a patch that reflects light differently.
Do not scrub aggressively
Headliner fabric is thin and often bonded to foam. Hard scrubbing can create a permanent worn spot.
Do not use bleach or strong solvents
Bleach can remove color. Solvents can dissolve adhesives or spread ink and grease.
Do not remove roof trim without a service procedure
Some vehicles place side-curtain air bags behind the upper side trim. Do not remove trim, handles, lights, or pillars just to reach a stain unless the vehicle service information gives a safe procedure.
The National Highway Traffic Safety Administration provides general information about vehicle air bags and occupant protection. For trim removal near an air bag, use the vehicle manufacturer’s service information or hire a qualified technician.

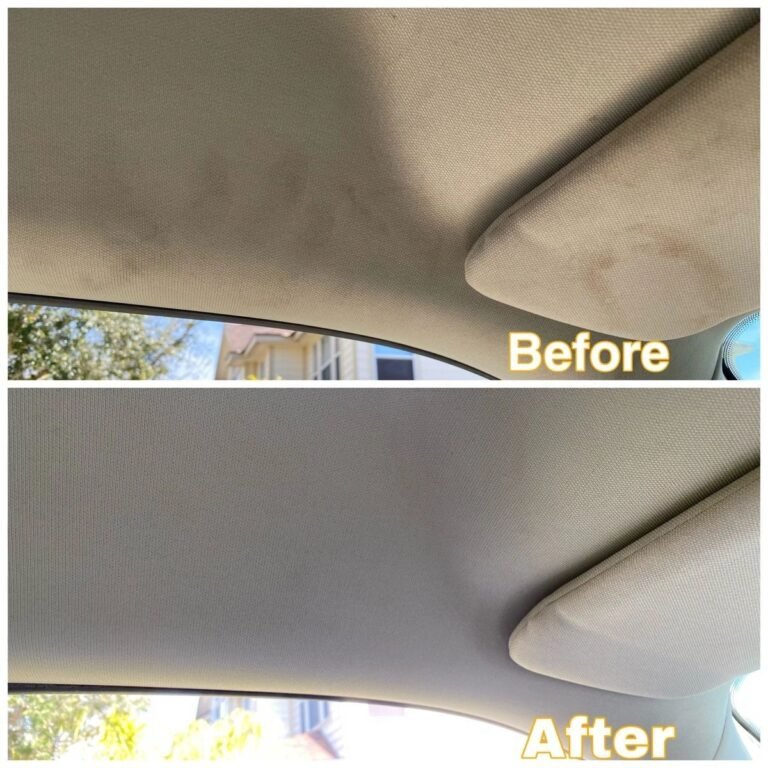
How to Tell Whether the Cleaning Worked
A successful cleaning should leave the headliner:
- Dry to the touch
- Free of visible cleaner residue
- Similar in color across the cleaned area
- Flat against the backing
- Free of a new water ring
- Free of loose fibers or rough patches
- Free of a strong chemical odor
Look at the roof from several angles. A patch may seem clean from one direction but show a different texture when light moves across it.
If the headliner becomes darker while wet, wait until it dries before judging the result. Do not keep adding cleaner while the area is still damp.

What to Do If the Headliner Is Sagging or Damaged
Cleaning will not repair a headliner that has separated from its backing. In fact, moisture may make the problem worse.
Stop cleaning if you notice:
- Bubbling
- Wrinkles
- A loose edge
- Foam dust
- Fabric that pulls away
- A spreading water ring
- A panel that hangs from the roof
Do not use household glue, staples, or pins as a quick fix. These repairs can look uneven and may interfere with trim or air-bag systems.
A vehicle upholstery shop can remove the headliner board, replace the fabric or foam, and reinstall the panel. Professional repair is the safer choice when the damage is large or located near roof-mounted safety equipment.
How Often Should You Clean a Felt Headliner?
Clean the headliner only when it needs attention. Light vacuuming during normal interior cleaning is usually enough for routine care.
A practical schedule is:
- Vacuum lightly whenever you clean the rest of the cabin
- Wipe small marks as soon as they appear
- Deep-clean only when surface cleaning is needed
- Inspect for leaks if stains return
Preventive habits help more than frequent wet cleaning. Keep food and drinks covered, avoid touching the roof with dirty hands, and fix water leaks quickly.
FAQs About Cleaning Felt Headliners
Can I use a carpet cleaner on a car headliner?
Usually, no. Carpet cleaners often add too much water and pressure for a headliner. Use a small amount of fabric-safe cleaner on a cloth instead. Professional upholstery equipment may be suitable when used by a trained technician who understands headliner construction.
Can I use vinegar to clean a felt headliner?
Vinegar is not the best first choice. It may leave an odor, affect some dyes, and does not solve every type of stain. Use a cleaner labeled for automotive fabric, and test it in a hidden area first.
Can I use an upholstery steam cleaner?
Steam can soften adhesives and force moisture into the backing. Avoid using a steam cleaner unless the vehicle manufacturer or the equipment maker specifically approves it for that headliner material and the operator understands the risk.
How do I remove a water stain from a headliner?
First find and repair the leak. Then vacuum the area and lightly blend the stain with a barely damp microfiber cloth and fabric-safe cleaner. Avoid treating only the darkest edge, because that can leave a visible boundary. If the mark returns, the backing may still contain moisture or residue.
Why is my headliner sagging after cleaning?
Moisture may have softened the adhesive, or the original adhesive may already have failed because of age, heat, or humidity. Stop adding water and have an upholstery shop inspect it. Do not pull the fabric flat or glue it while it is still damp.
Conclusion
The safest way to clean a felt headliner is to use a dry, low-moisture process. Vacuum first, test the cleaner, apply it to a cloth, dab gently, and allow the roof to dry with normal airflow.
Avoid direct spraying, heavy scrubbing, harsh chemicals, and steam. If the headliner is sagging, wet, moldy, or close to air-bag trim, stop and use a qualified automotive upholstery or repair professional.