How To Clean White Headliner: Easy Stain Removal Guide
Introduction
To clean a white headliner in a car, vacuum it first, spot-test a mild upholstery cleaner, and use a small amount of foam with a soft microfiber cloth. Do not soak the fabric, scrub hard, or use bleach. Too much water can loosen the headliner’s adhesive and make the fabric sag.
This guide applies to cars, trucks, and SUVs commonly sold and driven in the United States. It works for most cloth headliners, but always check the vehicle owner’s manual before using a cleaner. Older vehicles, luxury models, and headliners near airbags may need extra care.

What Is a Car Headliner?
A headliner is the fabric-covered panel attached to the inside roof of a vehicle. Most headliners have three layers:
- A visible cloth or knit fabric
- A thin foam backing
- A rigid board secured to the roof with clips and adhesive
The foam and adhesive make headliners different from floor mats or removable seat covers. They do not handle large amounts of water well. If moisture reaches the backing, the adhesive may fail. The fabric can then bubble, wrinkle, or hang down.
A white headliner also shows dust, smoke film, fingerprints, sunscreen, and greasy marks more clearly than a dark one. The safest cleaning method is gentle surface cleaning, not deep soaking.
Before you begin
Check these areas before cleaning:
- Read the owner’s manual. Some automakers list approved cleaners or warn against certain products.
- Look for damage. If the fabric already sags, bubbles, or pulls away, cleaning may make it worse.
- Check nearby airbags. Many vehicles have curtain airbags in the roof pillars. Do not pull, remove, or flood trim near an airbag.
- Park in a dry, shaded place. Direct sun can dry cleaner too fast and leave marks.
- Open the doors or windows. Good airflow helps the headliner dry.
If the headliner is loose, badly stained, moldy, or contaminated by a major spill, professional upholstery or automotive trim service is safer.
Supplies You Need
Use simple, low-moisture tools. The goal is to lift dirt from the fabric while keeping the backing nearly dry.
Recommended supplies
- A vacuum with a soft brush attachment
- Two or three clean, white microfiber cloths
- A soft upholstery brush or soft toothbrush
- Distilled water in a spray bottle
- A mild, low-moisture upholstery cleaner
- A small bowl
- Nitrile gloves
- A clean, dry towel
White microfiber cloths help prevent dye transfer. Avoid rough shop towels, colored rags, and hard-bristle brushes.
Simple cleaning solution
For light soil, mix:
- 2 cups of distilled water
- A few drops of mild liquid soap
Use very little soap. A strong mix can leave a sticky film that attracts more dust.
A purpose-made automotive upholstery cleaner can also work. Choose one labeled for fabric or interior upholstery. Avoid products made for leather, glass, tires, vinyl shine, or household carpet unless the label clearly allows use on fabric headliners.
Products to avoid
Do not use these on a white headliner:
- Chlorine bleach
- Hydrogen peroxide without a fabric-care recommendation
- Ammonia-based glass cleaner
- Strong degreasers
- Acetone or solvent cleaners
- Carpet steam cleaners
- Pressure washers
- Hair spray or adhesive remover
- Abrasive powders
- Large amounts of water
Bleach may whiten the stain but can weaken fibers, change the fabric color, and damage the foam or adhesive.
How to Clean a White Headliner Step by Step
The safest process has four stages: remove dry dirt, test the cleaner, clean small areas, and dry the surface quickly.
1. Remove loose dust
Use a vacuum with a soft brush attachment. Hold the tool just above the fabric or touch it lightly to the surface.
Work in straight, overlapping passes. Pay attention to:
- The area above the driver’s seat
- Door edges
- Grab handles
- Sun visors
- Roof-mounted storage areas
- The area near the rear hatch or trunk
Do not press the vacuum nozzle hard against the fabric. Strong suction can pull at the cloth or create a visible mark.
2. Test the cleaner
Choose a hidden spot, such as the edge behind a sun visor. Apply a small amount of cleaner to a cloth, not directly onto the headliner.
Blot the test area. Wait until it dries. Check for:
- Color change
- Water rings
- Fuzzing
- Loose fabric
- A sticky feel
- Foam or adhesive damage
If the test area changes, stop and use a different method or contact a professional.
3. Apply cleaner to the cloth
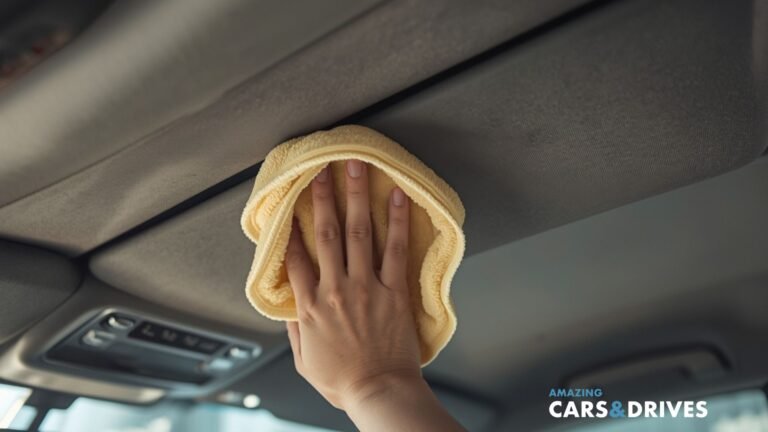
Lightly dampen a microfiber cloth. The cloth should feel moist, not wet enough to drip.
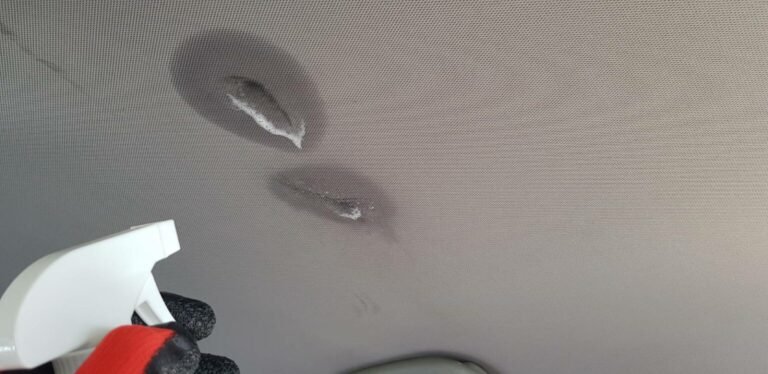
Do not spray the headliner directly. Spraying the surface can send liquid into seams, lights, trim gaps, and the adhesive layer.
Fold the cloth to create a clean working face. This gives you better control over moisture and helps prevent the spread of dirt.
4. Clean a small section
Work on an area about 6 by 6 inches. Gently blot or wipe in one direction.
Use light pressure. Avoid circular scrubbing, which can spread a stain and create a patch with a different texture.
For a small mark, place the damp cloth over the stain for a few seconds. Then lift it straight up. Repeat with a clean part of the cloth.
5. Use a soft brush only when needed
If dirt is trapped in the fabric, use a soft upholstery brush with short, gentle strokes.
Do not brush hard enough to flatten the fabric or expose the foam. Stop if the cloth begins to pill, fuzz, or change direction.
6. Remove soap residue
Dampen a second microfiber cloth with plain distilled water. Wring it well, then lightly blot the cleaned area.
This step helps remove soap. Do not rinse the headliner with a wet cloth or pour water onto it.
7. Dry the headliner
Use a dry microfiber cloth to blot extra moisture. Leave the doors or windows open until the fabric feels fully dry.
A fan can improve airflow. Keep the fan outside the vehicle and use a low setting. Do not use a heat gun or hold a hair dryer close to the fabric.
A clean headliner should look even after drying. Some marks may appear less visible while wet and return after the fabric dries. Wait until it is fully dry before repeating the process.

How to Remove Common White Headliner Stains
Different stains need different treatment. Start with the mildest method and increase effort only when the fabric remains stable.
| Stain type | First method | Main caution |
|---|---|---|
| Dust or light gray film | Vacuum, then mild soap solution | Do not over-wet |
| Fingerprints or skin oil | Mild upholstery cleaner on a cloth | Blot instead of scrubbing |
| Food or drink | Blot with distilled water, then mild cleaner | Work from the outside toward the center |
| Grease | Use a fabric-safe cleaner labeled for grease | Test first; strong degreasers can damage adhesive |
| Smoke film | Several light cleaning passes | Heavy odor may require professional treatment |
| Water ring | Lightly even out the surrounding area | A single wet spot may leave another ring |
| Ink or dye transfer | Stop and seek professional advice | Solvents can dissolve foam or spread color |
Food and drink stains
Remove fresh liquid quickly. Press a dry microfiber cloth onto the spill to absorb it. Do not rub.
Next, use a barely damp cloth with mild soap. Blot from the outer edge toward the center. This reduces the chance of spreading the stain.
Repeat with a clean, damp cloth to remove soap residue. Dry the area with a towel and airflow.
Grease and oily marks
Grease often comes from hands, hair products, food, or skin oils. A mild fabric-safe upholstery cleaner may lift it.
Apply the cleaner to a cloth. Touch the cloth to the mark several times rather than rubbing across a large area. Change to a clean part of the cloth as oil transfers.
Do not use a strong kitchen degreaser. These products may leave a harsh residue or affect the adhesive beneath the fabric.
Smoke and yellowing
Cigarette or cigar smoke can leave a broad yellow or gray film. A small spot cleaner may not fix the whole problem because the residue can cover much of the interior.
Clean the headliner in small, even sections. If the fabric remains yellow or the odor returns, the vehicle may need a full interior detail. Ozone treatment should not be used casually; it can irritate the lungs and may damage some interior materials. Follow professional safety guidance if such treatment is considered.
Mold or mildew
Do not simply scrub visible mold from a headliner. Mold usually points to trapped moisture, a roof leak, a failed sunroof drain, a wet windshield seal, or another water source.
Find and repair the leak first. If the headliner has widespread mold, a strong odor, or damp foam, professional replacement or remediation may be needed. Avoid disturbing mold in a closed vehicle.
How to Clean Headliner Edges, Visors, and Handles
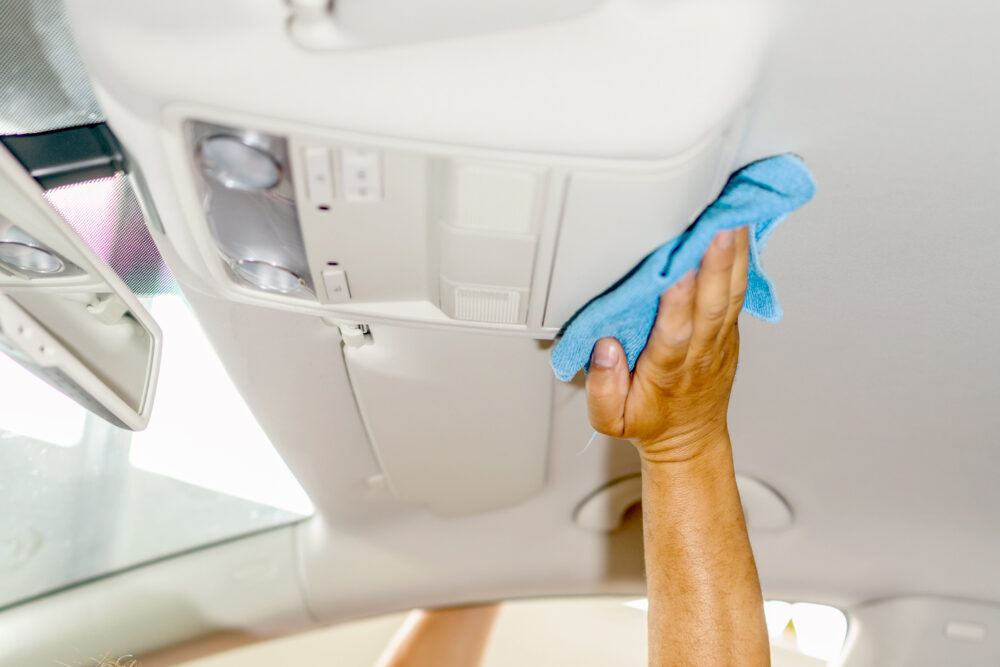
Clean the main headliner before working on nearby parts. Edges and handles often hold more grime, but they also have seams and gaps that can trap liquid.
Headliner edges
Use a barely damp cloth along the edge. Keep liquid away from the seam and roof trim.
If the edge is loose, do not push it back with force. The board or adhesive may already be failing.
Sun visors
Sun visors often have a stronger surface than the main headliner, but they can still stain. Use the same low-moisture method:
- Vacuum dust from the visor.
- Test cleaner on an unseen section.
- Wipe with a damp cloth.
- Dry with a clean towel.
Avoid soaking the hinge, mirror cover, or wiring.
Grab handles and plastic trim
Clean hard plastic handles with a slightly damp microfiber cloth. Use a separate cloth from the one used on the headliner.
If a handle is very dirty, clean it in short passes. Prevent cleaner from running into the mounting points.
Interior lights and controls
Turn off the vehicle before cleaning around lights, switches, microphones, and controls. Never spray cleaner into a light lens or electrical opening.
Apply the product to a cloth first. Use a dry cloth around gaps.

Common Mistakes That Damage Headliners
Most headliner damage comes from too much water, too much pressure, or the wrong chemical.
Soaking the fabric
A wet headliner can develop water rings. Worse, moisture may reach the foam and adhesive. The fabric can then sag days or weeks later.
Use a damp cloth, not a wet sponge. Clean several light passes instead of one heavy pass.
Scrubbing hard
Aggressive scrubbing can flatten the nap, create a shiny patch, or separate the fabric from the foam.
Blot first. Brush only when needed, and use a soft brush.
Spraying cleaner overhead
Overspray can enter lights, switches, vents, and trim seams. It can also create a large wet area that dries unevenly.
Spray or apply the product to the cloth instead.
Cleaning only one visible spot
A cleaned spot may look brighter than the surrounding fabric. This creates a clean-looking patch.
For a broad gray film, clean the full panel in small, even sections. For a single stain, blend the edges with light passes without wetting the entire roof.
Using heat to dry the fabric
High heat can shrink fabric, soften adhesives, or worsen sagging. Use ventilation and time instead.
Ignoring a loose headliner
Cleaning cannot repair failed adhesive or damaged foam. If the fabric moves when touched, stop and arrange a repair.
When to Stop and Call a Professional
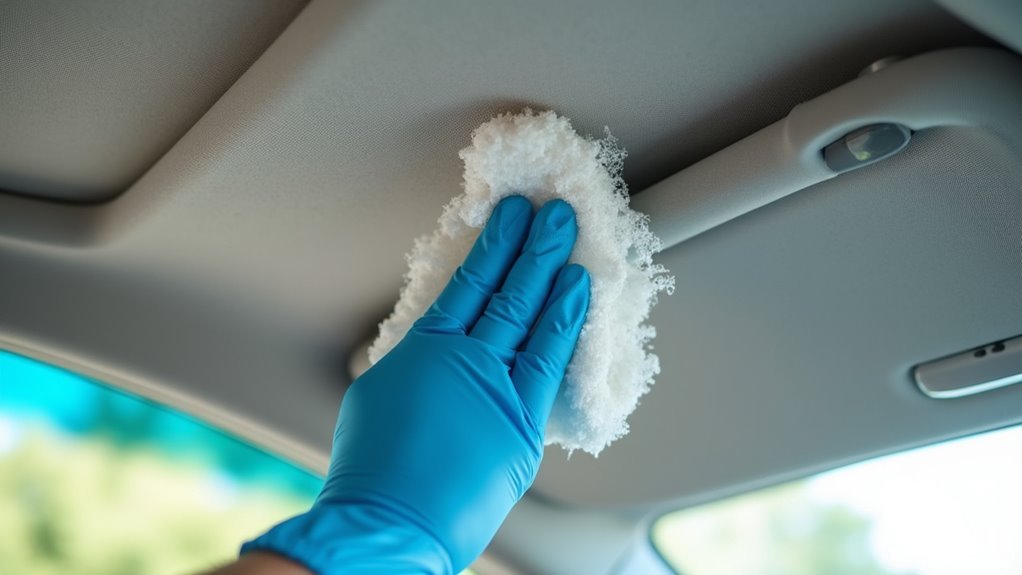
Professional help is the better choice when the headliner has structural or widespread damage.
Seek an automotive trim or upholstery professional if:
- The headliner is sagging or bubbling
- The foam backing is visible
- A large area is yellow, brown, or black
- Mold covers more than a small spot
- A water leak has not been fixed
- The stain came from chemicals, paint, or dye
- The cloth tears or pills during a gentle test
- The vehicle has curtain airbags near the damaged area
- You need the headliner removed or replaced
A professional can assess the board, foam, fabric, wiring, and airbag trim. Replacing only the surface stain may not solve a moisture or adhesive problem.

How to Keep a White Headliner Clean
Regular light care is safer than occasional deep cleaning.
- Vacuum the headliner every few months.
- Treat fingerprints and spills soon after they happen.
- Keep food and open drinks away from the roof area.
- Avoid touching the fabric with greasy hands.
- Use sunshades to reduce heat and interior aging.
- Fix roof, windshield, sunroof, and hatch leaks quickly.
- Keep windows closed during rain.
- Do not use interior protectants made for vinyl or leather on the cloth.
A quick vacuum removes dry dust before it becomes embedded. That reduces the need for wet cleaning.

Frequently Asked Questions
Can I use dish soap to clean a white car headliner?
You can use a few drops of mild dish soap diluted in water for a small, tested area. Too much soap can leave residue. Apply the solution to a cloth, not directly to the headliner, and use very little moisture.
Can I use vinegar on a headliner?
Vinegar is not the best first choice. Its odor can linger, and its acidity may affect some fabrics, dyes, or adhesives. Use a mild upholstery cleaner or a small amount of diluted mild soap instead.
Can I use a steam cleaner on a headliner?
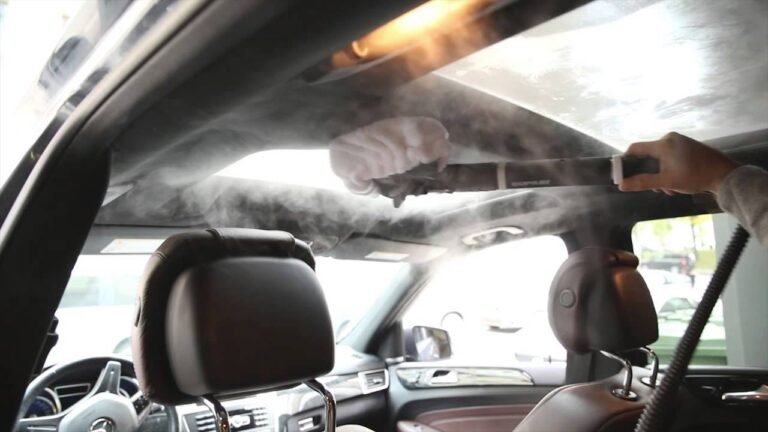
Steam is risky because heat and moisture can loosen the adhesive and cause sagging. Unless the vehicle or cleaner manufacturer specifically approves the method, avoid steam on a headliner.
How do I remove a water stain from a headliner?
First, find and repair the leak. Then test a mild upholstery cleaner and lightly clean the stained area. If the stain has a hard edge, carefully blend the surrounding fabric with a barely damp cloth. Do not flood the panel.
Why did my headliner sag after cleaning?
The most likely causes are excess moisture, heat, failed adhesive, or deteriorated foam. Stop cleaning and do not use glue through the fabric. A trim professional can determine whether the board needs re-covering or replacement.
Can I use bleach to make a white headliner brighter?
No. Bleach can weaken the fabric, damage foam, create uneven color, and harm the adhesive. A fabric-safe cleaner and controlled spot treatment are safer.
Final Recommendation
The safest way to clean a white headliner is to vacuum it, test a mild cleaner, apply that cleaner to a cloth, and work in small areas with light pressure. Keep the fabric nearly dry and let it air-dry fully.
If the headliner sags, has mold, or shows widespread water damage, stop cleaning and repair the underlying problem first. A clean surface is useful, but protecting the headliner’s foam and adhesive matters more.