How To Clean Tan Headliner: Easy Cleaning Guide
A tan headliner can make a car’s cabin look bright and clean, but dirt, dust, smoke, and fingerprints show easily on light fabric. The safest way to clean a tan headliner in a U.S. car, truck, or SUV is to vacuum it first, use very little moisture, and apply a mild cleaner to a cloth rather than soaking the roof fabric.
Most headliners use thin fabric bonded to foam and a backing board. Too much water, heat, or scrubbing can loosen the glue and cause the fabric to sag. Always check the vehicle owner’s manual first because cleaning rules can vary by make and model.
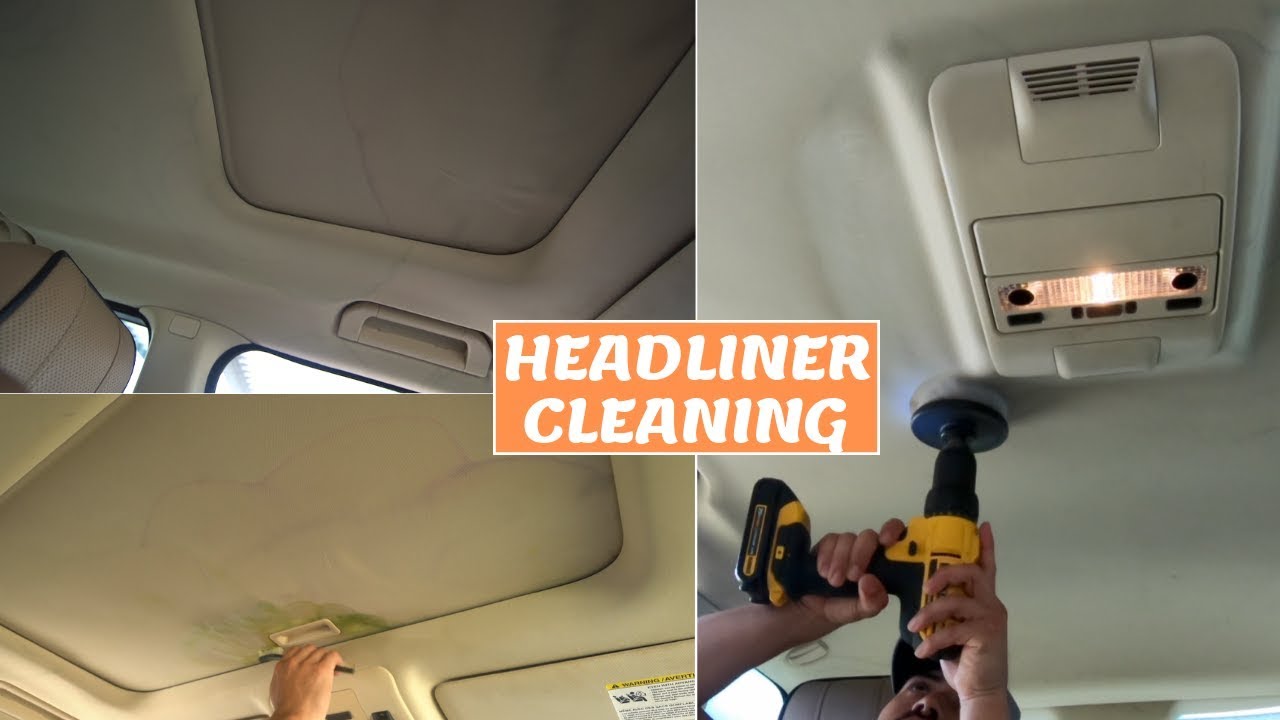
What You Need to Clean a Tan Headliner
Gather the right tools before you start. A simple setup works better than a large amount of strong cleaner.
Recommended supplies
- A vacuum with a soft brush attachment
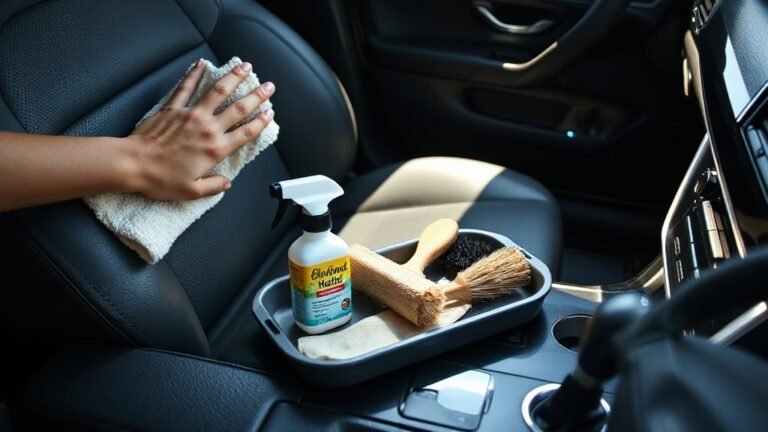
- Two or three clean microfiber cloths
- A soft interior detailing brush
- Distilled water
- Mild, dye-free liquid soap or an automotive fabric cleaner
- A small spray bottle
- Cotton swabs for seams and small spots
- A clean, dry towel
- A fan or open doors for ventilation
Use a clean white or light-colored cloth when possible. A dark cloth may transfer dye to the tan fabric.
Choose a safe cleaner
A mild soap solution is usually the safest starting point:
- Mix a few drops of mild soap with about 2 cups of distilled water.
- Pour the mix into a spray bottle.
- Shake it gently.
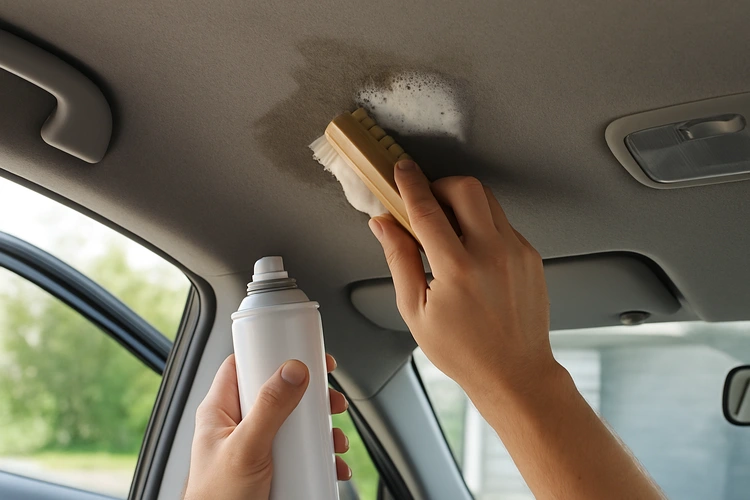
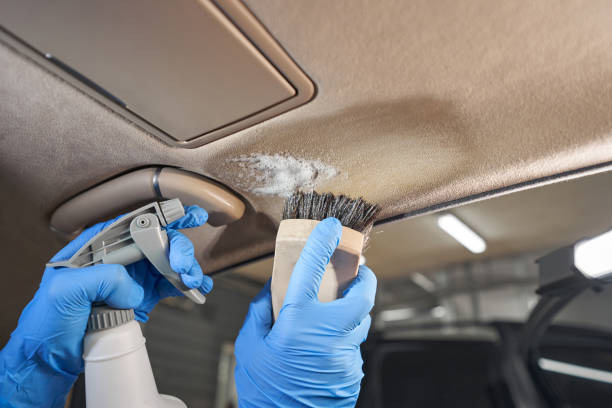
- Spray it onto the cloth, not onto the headliner.
You can also use an automotive upholstery or headliner cleaner. Follow the product label and test it on a hidden area first.
Avoid bleach, household carpet shampoo, strong degreasers, ammonia, alcohol-based solvents, and multipurpose cleaners unless the vehicle maker specifically approves them. These products may fade the fabric, leave a ring, weaken the adhesive, or change the texture.
Source: Bing
How to Clean a Tan Headliner Step by Step
Work in a shaded, well-ventilated place. Do not clean the headliner in direct summer sun, where the roof can become very hot and the cleaner may dry too fast.
1. Read the owner’s manual
Look for the interior-care section. The manual may specify a cleaner, warn against water, or give separate instructions for suede, Alcantara-style material, or special trim.
If the headliner has built-in microphones, lights, sensors, or a sunroof opening, take extra care around those areas. Do not spray near electrical parts.
2. Remove loose dirt
Open the doors and remove items from the cabin. Use the vacuum’s soft brush attachment to lift dust from the headliner.
Keep the vacuum nozzle just above the fabric or touch it very lightly. Do not press hard. Pressure can flatten the foam below the cloth or pull at a weak seam.
Start at the front and work toward the rear. Vacuum around:
- Visors
- Grab handles
- Dome lights
- Sunroof trim
- Door edges
- Seams and corners
This step matters because wet dirt can spread and form dark smears.
3. Test the cleaner
Choose a hidden spot, such as an edge near a sun visor or rear trim. Apply a small amount of the diluted cleaner to a cloth.
Dab the test area. Let it dry fully. Check for:
- Color loss
- Fabric bleeding
– A stiff or shiny texture - A water ring
- Loose fabric
- A strong chemical smell
Do not continue if the fabric changes. Use the vehicle maker’s recommended cleaner or seek professional interior service.
4. Clean one small area at a time
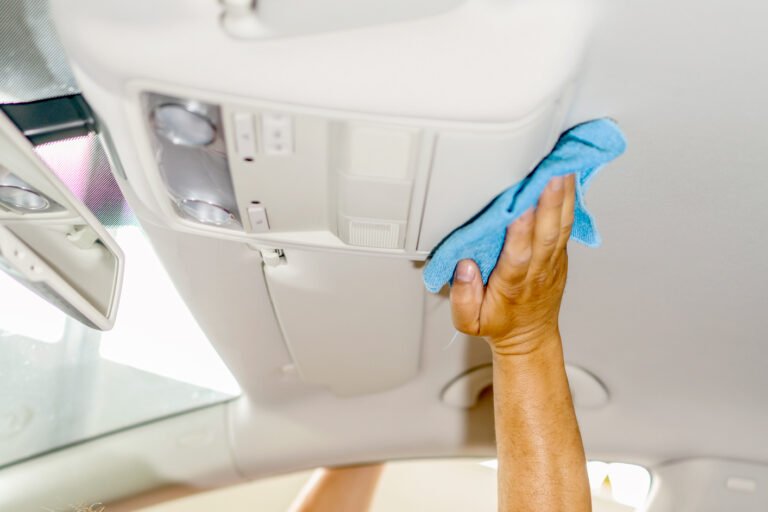
Lightly dampen a microfiber cloth. It should feel moist, not wet.
Press and lift the cloth over a small area. Use short dabs instead of long, hard strokes. Treat an area of about 6 to 12 inches at a time, then move to the next section.
For a greasy mark, hold the damp cloth on the spot for a few seconds. This gives the cleaner time to loosen the soil. Do not flood the area.
5. Use a soft brush only when needed
If dirt remains in the fabric, use a soft interior brush with very light pressure. Brush in one direction, then stop and inspect the area.
Repeated brushing can roughen the cloth. A headliner is not as durable as a floor carpet, so do not scrub it as if it were a removable mat.
6. Rinse carefully
Use a second cloth dampened with plain distilled water. Dab the cleaned area to remove soap residue.
Do not make the second cloth wet enough to leave water behind. Soap residue can attract more dust and may create a pale or dark outline as it dries.
7. Dry the headliner
Blot the area with a dry microfiber towel. Leave the doors open or run a fan inside the vehicle.
Do not use a heat gun, hair dryer on high heat, or steam cleaner. Heat and moisture can soften the adhesive that holds the headliner fabric to its backing.
Allow the headliner to dry fully before closing the vehicle. A small test area may dry in minutes, but a larger cleaned section can take longer, depending on humidity and airflow.
8. Inspect the result
Look at the headliner from several angles. Check for:
- Remaining stains
- Soap marks
- Color changes
- Loose edges
- Sagging
- A damp feel
If the area looks clean and remains firmly attached, repeat the process only where needed. More cleaning is not always better.

Source: Bing
How to Remove Common Stains From a Tan Headliner
The right method depends on the stain. Always test first, and use the least aggressive method that works.
| Stain or problem | Safer first step | Avoid |
|---|---|---|
| Dust and light soil | Vacuum, then dab with mild cleaner | Hard brushing |
| Fingerprints | Mild soap solution on a cloth | Spraying the roof |
| Food or drink | Blot with a damp cloth, then rinse lightly | Rubbing outward from the stain |
| Grease | Use an automotive fabric cleaner approved for the material | Strong degreasers |
| Makeup | Lift loose material, then dab gently | Scraping or spreading it |
| Smoke residue | Clean small sections with a suitable fabric cleaner | Saturating the entire headliner |
| Water mark | Clean the full nearby panel lightly and evenly | Treating only the center of the ring |
| Ink | Stop and use a professional detailer | Solvent experimentation |
Food and drink stains
Remove solid particles with a spoon or the edge of a plastic card. Do not scrape hard.
Blot the stain from the outside toward the center. This helps limit spreading. Change to a clean part of the cloth as the stain lifts.
Grease and oily marks
Grease may need a cleaner made for automotive fabric. Apply the product to the cloth and dab the spot.
Do not use kitchen degreaser or engine cleaner. These products may strip color and leave a larger mark than the original stain.
Smoke and odor
Surface cleaning may remove some residue, but smoke odor can also remain in the seats, carpet, vents, and cabin filter. Cleaning only the headliner may not remove the source.
Avoid soaking the headliner to fight odor. If the smell is strong, a professional detailer can assess the full interior and use methods suited to the vehicle materials.
Water rings
A water ring often forms when one small area becomes wet and dries at a different rate than the surrounding fabric. Spot-cleaning the center may make the ring more visible.
Instead, lightly clean the whole affected section from seam to seam. Keep the moisture low and dry the area evenly. If the mark remains, the backing or adhesive may have changed, and professional cleaning may be the better option.

Source: Bing
What Not to Do When Cleaning a Headliner
The most common mistake is treating a headliner like carpet. A headliner needs less water, less pressure, and less heat.
Avoid these methods:
- Do not spray cleaner directly onto the roof.
- Do not soak the fabric.
- Do not use a steam cleaner.
- Do not scrub with a stiff brush.
- Do not press hard with a vacuum nozzle.
- Do not use bleach or harsh household chemicals.
- Do not pull at loose fabric.
- Do not clean in a hot, closed vehicle.
- Do not repeat passes until the fabric is fully dry.
- Do not use a pressure washer or extraction machine inside the cabin.
A cleaner can remove dirt while still causing damage. The result may not appear immediately. A sagging area can develop hours or days after excess moisture reaches the adhesive.
Source: Bing
How to Fix a Sagging or Loose Tan Headliner
Cleaning will not repair a sagging headliner. Sagging usually means the fabric has separated from the foam or backing board.
Do not try to glue the fabric back while it is still installed. Spray adhesive can stain the cloth, create hard spots, and make future repair more difficult. Push pins and staples may also cause visible damage and can be unsafe near airbags or trim.
A small loose edge may be repairable by an automotive upholstery shop. If the fabric hangs across a large area, the proper repair usually involves removing the headliner board, replacing the foam-backed material, and reinstalling the panel.
Seek professional help when:
- The headliner is sagging.
- The foam feels powdery.
- The fabric has large water marks.
- The roof includes a sunroof or complex trim.
- The headliner is near curtain airbags.
- A chemical has caused discoloration.
- Mold or heavy smoke contamination is present.

Source: Bing
How to Keep a Tan Headliner Clean
Regular light care is safer than occasional deep scrubbing.
Vacuum the headliner during routine interior cleaning. Keep windows closed when practical, and fix water leaks around the doors, windshield, sunroof, or roof rack. A leak can create a stain that returns after every cleaning.
Avoid touching the roof fabric with oily hands. Use the sun visors and grab handles instead of pulling on the cloth. If you transport pets, use proper restraints and cover lower surfaces, but do not attach heavy items to the headliner.
Clean spills as soon as possible. Blot them before they dry, and never rub a wet stain across a large area.
Signs That Your Cleaning Worked
A successful cleaning should leave the fabric:
- Even in color
- Dry to the touch
- Free of soap residue
- Firmly attached
- Similar in texture to the surrounding area
- Free of strong chemical odor
Stop if the fabric begins to pill, change color, loosen, or feel spongy. Continuing can turn a small stain into a headliner replacement.
Key Takeaways
- Vacuum a tan headliner before using liquid.
- Test every cleaner in a hidden area.
- Apply cleaner to a microfiber cloth, not directly to the roof.
- Use light dabs and very little moisture.
- Avoid steam, heat, stiff brushes, and strong chemicals.
- Dry the headliner with airflow.
- Have a professional handle sagging fabric, major stains, mold, or areas near curtain airbags.
FAQs About How To Clean Tan Headliner
Can I use dish soap to clean a tan headliner?
You can use a very small amount of mild dish soap diluted in water if the owner’s manual does not prohibit it. Apply the solution to a cloth, not the headliner. Rinse with a barely damp cloth so soap does not remain in the fabric.
Can I use vinegar on a car headliner?
Vinegar is not the best first choice. Its acidity and odor may affect some fabrics, dyes, or adhesives. Use the vehicle maker’s recommended cleaner or a mild automotive fabric cleaner instead.
Can I use a Magic Eraser on a tan headliner?
It is best to avoid it. A melamine foam sponge works like a very fine abrasive and may remove color, flatten the fabric, or create a shiny patch.
How do I remove cigarette smoke from a headliner?
Vacuum first, then clean small areas with a suitable automotive fabric cleaner. Smoke odor may also be in the carpet, seats, vents, and cabin air filter. For heavy odor, professional interior cleaning is safer than saturating the headliner.
Why did a water ring appear after cleaning?
The fabric may have dried unevenly, or soil may have moved to the edge of the damp area. Lightly clean the whole nearby section rather than only the center. If the ring remains after complete drying, the backing or adhesive may be affected.
Should I remove the headliner before cleaning it?
Usually, no. Removing it adds risk and is not needed for light soil. Removal may be appropriate for major contamination or upholstery repair, but it should be handled by someone familiar with the vehicle’s trim and airbag system.
Conclusion
The safest way to clean a tan headliner is to use a gentle, low-moisture process: vacuum first, test the cleaner, dab small areas, rinse lightly, and dry with airflow. The fabric and adhesive are delicate, so patience matters more than force.
If the headliner is sagging, badly stained, moldy, or close to curtain airbags, stop cleaning and contact an automotive upholstery or detailing professional.