Can You Use Upholstery Cleaner On Car Headliner: Safe Tips
Introduction
Yes, you can use some upholstery cleaners on a car headliner, but only with care. Choose a cleaner labeled for automotive fabric, test it first, and use very little moisture. Never soak, steam, or aggressively scrub the headliner.
This advice applies to cars, trucks, and SUVs in the United States. Most headliners use a thin fabric bonded to a foam-backed board. Too much water or cleaner can weaken the glue, leave water rings, create odors, or make the fabric sag.
The safest method is to vacuum first, apply a small amount of suitable cleaner to a microfiber cloth or soft brush, and clean one small area at a time. Always follow both the vehicle owner’s manual and the cleaner label.

What Is a Car Headliner?
A car headliner is the fabric-covered panel attached to the roof inside the vehicle. It helps improve cabin comfort, reduce noise, and cover the roof structure.
A typical headliner has three parts:
- A visible fabric layer
- A thin foam or padding layer
- A rigid backing board
The fabric may look like ordinary cloth, but the full panel is more delicate than a removable seat cover. The fabric is often bonded to the foam with adhesive. Water, heat, and strong solvents can damage that bond.
That is why cleaning a headliner is different from cleaning a car seat or floor mat. Seats can often handle more moisture and scrubbing. A headliner usually cannot.

Which Upholstery Cleaners Are Safe for a Headliner?
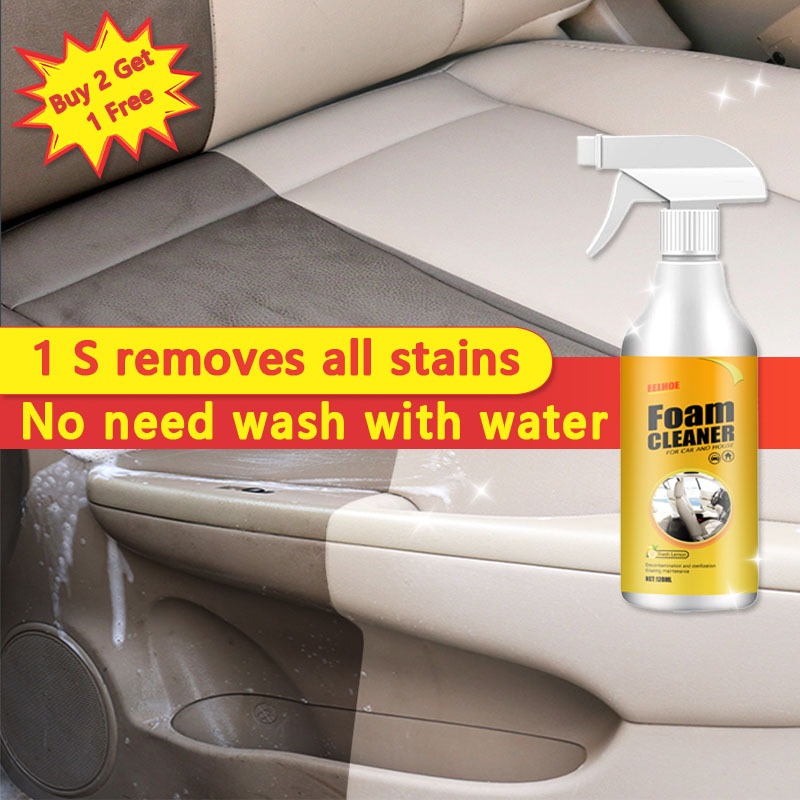
The safest choice is a low-moisture automotive fabric cleaner that states it is suitable for interior fabrics or headliners. A foam cleaner may work well because it limits the amount of liquid that reaches the backing board.
Before use, check the product label for these details:
- It is made for fabric or automotive interiors.
- It does not require soaking.
- It does not contain bleach.
- It does not contain strong solvents.
- It does not require steam or hot-water extraction.
- It gives clear instructions for testing on a hidden area.
Avoid using a cleaner simply because it works well on household sofas. Some household products contain perfumes, solvents, dyes, or large amounts of water. These may be unsuitable for a vehicle headliner.
Cleaner types and their risk
| Cleaner type | Headliner suitability | Main concern |
|---|---|---|
| Low-moisture foam cleaner | Often suitable when labeled for fabric | Overuse can still leave residue |
| Spray fabric cleaner | May be suitable | Direct spraying can soak the backing |
| Carpet extractor solution | Usually poor choice | Too much water and suction |
| Steam cleaner | Not recommended | Heat and moisture may loosen adhesive |
| Bleach-based cleaner | Do not use | Can discolor and weaken fabric |
| Strong solvent cleaner | Do not use unless the vehicle maker allows it | May dissolve adhesive or stain fabric |
| Household upholstery cleaner | Use only if the label allows automotive fabric use | Formula and moisture level may not suit a headliner |
The label is not a guarantee that every vehicle headliner will react well. Interior materials vary by vehicle age, fabric type, dye, and adhesive. A hidden-area test remains necessary.

How to Clean a Car Headliner With Upholstery Cleaner
Follow this process only if the headliner fabric is attached firmly and is not already sagging.
What you need
- A vacuum with a soft brush attachment
- A clean microfiber cloth
- A soft detailing brush or soft toothbrush
- A low-moisture automotive fabric cleaner
- A second dry microfiber cloth
- Good airflow through the vehicle
Do not start with a stiff brush, pressure washer, steam cleaner, or carpet extractor.
1. Read the product and vehicle instructions
Check the upholstery cleaner label. Then check the vehicle owner’s manual for interior-care instructions.
If the manual says to use a specific cleaner or avoid water-based products, follow the vehicle maker’s instructions. The manual takes priority over general cleaning advice.
2. Test a hidden area
Choose a small place near the rear edge of the headliner or behind a trim area. Apply a tiny amount of cleaner to a cloth, not the headliner.
Wait until the test area dries. Check for:
- Color change
- A hard or shiny patch
- Water rings
- Loose fabric
- A chemical smell
- Foam or adhesive showing through
Do not continue if the test area changes.
3. Remove loose dust first
Use a vacuum with a soft brush. Keep the vacuum nozzle from pulling on the fabric.
Move lightly across the surface. Do not press hard. Removing loose dust first reduces the need for scrubbing and helps prevent muddy marks.
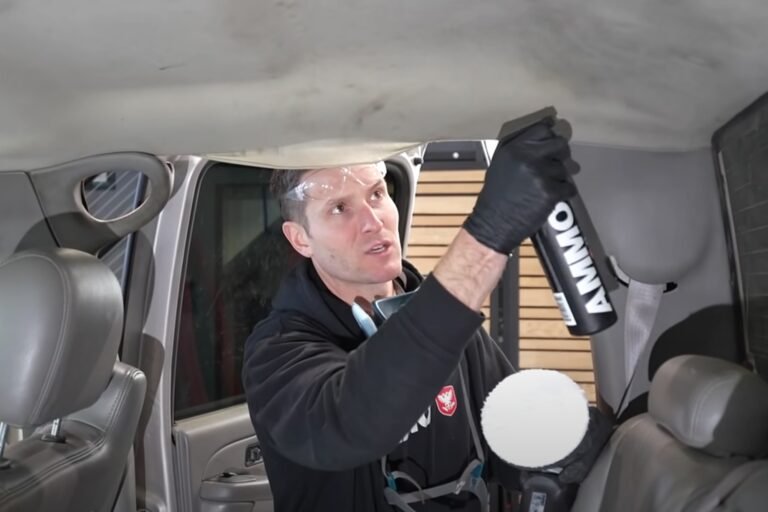
4. Apply cleaner to the cloth
Spray a small amount onto a microfiber cloth or soft brush. Avoid spraying the headliner directly.
Direct spraying can send liquid into the edges, seams, lights, microphones, grab-handle mounts, or other openings. It can also create one wet spot that dries with a visible ring.
The cloth should be slightly damp, not wet.
5. Clean a small section
Work on an area about 6 to 12 inches wide. Wipe gently in one direction or use light strokes.
Do not scrub in circles with force. Strong pressure may roughen the fabric or separate it from the foam.
For a small stain, clean just beyond the visible edge. This helps reduce a sharp boundary between clean and dirty fabric.
6. Blot instead of soaking
Use a dry microfiber cloth to blot the area. Avoid rubbing hard.
If the stain remains, allow the area to dry before trying a second light pass. Several small passes are safer than one wet treatment.
7. Let the headliner dry fully
Open the doors or windows when safe. Park in a clean, dry place with good airflow.
Do not use a heat gun or place a hot heater close to the headliner. High heat can affect the adhesive and may damage nearby plastic trim.
The headliner should feel dry and should not have a strong cleaner smell before the vehicle is closed up.
8. Inspect the result
Look at the headliner in daylight. Check for:
- Remaining stains
- Dark or light rings
- Loose edges
- Wrinkles
- Sagging
- Cleaner residue
If the fabric remains attached and the color looks even, the process was likely gentle enough. Stop cleaning if the fabric begins to move or separate.
How Much Cleaner Should You Use?
Use the smallest amount that can clean the mark. There is no universal volume because products and headliner materials differ.
A useful rule is simple: the cloth should carry the moisture, not the headliner. If the panel feels wet through to the backing, too much cleaner was used.
The risk increases when you:
- Spray the panel directly
- Clean a large area at once
- Repeat passes before the first pass dries
- Press hard with a wet cloth
- Use a carpet machine
- Clean in cold, damp conditions with poor airflow
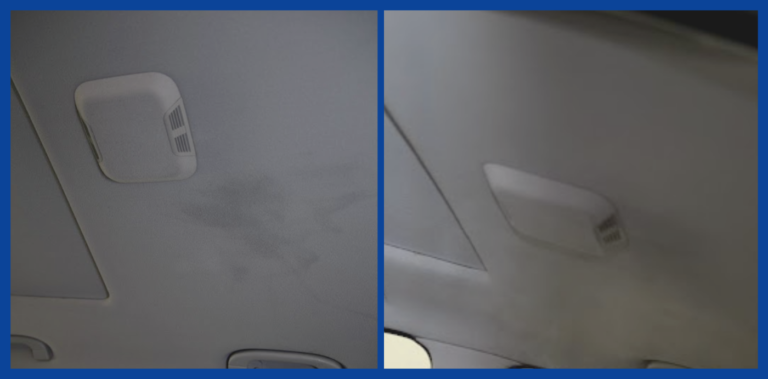
A small stain may need only one or two light passes. A large, dirty headliner may not be a good do-it-yourself cleaning project. Full cleaning can create uneven color if some sections become wetter than others.
What If the Headliner Is Sagging?
Do not clean a sagging headliner with upholstery cleaner. Sagging usually means the foam or adhesive has already failed.
Adding moisture can make the problem worse. Scrubbing may stretch the fabric or cause a larger section to drop.
For a sagging headliner:
- Avoid pulling, brushing, or spraying it.
- Keep objects from touching the loose fabric.
- Ask an automotive upholstery shop for a repair estimate.
- Consider headliner replacement if the foam has broken down across a large area.
Temporary pins, glue, or household adhesive may leave marks and can interfere with a proper repair. Some spray adhesives also soak through the fabric or create hard spots.
How to Remove Common Headliner Stains
The stain type changes the best approach. Always test the cleaner first.
Dust and light soil
Vacuum the area with a soft brush. If needed, use a lightly damp microfiber cloth with a small amount of fabric cleaner.
This is usually the lowest-risk cleaning task because it does not require aggressive treatment.
Food or drink stains
Remove solid material with a dull edge. Do not grind it into the fabric.
Blot the spot with a lightly damp cloth. Use small passes and let the area dry between attempts. Sugary drinks may leave a sticky residue, so a clean, barely damp cloth may help remove leftover cleaner after the stain is treated.
Grease or oil
Grease can spread when rubbed. Blot first with a clean, dry cloth.
Do not use gasoline, paint thinner, brake cleaner, or similar solvents inside the vehicle. These products can damage fabric, foam, plastic, and adhesive. If the mark remains, an automotive upholstery professional is safer than repeated home treatment.
Smoke odor
Cleaning the visible fabric may not remove smoke odor from the foam, carpet, seats, or ventilation system. Avoid soaking the headliner in an attempt to remove the smell.
A professional interior detail or odor-treatment service may be needed when smoke has affected the whole cabin.
Water stains
A water ring may come from a roof leak, door seal, windshield seal, or sunroof drain problem. Fix the source before cleaning.
If the leak remains, a clean headliner may become stained again or develop mold and odor.
Common Mistakes to Avoid
Spraying the headliner directly
Direct spray can force liquid into the foam and adhesive. Spray the cloth or brush instead.
Using too much water
More liquid does not always mean better cleaning. It increases the chance of rings, sagging, odor, and adhesive failure.
Scrubbing hard
A headliner fabric can become fuzzy, thin, or loose. Gentle blotting is safer than hard scrubbing.
Using a steam cleaner
Steam adds heat and moisture at the same time. That combination can soften adhesive and cause the fabric to separate.
Using a carpet extractor
An extractor may work well on removable carpet or floor mats, but it can push too much water into a headliner. The suction head may also pull on the fabric.
Cleaning around electronics without care
Many vehicles have lights, microphones, cameras, sensors, and wiring near the roof liner. Keep liquid away from openings and trim gaps.
If a roof console must be removed, follow the vehicle’s repair instructions. Some vehicles have airbags near the roof pillars, so do not remove trim unless you understand the required safety steps.
Using a household scrub brush
A stiff brush can damage the fabric and expose the foam. Use a soft brush only when a cloth cannot reach the stain.
Cleaning only one large patch
A very clean patch can stand out against the rest of the headliner. For broad dirt, clean an entire defined panel with even, light passes rather than repeatedly treating one spot.
Upholstery Cleaner vs. Professional Headliner Cleaning
DIY cleaning is reasonable for light dust, small marks, and firmly attached fabric. Professional help is the better choice when the headliner is loose, heavily stained, smoke-damaged, moldy, or affected by a leak.
| Condition | Best approach |
|---|---|
| Light dust | Vacuum with a soft brush |
| Small surface stain | Low-moisture spot cleaning |
| Large dirty area | Careful full-panel cleaning or professional service |
| Sagging fabric | Upholstery repair |
| Mold or repeated dampness | Repair the leak and seek professional cleaning |
| Strong smoke odor | Professional interior and odor treatment |
| Unknown fabric reaction | Hidden test or professional assessment |
| Stain near electronics | Use minimal moisture and avoid openings |
A professional service cannot guarantee that old stains will disappear. Age, sun exposure, dye changes, and foam breakdown may limit the result. Ask what method will be used and whether the provider has experience with automotive headliners.

Key Takeaways
- You can use upholstery cleaner on a car headliner if the product is suitable for automotive fabric.
- Choose a low-moisture cleaner and follow the product label.
- Test a hidden area before treating the visible surface.
- Spray the cleaner onto a cloth or soft brush, not directly onto the headliner.
- Use light pressure and blot instead of scrubbing.
- Never soak, steam, or extract a headliner.
- Do not clean a headliner that is already sagging.
- Repair roof or sunroof leaks before treating water stains.
- Use a professional upholstery service for major stains, mold, smoke odor, or loose fabric.
Frequently Asked Questions
Can I use fabric cleaner on a car headliner?
You can use fabric cleaner when its label allows automotive fabric use and the product can be applied with low moisture. Test it first, apply it to a cloth, and avoid soaking the headliner.
Can I use a carpet cleaner on a car headliner?
A carpet cleaner may contain suitable ingredients, but the application method is often the problem. Carpet machines and wet extraction can force too much water into the headliner. A low-moisture fabric cleaner is usually a safer option.
Can I use a Magic Eraser on a headliner?
It is best to avoid it. A melamine foam eraser is mildly abrasive and may remove or roughen the fabric surface. It can also create a lighter patch that stands out after drying.
How do I remove water marks from a car headliner?
First find and repair the leak. Then test a low-moisture automotive fabric cleaner and treat the area with light, even passes. If the water mark is large or the headliner has sagged, use an automotive upholstery professional.
How long does a car headliner take to dry?
Drying time depends on the amount of moisture, temperature, humidity, and airflow. A lightly damp area may dry quickly, but do not close the vehicle until the fabric is fully dry and free of a strong cleaner odor.
Conclusion
Upholstery cleaner can be used on a car headliner, but only as a low-moisture spot-cleaning method. The main goal is to remove dirt without disturbing the glue that holds the fabric to the backing.
Vacuum first, test the product, apply it to a cloth, use gentle pressure, and allow full drying. If the headliner is sagging, wet from a leak, or heavily soiled, stop and arrange professional repair or cleaning instead.