How To Clean 4Runner Headliner: Easy Stain Removal Guide
The safest way to clean a Toyota 4Runner headliner is to vacuum it first, spot-clean stains with a small amount of mild upholstery cleaner, and dry it at once. Do not soak, scrub hard, steam-clean, or spray cleaner directly onto the ceiling. Too much moisture can loosen the fabric, stain the foam backing, or affect components near the roof.
This guide applies to 4Runner models sold in the United States. The exact headliner material, sunroof design, and roof-mounted equipment can vary by model year and trim. Always check the owner’s manual for your specific 4Runner before removing trim or using a powered tool.

What You Need Before Cleaning a 4Runner Headliner
Gather the tools before you start. A careful setup helps prevent water rings, loose fabric, and cleaner marks.
Recommended supplies
- Vacuum with a soft brush attachment
- Two or three clean microfiber towels
- Soft interior brush or clean makeup brush
- Small bowl
- Warm water
- Mild, low-foam upholstery cleaner
- Cotton swabs for small marks
- Dry towel for blotting
- Spray bottle, used only to dampen a towel if needed
- Painter’s tape for protecting trim, if necessary
Use a cleaner labeled for automotive upholstery or headliners. If the product label does not mention fabric, upholstery, or interior use, choose another product.
Products to avoid
Do not use:
- Bleach
- Ammonia-based glass cleaner
- Household carpet shampoo
- Dish soap in a strong mix
- Degreaser
- Acetone or solvent
- Abrasive powder
- Heavy steam
- A stiff-bristle brush
- A pressure washer or extractor
The 4Runner headliner is a thin fabric layer attached to a backing board. Under the fabric is often a foam or felt layer. Strong chemicals and excess water can travel through the fabric and weaken the adhesive.
Prepare the vehicle
Park the 4Runner in a dry, shaded place. Open the doors or windows for ventilation. The ceiling should be cool before you begin.
Remove sunglasses, roof-console items, and other loose objects. If the headliner has a powered sunroof, keep the roof closed while cleaning. Do not spray near the overhead console, microphones, lights, switches, or sunroof controls.

How to Clean a 4Runner Headliner Step by Step
Work in small areas and use as little moisture as possible. The goal is to lift dirt from the surface, not wash the headliner.
1. Test the cleaner first
Choose a hidden area, such as a corner near the rear hatch or behind a sun visor. Apply a small amount of cleaner to a microfiber towel, not to the headliner.
Dab the test area. Wait until it dries. Check for:
- Color transfer
- A darker ring
- Fabric texture changes
- Loose fibers
- A sticky or stiff surface
If the test area changes, stop. The product may not be suitable for your headliner.
2. Vacuum loose dust
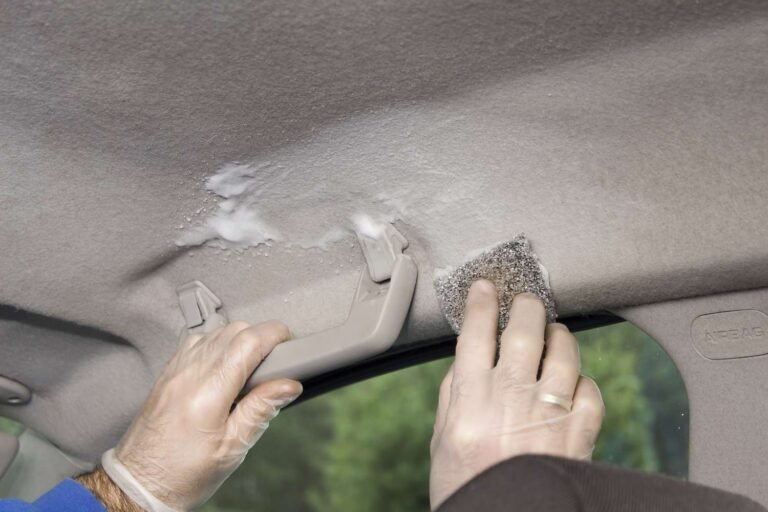
Use the soft brush attachment on low suction. Hold the tool just above the fabric or touch it lightly to the surface.
Move in one direction. Do not press the vacuum head into the ceiling. Pressing too hard can flatten the fabric or pull it away from the backing.
Start at the front and work toward the rear. Vacuum around, rather than directly into, seams, speakers, lights, and trim edges.
3. Mix a mild cleaning solution
If the cleaner label gives dilution instructions, follow them. If you are using only mild soap and water, use a very weak mix. A few drops of mild soap in a bowl of warm water is usually enough for light surface soil.
The solution should produce little foam. More foam does not mean better cleaning. It can leave residue and requires more moisture to remove.
4. Dampen the towel, not the ceiling
Dip a corner of the microfiber towel into the solution. Wring it out until it feels only slightly damp.
Never saturate the towel. It should not drip when held above the vehicle. Fold it so you have a clean section for each small area.
5. Blot and wipe gently
Work on an area about 6 to 12 inches wide. Dab the mark first. Then wipe lightly in one direction.
Do not make hard circles. Circular scrubbing can create a visible change in the fabric’s nap, which is the direction and texture of its surface fibers.
For a light stain, one or two gentle passes may be enough. Stop if the mark begins to spread.
6. Treat stains based on their type
Different stains need different levels of care.
| Stain | First method | Main risk |
|---|---|---|
| Dust or light dirt | Vacuum, then damp microfiber towel | Over-wetting |
| Finger marks | Mild upholstery cleaner on towel | Creating a dark ring |
| Food or drink | Blot, then use a small amount of cleaner | Spreading the stain |
| Grease | Blot with a dry towel first | Pushing oil deeper |
| Smoke odor | Vacuum and air out the vehicle | Masking the odor |
| Water mark | Lightly clean the full nearby panel | Making a larger ring |
| Ink or dye | Stop and seek professional advice | Permanent color damage |
For food or drink, remove solid material first with a spoon or the edge of a plastic card. Do not scrape hard. Blot liquid from the outside of the mark toward the center.
For grease, use a dry towel first. A wet towel can move the oil through the fabric. If the mark remains, use a cleaner that specifically allows use on automotive fabric and test it in a hidden spot.
7. Clean the whole small panel if needed
A spot can look darker after cleaning because the surrounding fabric remains dirty. If that happens, lightly clean the entire small panel or section from seam to seam.
Use the same low-moisture method. Do not clean only a larger and larger circle around the stain. That can create several overlapping rings.
8. Blot with a dry towel
Press a clean, dry microfiber towel against the area. Lift the towel straight up rather than rubbing.
Repeat with a dry section until the surface feels nearly dry. This step removes cleaner residue and limits moisture moving into the backing.
9. Air-dry the headliner
Leave the doors or windows open for ventilation. Keep the 4Runner out of rain and direct, intense heat while the headliner dries.
Do not use a heat gun or hair dryer on high heat. Excess heat can soften adhesive, distort trim, or create a patch that looks different from the rest of the ceiling.
The headliner should look even and feel dry before you close the vehicle.
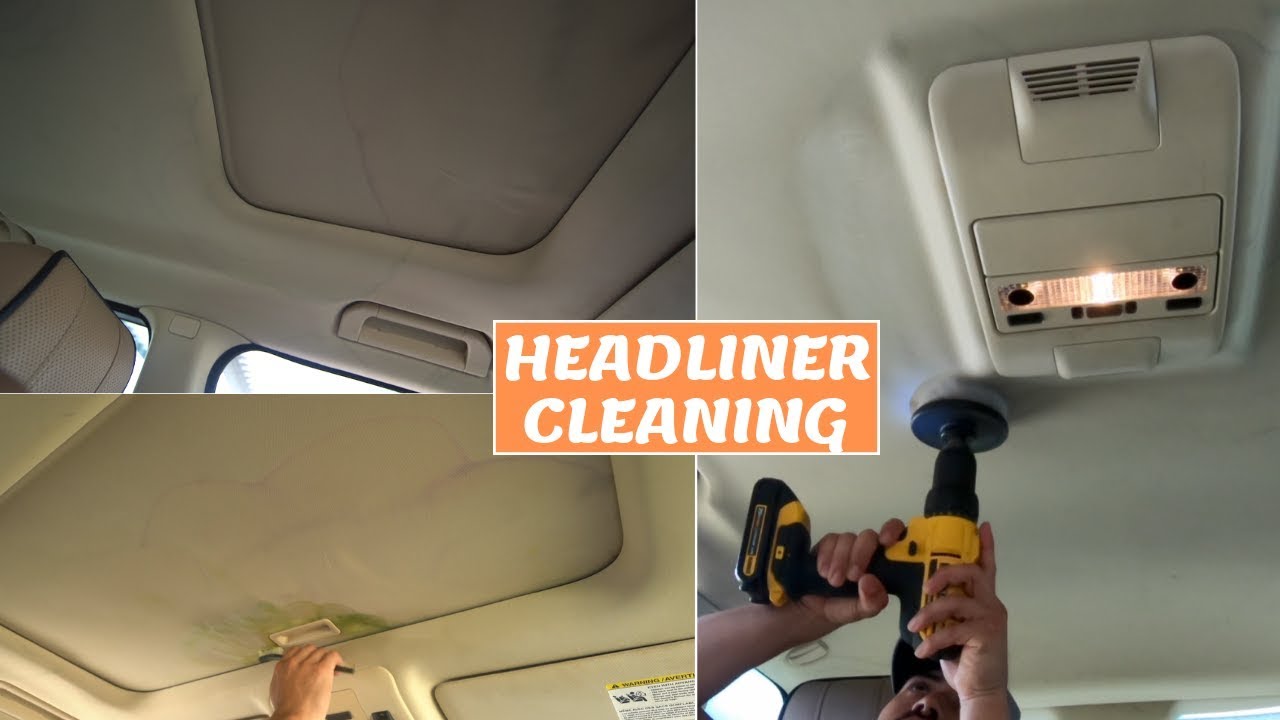
How to Remove Common 4Runner Headliner Stains
The safest approach depends on what caused the mark. Start with the least aggressive method and stop as soon as the stain improves.
Water spots
Water spots often result from minerals or dirty water drying on the fabric. Do not clean only the outer edge of the spot. That may leave another ring.
Lightly dampen a microfiber towel with clean water and treat the entire small section. Blot dry. If the mark remains after drying, use a tested upholstery cleaner.
If the water spot came from a roof leak, cleaning is only a temporary fix. Find and repair the leak before cleaning again. Possible sources include a sunroof drain, roof rack seal, antenna area, windshield seal, or hatch-related moisture.
Grease and oily marks
Blot fresh grease with a dry microfiber towel. Replace the towel section as oil transfers.
Do not use a large amount of solvent. Solvents can dissolve adhesive, change the fabric color, or damage nearby plastic. If a small amount of automotive fabric cleaner does not work, a professional detailer is safer than repeated home treatments.
Food, coffee, and soda
Remove any solids without rubbing. Blot liquid with a dry towel, then use a barely damp towel with mild cleaner.
Sugary drinks may leave a sticky film. Use a second towel dampened with plain water to lift residue. Follow with a dry towel. Do not keep adding water if the area is already wet.
Smoke or musty odor
Start by vacuuming the headliner and cleaning other odor sources, such as carpets, seat fabric, floor mats, and the cabin air filter area.
A fragrance spray may cover the smell without removing its source. Do not soak the headliner with deodorizer. If the odor began after water entered the vehicle, inspect for damp padding, mold, or a continuing leak.

What to Do About a Sagging or Loose Headliner
Cleaning will not repair a sagging headliner. Sagging usually means the fabric has separated from the backing board or the adhesive has failed.
Do not glue the fabric while it is still installed unless the product and repair method are made for automotive headliners. General spray adhesive can soak through the fabric, leave hard patches, or interfere with roof trim and curtain-airbag areas.
Avoid pins, thumbtacks, and staples. They can damage wiring or components behind the headliner. They also create a sharp hazard in a vehicle.
Professional repair is the better choice when:
- The fabric hangs several inches
- The backing board is cracked
- The fabric is loose near a roof-mounted airbag area
- The headliner has water damage
- You need to remove the headliner board
- The vehicle has a large sunroof opening
- The fabric has widespread stains or foam breakdown
Toyota owner information and service procedures can vary by model year. Before removing an overhead console, grab handle, pillar trim, or headliner board, check the correct U.S. owner’s manual and service information for your 4Runner.
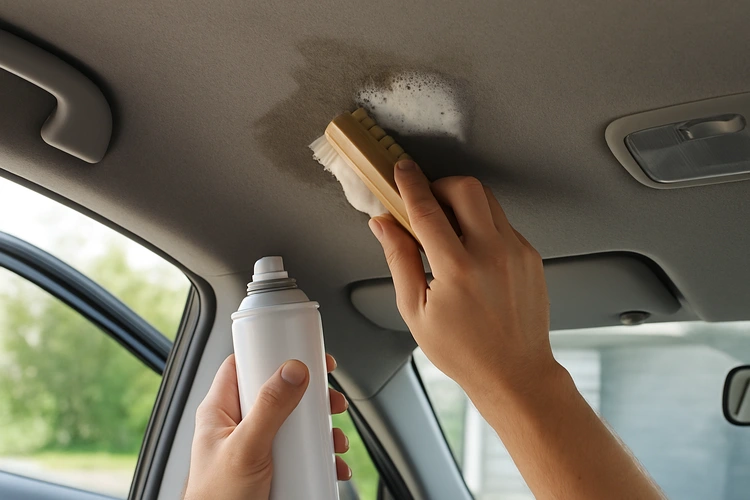
Cleaning Around 4Runner Airbags, Electronics, and Trim
Use extra care near the roof edges and upper pillars. Many vehicles have side-curtain airbags in or near the roof rail and pillar areas. The exact layout depends on the 4Runner model year and equipment.
Do not insert tools behind trim. Do not pull down roof trim to reach a stain. Do not spray into:
- Overhead lights
- Switches
- Microphones
- Sunroof controls
- Side-curtain-airbag areas
- Wiring openings
- Door seals
- Trim gaps
Use a towel that is only slightly damp. Keep it on the visible fabric surface. If a stain reaches a seam or trim gap, stop rather than forcing cleaner into the opening.
If liquid enters an electrical part, leave the vehicle off and allow it to dry fully. For a large spill, water intrusion, warning light, or suspected airbag-area damage, have the vehicle inspected by a qualified technician.

Common Mistakes When Cleaning a 4Runner Headliner
Avoiding these errors matters more than buying a stronger cleaner.
Soaking the headliner
Too much water can loosen the fabric from its backing. It can also cause a spreading stain that becomes visible after drying.
Better approach: Use a damp towel and clean small sections.
Spraying cleaner overhead
Spray can drift into lights, switches, speakers, and trim gaps.
Better approach: Apply cleaner to a towel while it is outside the vehicle.
Scrubbing a single stain
Hard scrubbing can roughen the fabric and make one area look lighter or darker.
Better approach: Blot first, use short gentle passes, and stop when the stain improves.
Using a carpet extractor
An extractor may pull water from carpets, but it is usually too aggressive for a bonded headliner.
Better approach: Use low-moisture hand cleaning unless a trained detailer recommends another process for the specific material.
Drying with high heat
High heat can affect adhesive and plastic trim.
Better approach: Use air flow and patience.
Ignoring the cause of the stain
A leak will recreate water marks. Smoke contamination may also affect the seats, carpet, and ventilation system.
Better approach: Find the source before repeating the cleaning process.
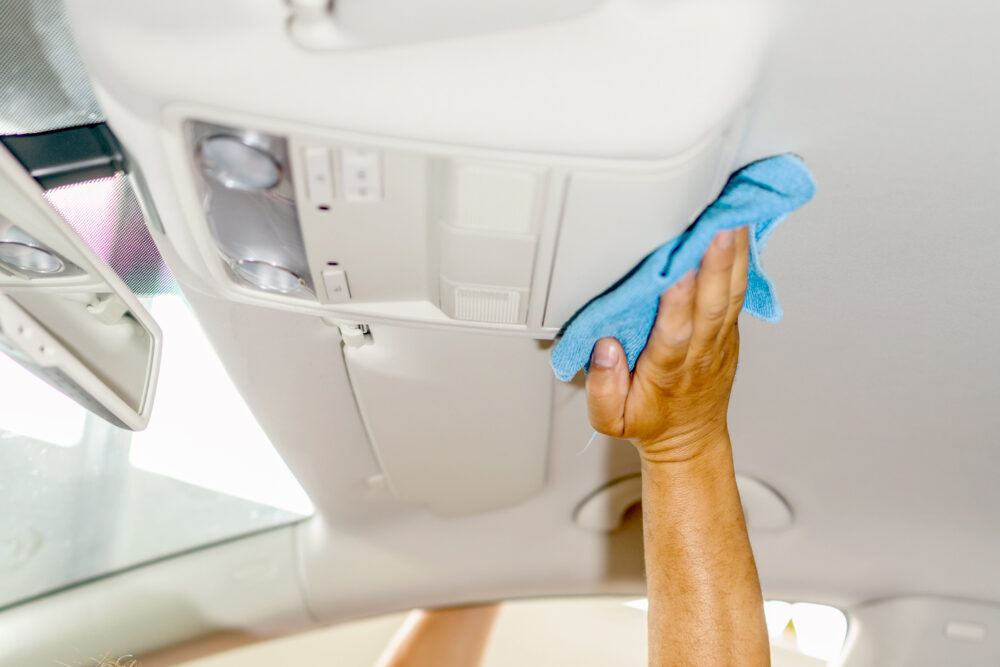
How Often Should You Clean a 4Runner Headliner?
Clean the 4Runner headliner when you see dust, marks, or odor. Most vehicles do not need frequent wet cleaning.
A light vacuum during routine interior care can remove loose dust. Spot-clean only when needed. Frequent wet cleaning adds risk without providing much benefit.
Clean sooner if the vehicle has:
- Heavy passenger use
- Children or pets
- Frequent smoking or vaping exposure
- Roof leaks
- Off-road dust
- Food or drink spills
- Long exposure to damp conditions
A clean headliner should have an even color, no sticky residue, and no loose fabric. Slight changes in fabric texture may remain after a stain is removed because the original mark may have changed the fibers.

When to Use a Professional Detailer
A professional detailer can help when the stain is large, old, oily, or spread across several panels. Choose a detailer who has experience with automotive headliners rather than only carpets and seats.
Ask what process will be used. A careful provider should be willing to explain:
- Whether the process uses low moisture
- How nearby electronics will be protected
- How the cleaner will be tested
- How the vehicle will be dried
- Whether the provider will remove trim
- What damage the process may not repair
Professional cleaning cannot always restore a headliner. Permanent dye transfer, smoke damage, adhesive failure, and water-damaged backing may require replacement instead.

Key Takeaways
- Vacuum the headliner first with a soft brush.
- Test any cleaner in a hidden area.
- Apply cleaner to a towel, never directly to the ceiling.
- Use very little moisture.
- Blot instead of scrubbing.
- Dry the area with a clean towel and air flow.
- Do not steam-clean, soak, pin, or glue a sagging headliner.
- Keep liquids away from lights, switches, wiring, and airbag areas.
- Repair roof leaks before cleaning water stains.
- Seek professional help for widespread damage or loose fabric.
Frequently Asked Questions
Can I use Dawn dish soap to clean a 4Runner headliner?
A very weak solution may work on a small, tested area, but automotive upholstery cleaner is the safer choice. If you use dish soap, apply only a tiny amount to a damp towel and remove residue with another barely damp towel.
Can I use a steam cleaner on the 4Runner headliner?
Steam is not recommended for routine headliner cleaning. Heat and moisture can loosen the fabric adhesive and damage the backing. Use low-moisture hand cleaning instead.
Why does my headliner look worse after cleaning?
The area may still be damp, or the cleaning may have moved dirt to the edge of the wet section. Let it dry fully before judging the result. If a ring remains, lightly clean the complete section from seam to seam rather than rubbing the center again.
How do I remove cigarette smoke smell from a 4Runner headliner?
Vacuum the headliner, clean it lightly with a suitable upholstery product, and ventilate the vehicle. Also clean other soft surfaces and check the cabin air filter. Do not saturate the ceiling with fragrance or deodorizer.
Can I remove the 4Runner headliner to clean it?
Removal may expose wiring, trim damage, and side-curtain-airbag components. The procedure varies by model year and trim. Use the correct Toyota service information or have a qualified technician perform the work.
What if the headliner is sagging?
Cleaning will not fix sagging fabric. Avoid pins and untested glue. A professional headliner repair or replacement is usually the safer solution, especially near roof trim or airbag areas.
Sources and Model-Specific Checks
Toyota publishes owner manuals and warranty information for U.S.-market vehicles through its official owner resources. Use the manual for the exact year of your 4Runner because equipment and safety systems can change.
- Toyota U.S. Owner’s Manuals and Warranty Guides
- Toyota 4Runner Owner Resources
- National Highway Traffic Safety Administration: Air Bags

Conclusion
The best way to clean a 4Runner headliner is gentle, controlled, and low-moisture. Vacuum first, test the product, dab with a barely damp towel, and let the surface dry with good air flow.
If the headliner sags, stays wet, shows signs of a roof leak, or sits near damaged trim, stop cleaning and arrange a proper inspection. A cautious method protects both the fabric and the equipment hidden above it.