How To Shampoo Car Headliner: Easy Cleaning Guide
The safest way to shampoo a car headliner is to use very little moisture, a mild upholstery cleaner, and gentle pressure. Spray the cleaner onto a microfiber cloth or soft brush—not directly onto the ceiling. Work in small areas, blot away soil, and let the headliner dry fully with the doors or windows open.
A vehicle headliner is not like a removable carpet. In most cars and trucks sold in the United States, the fabric is bonded to a thin foam layer and a rigid backing board. Too much water, heat, or scrubbing can loosen the fabric, leave rings, or cause the foam to separate.

What You Need Before You Start
Gather the right supplies before cleaning. The process is easier when you can control moisture from the first pass.
Basic supplies
- Vacuum with a soft brush attachment
- Two or three clean microfiber towels
- Soft upholstery brush or soft-bristle detailing brush
- Mild, low-moisture upholstery cleaner
- Small bucket of clean water
- Nitrile gloves
- Plastic or paper to cover the seats and dashboard
- Fan, if available
- Clean cotton swabs for small spots
Choose an upholstery cleaner whose label says it is suitable for automotive fabric or delicate fabric. Avoid strong household degreasers, bleach, ammonia, solvent cleaners, and products that leave a heavy residue.
Check the owner’s manual first
Some vehicles have special headliner materials, integrated microphones, sensors, lights, or communications equipment near the roof. Your owner’s manual may give cleaning limits or warnings.
Do not remove the headliner, pull trim panels, or disconnect roof-mounted parts just to clean a stain unless you know the correct repair procedure. Curtain airbags often sit behind the upper side trim. Improper removal can damage the vehicle or create a safety risk.
Inspect the headliner
Look closely before applying cleaner. Identify:
- General dust and light soil
- Grease or oily marks
- Drink or food stains
- Water marks
- Smoke odor or heavy discoloration
- Loose, sagging, or bubbling fabric
A loose or sagging headliner needs repair, not shampooing. Moisture can make the separation worse.
Can You Shampoo a Car Headliner?
You can clean a car headliner, but you should not saturate it like a carpet. “Shampooing” in this case means controlled spot cleaning with a small amount of foam or mist.
The main risk comes from the adhesive and foam beneath the fabric. Water can soak through the fabric and weaken the bond. Strong rubbing can also create a shiny patch, flatten the fabric, or spread the stain.
Use this rule:
Clean the surface, not the backing.
If the fabric feels wet several seconds after cleaning, too much product was used. Stop, blot the area, and allow it to dry before continuing.

Source: autoalchemy.ca
Step-by-Step: How to Shampoo a Car Headliner
1. Park in a safe, shaded place
Park the vehicle on a level surface in a dry area. Shade is best. Direct sun can dry cleaner too fast and may leave visible edges.
Keep the doors or windows open during and after cleaning. Good airflow helps moisture escape and reduces the chance of odor.
Do not clean the headliner during freezing conditions, high humidity, or rain unless the vehicle can remain in a dry, ventilated space.
2. Remove loose dust first
Use a vacuum with a soft brush attachment. Hold the tool lightly against the fabric and move it in one direction.
Do not press hard. Strong suction or aggressive brushing can pull at the fabric or lift its surface fibers.
If you do not have a vacuum brush, use a clean, dry microfiber towel. Wipe gently from front to back or side to side. Avoid circular rubbing.
3. Test the cleaner in a hidden spot
Apply a small amount of cleaner to an unseen section, such as near the rear edge or behind a visor if accessible without removing parts.
Wait until the area dries. Check for:
- Color change
- Water rings
- Fabric stiffness
- Fuzzing or pilling
- Adhesive failure
- A strong lingering odor
If the test area changes, do not use that cleaner on the visible headliner. A clean-looking result is not useful if the fabric becomes loose.
4. Apply the cleaner to a cloth or brush
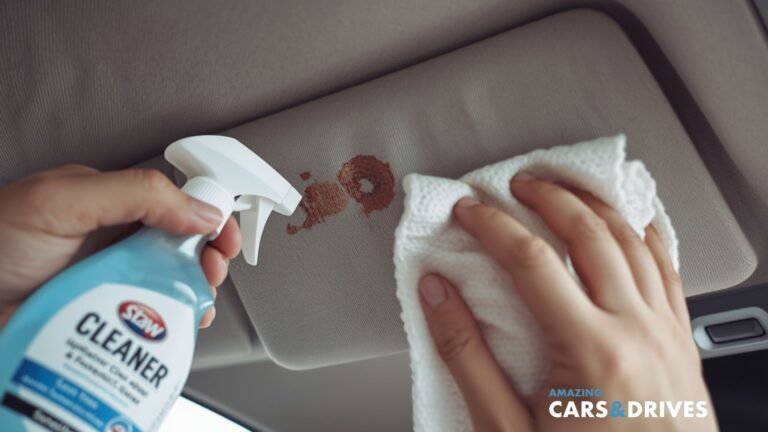
Spray the product onto a microfiber towel or soft brush. Do not spray the ceiling directly.
Direct spraying can send liquid into:
- Dome lights
- Overhead console controls
- Microphones
- Sunroof switches
- Wiring
- Roof-mounted sensors
- Airbag areas near the side rails
Use just enough cleaner to dampen the cleaning tool. It should not drip.
5. Clean a small section at a time
Work in an area about 6 to 12 inches wide. Start at the front or rear edge and move across the ceiling in overlapping sections.
Use light, straight strokes. Do not grind the brush into the fabric. A few gentle passes are safer than one forceful pass.
For general soil, wipe in one direction. This helps keep the fabric texture even and makes cleaned areas easier to compare.
6. Blot instead of soaking
After cleaning a section, press a dry microfiber towel against it. Lift the towel rather than rubbing back and forth.
Turn to a dry side of the towel as it collects moisture. Blotting removes cleaner and soil while limiting how much liquid reaches the foam layer.
If a stain remains, let the area dry first. A second light pass is safer than repeatedly wetting the same spot.
7. Treat stains based on their type
Different stains need different levels of care. Do not use a stronger chemical simply because the first pass did not remove the mark.
| Stain type | First approach | Main caution |
|---|---|---|
| Dust or light dirt | Vacuum, then damp microfiber towel | Avoid excess water |
| Coffee or soda | Blot with mild upholstery cleaner | Sugars can leave sticky residue |
| Grease or skin oil | Small amount of fabric-safe cleaner | Do not spread the oily mark |
| Smoke residue | Several light cleaning passes | Odor may remain in foam and carpet |
| Ink | Professional cleaning is often safer | Solvents can discolor or dissolve adhesive |
| Water ring | Lightly blend the full nearby panel | Spot treatment may create another ring |
| Pet-related odor | Surface cleaning may not be enough | Odor can remain below the fabric |
For a drink spill, remove solid material first. Blot from the outside of the mark toward the center. This reduces the chance of spreading the stain.
For oily marks, use a clean section of microfiber cloth for each pass. Reusing a dirty cloth can move oil across the headliner.
8. Clean large areas evenly
If the whole ceiling is dirty, do not clean only the most visible center spot. Uneven cleaning can leave a noticeable boundary.
Divide the headliner into sections:
- Front section
- Middle section
- Rear section
- Side areas near the doors
Use the same amount of cleaner and the same stroke direction in each section. Keep the fabric only lightly damp.
9. Dry the headliner fully
Leave the doors or windows open. Point a fan into the vehicle if you have one.
Do not use a hair dryer, heat gun, or high-temperature blower. Heat can soften adhesive, deform foam, or create a visible difference in the fabric.
Allow the headliner to dry before driving with the windows closed. The exact time depends on the amount of moisture, air movement, temperature, and humidity. The surface should feel dry and should not have a cool, damp feel when pressed lightly.

Source: rightcardetailing.com
How Much Cleaner and Water Should You Use?
Use the smallest amount that removes the soil. There is no universal water-to-cleaner ratio because products vary in concentration and intended use.
Follow the product label when dilution is required. If the label gives no clear instruction for automotive headliners, choose a different product or use it only after a small test.
A useful practical limit is to keep each section lightly damp, never wet. You should not see liquid running, dripping, or collecting along the roof trim.
Low-moisture cleaning method
For most headliners:
- Vacuum the surface.
- Put cleaner on a cloth or brush.
- Clean a small section.
- Blot with a dry towel.
- Check the surface.
- Move to the next section only when the first section looks even.
This method takes longer than spraying the entire ceiling, but it lowers the risk of sagging and water damage.
When a steam cleaner is not a good choice
Steam can loosen adhesive and drive moisture into the foam. It may also damage sensitive trim, wiring, and roof electronics.
Avoid steam cleaning unless the vehicle or equipment manufacturer specifically permits it and you know how to control temperature and moisture. A professional detailer may have specialized low-moisture tools, but ordinary household steam cleaners are a poor choice for most vehicle headliners.
What to Do When the Stain Does Not Come Out
Stop cleaning if the mark does not improve after two light passes. More scrubbing can cause damage without removing the stain.
The stain may be:
- Set deep into the foam
- Caused by a chemical reaction
- From permanent dye or ink
- A water-damaged area
- Mold or mildew beneath the fabric
- A sign of adhesive failure
If the headliner has a musty smell, visible mold-like growth, or repeated water marks, find and repair the leak first. Common leak sources include a sunroof drain, windshield seal, roof antenna, door seal, or roof-mounted accessory.
A detailer can assess whether the fabric can be cleaned in place. An upholstery or headliner repair shop may be needed if the backing has separated.
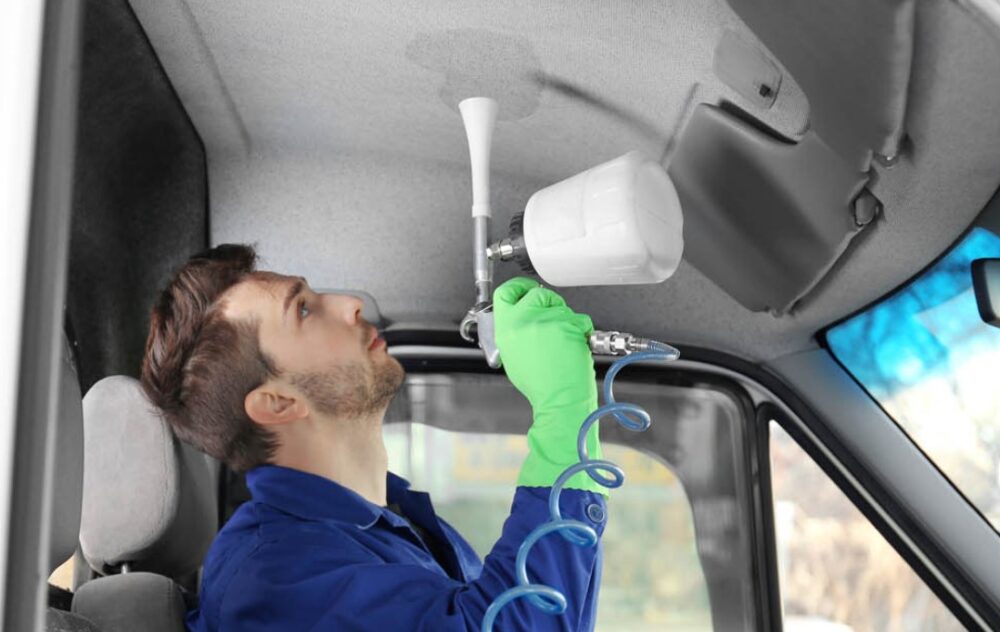
Source: storage.googleapis.com
Common Mistakes to Avoid
Spraying the ceiling directly
This is the most common mistake. Direct spray creates uncontrolled moisture and can send cleaner into electrical parts.
Using too much water
A soaked headliner may look clean at first but sag later as the adhesive weakens. More liquid does not always mean better cleaning.
Scrubbing hard
Aggressive brushing can flatten the nap, create a lighter patch, or pull the fabric from the backing.
Cleaning only one small spot
A bright clean spot can stand out against surrounding soil. Blend treatment across the nearby panel when the stain is large or diffuse.
Using household carpet shampoo
Carpet products may be too wet, too alkaline, or too harsh for bonded headliner fabric. Use a product intended for delicate upholstery or automotive interiors.
Ignoring trim and electronics
Protect dome lights, switches, microphones, and roof controls. If cleaner enters an electrical part, stop using that component and follow the vehicle manufacturer’s guidance.
Closing the vehicle while it is damp
Trapped moisture can create a stale odor and slow drying. Ventilate the cabin until the headliner is fully dry.
When to Hire a Professional
Professional cleaning is a better choice when the headliner is heavily stained, smoke-damaged, mold-affected, or already loose.
Seek help if:
- The fabric is sagging or bubbling
- Water has entered through the roof
- The vehicle has a strong smoke odor
- The headliner contains delicate suede-like material
- A stain covers most of the ceiling
- You see mold-like growth
- You need to remove trim near a curtain airbag
- The headliner has an unusual electronic component
A professional should explain the cleaning method and moisture level before starting. Ask whether the service includes drying and whether the shop has experience with your vehicle type.

Source: storage.googleapis.com
How to Keep a Car Headliner Clean
Preventive care reduces the need for wet cleaning.
- Keep drinks in sealed containers.
- Avoid touching the ceiling with oily hands.
- Vacuum the headliner during routine interior cleaning.
- Wipe small marks soon after they appear.
- Repair roof, windshield, and sunroof leaks quickly.
- Avoid smoking inside the vehicle.
- Use sunshades to reduce heat buildup in parked vehicles.
- Do not attach heavy items to the headliner.
For routine care, dry vacuuming and light wiping are usually enough. A headliner does not need frequent shampooing.
Quick Decision Guide
| Condition | Recommended action |
|---|---|
| Light dust | Vacuum with a soft brush |
| Small fresh spot | Blot with a lightly damp microfiber towel |
| General surface soil | Use low-moisture upholstery cleaner |
| Heavy stains | Test first, then consider professional cleaning |
| Sagging fabric | Repair or replace; do not shampoo |
| Musty odor with water marks | Find and repair the leak |
| Mold-like growth | Avoid spreading it; seek professional assessment |
| Cleaner entered electronics | Stop and inspect according to the vehicle manual |
The safest choice depends on the headliner’s condition. Cleaning is reasonable when the fabric is firmly attached and the soil is mostly on the surface. Repair is more appropriate when the backing or adhesive has failed.
FAQs About How To Shampoo Car Headliner
Can I use dish soap on a car headliner?
It is better to use a fabric-safe automotive or upholstery cleaner. Dish soap can leave residue and may be difficult to remove without adding too much water.
Can I use a carpet extractor on a headliner?
Usually, no. Extractors can inject and remove a large amount of liquid. That moisture may reach the foam and adhesive. Use an extractor only when the manufacturer of the vehicle or cleaning equipment specifically supports that method.
How do I remove cigarette smoke from a headliner?
Begin with vacuuming and low-moisture cleaning. Smoke odor may remain because it can collect in the foam, seats, carpet, and vents. If the smell continues, professional interior odor treatment may be needed. Do not mask it with heavy fragrance.
Why does my headliner sag after cleaning?
Excess moisture, heat, age, or weak adhesive can cause the fabric to separate from its foam backing. Once sagging starts, cleaning will not restore the bond. A headliner repair shop can often replace the fabric or backing.
Can I clean a headliner with vinegar?
Vinegar may leave an odor and is not automatically safe for every headliner fabric or adhesive. A labeled automotive upholstery cleaner with a hidden-spot test is a more controlled option.
Conclusion
To shampoo a car headliner safely, vacuum first, test the cleaner, apply it to a cloth or soft brush, and use only light moisture. Clean small sections, blot instead of scrubbing, protect roof electronics, and dry the vehicle with good airflow.
If the headliner is loose, water-damaged, moldy, or heavily stained, stop before adding moisture. Repair or professional cleaning may prevent a small stain from becoming an expensive ceiling repair.
The next best step is simple: inspect the fabric and adhesive, gather a soft brush and microfiber towels, and test your cleaner on a hidden area before treating the visible headliner.