How To Clean Subaru Headliner: Easy Stain Removal Guide
A Subaru headliner can usually be cleaned at home with a soft brush, a vacuum, microfiber cloths, and a small amount of mild cleaner. The safest method is to use as little liquid as possible. Too much moisture can loosen the headliner adhesive, leave water rings, or cause the fabric to sag.
This guide applies to Subaru vehicles in the United States, including models such as the Outback, Forester, Crosstrek, Impreza, Legacy, Ascent, and WRX. Materials and trim can vary by model year, so check the owner’s manual before using a cleaner. If the headliner is loose, stained by mold, or close to a curtain airbag, professional service is the safer choice.
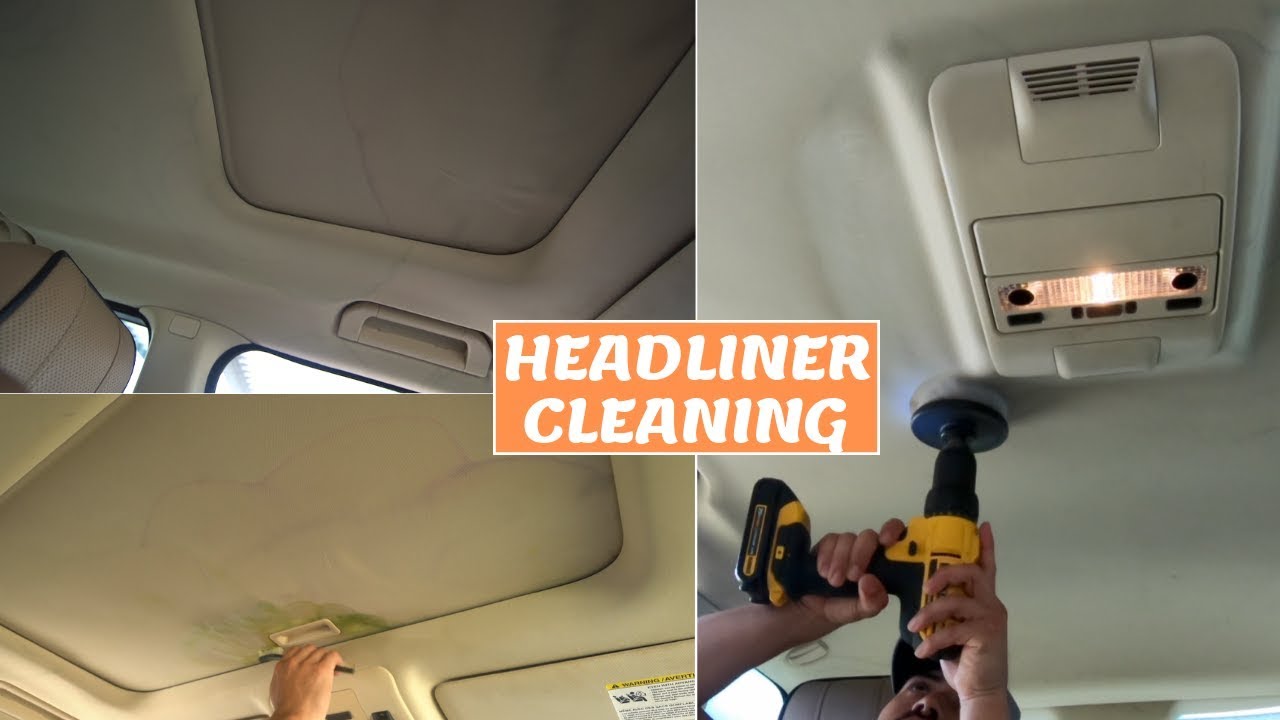
What You Need Before Cleaning a Subaru Headliner
Gather the right tools before you begin. A headliner is more delicate than a carpet or floor mat, and the fabric is often bonded to a thin foam layer. Aggressive scrubbing or heavy water can damage that bond.
You will need:
- A vacuum with a soft brush attachment
- Two or three clean microfiber cloths
- A soft interior-detailing brush
- A small bowl of warm water
- A mild fabric or interior cleaner
- A clean spray bottle, if dilution is required
- A dry towel
- Painter’s tape for protecting nearby trim
- A small hidden test area
Use a cleaner labeled for automotive fabric or interior surfaces. A small amount of mild dish soap can work for light soil, but it should be highly diluted. Avoid products that contain bleach, ammonia, strong solvents, petroleum distillates, or harsh degreasers.
Before cleaning, remove sunglasses, clips, air fresheners, and other items from the roof area. Park the Subaru in a shaded, well-ventilated place. Do not clean a hot headliner in direct sunlight because heat can make stains spread and can speed up adhesive failure.
Check the material first
Most Subaru headliners use a light fabric bonded to a backing. Some special trims may use a different textile or a suede-like material. If your headliner feels unusual, has a printed finish, or has a soft nap, follow the care instructions for that material.
Do not confuse the headliner with the seats. Subaru seat materials such as cloth, leather, and StarTex may need different cleaners. A product that is safe for seats is not automatically safe for the ceiling fabric.
How to Clean a Subaru Headliner Step by Step
The best approach is to work from dry cleaning to controlled spot cleaning. Start with the least aggressive method. Move to a damp cloth only when dry cleaning does not remove the soil.
1. Read the owner’s manual
Look for interior-care instructions in the Subaru owner’s manual for your model year. The manual may identify special materials or warnings about trim, sensors, and airbags.
If your manual gives different instructions, follow the manual. Subaru vehicles can have different headliner designs, overhead consoles, microphones, sunroof controls, and safety systems.
2. Protect nearby parts
Use painter’s tape to protect the upper edges of the doors, the overhead console, and trim near the headliner. Do not place tape over fabric for a long period, especially in a warm vehicle.
Keep liquid away from:
- Overhead lights
- Microphones
- Sunroof switches
- Map-light housings
- Wiring openings
- Seat-belt height adjusters
- Curtain-airbag areas
Do not remove the headliner to clean it unless you understand the vehicle’s restraint system. Subaru vehicles may have side-curtain airbags along the roof rails. Removal near an airbag should follow the factory service procedure and may require a trained technician.
3. Vacuum the headliner gently
Set the vacuum to low suction if it has an adjustment. Fit a soft brush attachment and hold it just above the fabric or touch it with very light pressure.
Work in small sections. Move in one direction instead of repeatedly brushing back and forth. This removes loose dust without grinding it deeper into the fibers.
Pay extra attention to:
- Areas above the front seats
- The space near the sun visors
- The rear roof area
- Places touched by hands or hats
- Edges near the doors and hatch
Do not use a bare vacuum nozzle. Its hard edge can pull threads or leave marks.
4. Test the cleaner
Choose a hidden spot, such as near the rear edge of the headliner or behind a sun visor. Apply a small amount of diluted cleaner to a cloth, not directly to the ceiling.
Blot the test area. Wait until it dries fully. Check for:
- Color transfer
- A darker ring
- Fabric texture changes
- Adhesive softening
- Stiffness or a shiny patch
- Loose or sagging fabric
If the test area changes, stop and use a professional interior cleaner.
5. Treat small stains
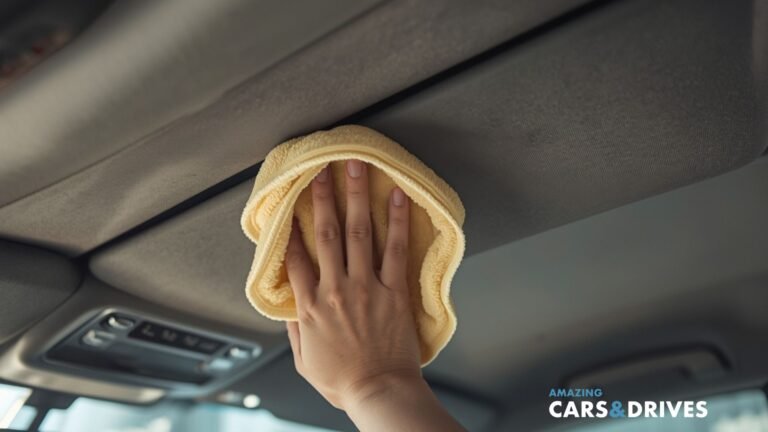
For a small mark, lightly dampen a microfiber cloth. The cloth should feel damp, not wet enough to drip.
Press the cloth onto the stain and lift it away. Repeat with a clean part of the cloth. Do not rub hard. Rubbing can spread the mark and roughen the fabric.
For oily marks, use a fabric-safe interior cleaner that is approved for automotive upholstery. Apply it to the cloth first. Use short blotting motions and keep the treated area small.
6. Clean a larger dirty area
If the whole headliner looks dusty or gray, divide it into sections. Clean one section at a time so you can control moisture and drying.
Use this sequence:
- Lightly spray cleaner onto a microfiber cloth.
- Blot or wipe the section with gentle, overlapping strokes.
- Use a second cloth dampened with plain water to remove cleaner residue.
- Press a dry towel against the area.
- Let the section dry before moving on.
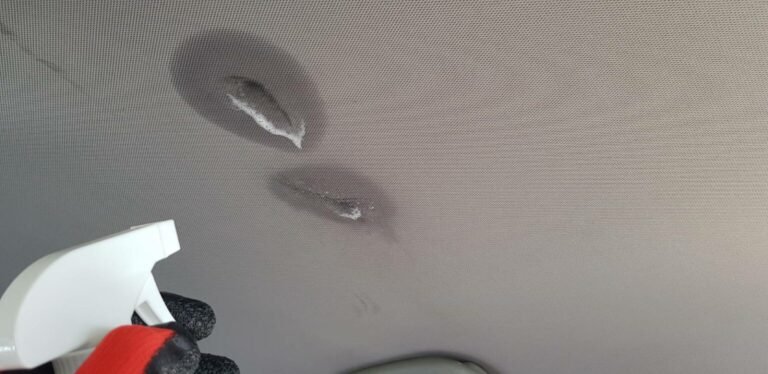
Do not saturate the fabric. The headliner backing may absorb liquid even when the surface looks only slightly wet. Excess water can create a ring, weaken the adhesive, or cause the fabric to droop.
7. Let the headliner dry completely
Leave the doors open or crack the windows while the Subaru dries. Use normal cabin airflow if needed. Avoid placing a high-heat hair dryer close to the fabric.
The headliner should feel dry and look even before you close the vehicle. Do not reinstall accessories or place items against the fabric while it is damp.
8. Inspect the result
Check the headliner in daylight. Look for remaining marks, water rings, loose sections, or changes in color.
If the stain is lighter but still visible, repeat the process only after the fabric is fully dry. Several light treatments are safer than one aggressive treatment.

How to Remove Common Subaru Headliner Stains
The correct treatment depends on what caused the stain. When the cause is unknown, begin with vacuuming and plain water on a cloth. Do not start with a strong chemical.
| Stain or problem | Safer first step | Avoid |
|---|---|---|
| Dust or loose dirt | Vacuum with a soft brush | Hard nozzle or stiff brush |
| Finger marks | Blot with mild diluted cleaner | Heavy rubbing |
| Coffee or soda | Blot with a slightly damp cloth, then remove residue | Flooding the area |
| Grease or oil | Use a fabric-safe automotive cleaner on a cloth | Household degreaser |
| Makeup | Lift surface particles, then blot carefully | Scrubbing across the stain |
| Smoke odor | Vacuum, ventilate, and clean nearby surfaces | Perfume sprays that only mask odor |
| Water mark | Use minimal moisture and feather the edge | Adding a large wet circle |
| Mold or mildew | Stop and seek professional assessment | Brushing spores into the cabin |
Coffee, soda, and other drinks
Act quickly if the spill is fresh. First blot it with a dry microfiber cloth. Work from the outside of the spill toward the center to reduce spreading.
Next, use a cloth lightly dampened with clean water. Blot until the sticky residue is reduced. If sugar remains in the fabric, it can attract more dirt and leave a hard patch when dry.
Do not pour water onto the spill. A drink that reaches the backing can create a larger hidden problem than the original spot.
Grease and oily marks
Oil can bond to fabric more strongly than dust. Use a small amount of automotive fabric cleaner on a cloth. Blot rather than scrub.
Test the cleaner first. Some products can leave a light or dark halo. If the mark is large, old, or near an edge that is already loose, a professional detailer can reduce the chance of visible damage.
Smoke odor
Smoke odor can remain in the roof fabric, carpet, seats, door panels, and air-conditioning system. Cleaning only the headliner may not remove the source.
Vacuum the headliner and other soft surfaces. Clean hard interior surfaces with a suitable interior cleaner. Replace the cabin air filter if it is dirty, using the procedure listed in the owner’s manual.
Avoid spraying fragrance directly onto the headliner. It may leave another stain and does not remove smoke residue.
Mold or mildew
Mold or mildew suggests a moisture problem. Possible sources include a leak around a sunroof, roof rail, windshield, door seal, hatch seal, or body seam.
Do not aggressively brush visible growth. Do not use bleach on the headliner. Have the leak and affected material assessed by a qualified automotive detailer or repair shop. The headliner may need specialized treatment or replacement.

What Not to Use on a Subaru Headliner
Avoid methods that add heat, pressure, or excess moisture. A headliner can look strong while still being easy to damage.
Do not use:
- Steam cleaners
- Carpet-extractor machines
- Pressure washers
- Bleach
- Ammonia-based cleaners
- Acetone or nail-polish remover
- Strong glass cleaner
- Household disinfectant unless the label clearly allows fabric use
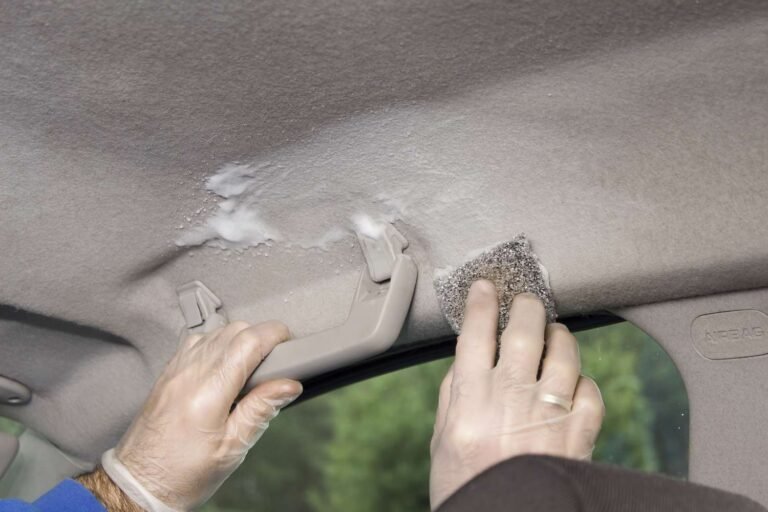
- Abrasive sponges
- Stiff scrub brushes
- A soaking wet towel
- A high-heat dryer
- Adhesive removers without a hidden test
Steam is especially risky because heat and moisture can soften the adhesive that holds the fabric to the backing. A steam cleaner may work on some automotive materials, but it is not a safe default for a bonded headliner.
Do not use a magic eraser on the ceiling fabric. Its abrasive surface can change the texture or color and may expose the backing.
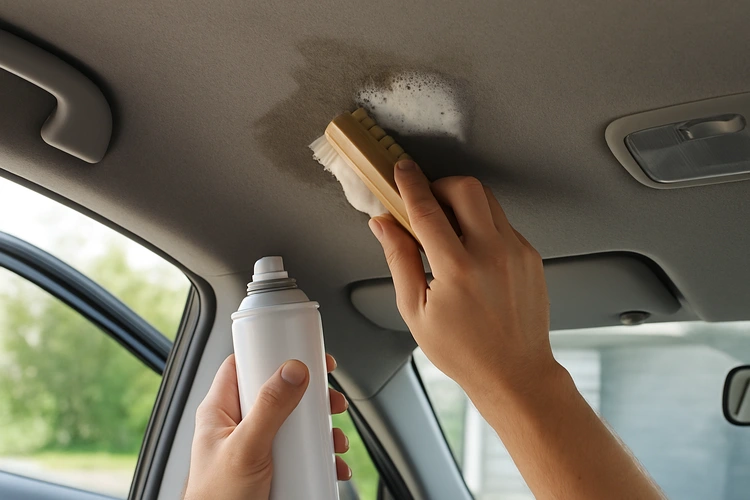
How to Fix a Sagging Subaru Headliner
Cleaning will not repair a sagging headliner. Sagging usually means the fabric has separated from its foam or backing. Water, age, heat, and repeated contact can make the problem worse.
If the fabric is only loose at a small edge, avoid pulling it down. Do not spray adhesive through the fabric. Glue can soak through and create a hard, shiny patch.
A temporary pin or clip may keep the fabric away from the driver’s view, but it is not a proper repair. Do not place fasteners near a side-curtain-airbag area. A headliner replacement or professional repair is the better option when the fabric hangs, blocks visibility, or interferes with trim.
Seek professional help if:
- The headliner has separated over a large area
- The fabric is near a curtain-airbag module
- Water keeps returning
- The roof has an active leak
- The backing crumbles when touched
- The headliner blocks the rear-view mirror or driver’s view

How Often Should You Clean a Subaru Headliner?
Clean the Subaru headliner when it shows dust, marks, or odor rather than on a fixed schedule. Light vacuuming during normal interior cleaning can reduce the need for wet cleaning.
A practical routine is:
- Vacuum the headliner lightly every few months
- Blot fresh spills as soon as possible
- Spot-clean visible marks when needed
- Check for roof and sunroof leaks after heavy rain
- Inspect the headliner if it develops a loose edge or odor
Do not repeatedly wet-clean the same area. Frequent moisture can shorten the life of the adhesive and create a cycle of rings, stiffness, and sagging.
Keep windows and doors closed during dusty conditions when possible. Avoid touching the ceiling with dirty hands. If passengers often place bags, hats, or sports equipment against the roof, clean those items first.

Troubleshooting: Why the Headliner Still Looks Dirty
If the headliner does not look better, the cause may not be surface dirt. Use the symptom to guide the next step.
The stain spread
The area was likely too wet, or the cloth moved soil beyond the original mark. Let it dry fully. Then clean a slightly wider area with very little moisture, feathering the edges with a nearly dry cloth.
If a ring remains, stop before applying more product. A professional detailer may be able to blend the area without damaging the backing.
The fabric looks darker
Damp fabric often looks darker until it dries. Wait several hours and check it again in daylight.
If the dark patch remains after drying, cleaner or moisture may have reached the backing. Do not add more water to chase the mark.
The fabric feels stiff
Cleaner residue may be present. Use a barely damp microfiber cloth to blot the area, then press it with a dry towel. Do not soak it.
If stiffness continues, the product may have altered the fabric or backing. A professional assessment is appropriate.
The headliner began to sag
Stop cleaning that area. More liquid can increase separation. Do not press or pull the fabric back into place. Have the headliner checked, especially if the sag is near the roof rail or curtain-airbag area.
The odor remains
The source may be in the carpet, seats, cabin air filter, or HVAC system rather than the headliner. Inspect the full cabin and look for moisture. A persistent musty smell can point to a leak.

Professional Cleaning or DIY Cleaning?
DIY cleaning is suitable for light dust, small fresh marks, and mild surface soil. Professional service is safer when the headliner has a large stain, smoke contamination, mold, water damage, or loose fabric.
Use this decision guide:
| Condition | Recommended action |
|---|---|
| Light dust | Vacuum gently at home |
| Small fresh spill | Blot and spot-clean at home |
| Large drink stain | Consider professional cleaning |
| Strong smoke odor | Clean the full cabin or hire a detailer |
| Mold or mildew | Find the moisture source and seek professional help |
| Sagging fabric | Repair or replace the headliner |
| Stain near electronics | Use minimal moisture or hire a professional |
| Stain near a curtain airbag | Do not remove trim; seek qualified service |
A professional detailer should explain how they will limit moisture and protect the headliner. Ask whether their method is designed for bonded automotive headliners rather than removable floor carpet.

Safety Notes for Subaru Owners
The headliner can sit close to electrical parts and restraint-system components. Cleaning should not require removing the headliner, roof trim, pillar trim, or airbag covers.
If you smell burning, see damaged wiring, notice an airbag warning light, or find water near an overhead light, stop cleaning and have the vehicle inspected. Do not spray liquid into an overhead console.
Do not use sharp tools to lift a stain. Do not pull down trim to reach a hidden spot. If a sunroof drain, roof seal, or windshield seal may be leaking, repair the leak before cleaning the interior. Otherwise, the stain and odor may return.
The safest rule is simple: use low pressure, little moisture, and no heat.

Frequently Asked Questions
Can I use a carpet cleaner on a Subaru headliner?
It is best not to use a carpet extractor or soaking carpet cleaner. These machines can force water into the headliner backing and weaken the adhesive. Use a lightly damp microfiber cloth for small areas instead.
Can I use vinegar to clean the headliner?
Vinegar is not the best default choice. It can leave an odor, affect some materials, and does not remove every type of stain. Use a fabric-safe automotive cleaner after testing it in a hidden area.
Can I use a steam cleaner on the headliner?
Avoid steam unless a qualified professional confirms that the specific headliner material and adhesive can tolerate it. Heat and moisture can cause bubbling, staining, or sagging.
How do I remove water stains from a Subaru headliner?
First find and repair the leak. Then vacuum the area and use a barely damp cloth with gentle blotting. If the water ring remains, stop before making the area wetter. A professional detailer may be able to blend the stain.
Why is my Subaru headliner sagging?
Common causes include aging adhesive, heat, excess moisture, and water intrusion. Cleaning cannot restore the bond. A sagging headliner may need professional repair or replacement.
Should I remove the Subaru headliner to clean it?
Usually, no. Removing it can involve trim, wiring, and side-curtain-airbag components. Leave removal to a technician who can follow the correct service procedure for your Subaru model and year.

Final Recommendation
To clean a Subaru headliner safely, vacuum it first, test a mild fabric-safe cleaner, and blot with a lightly damp microfiber cloth. Work in small sections and keep liquid away from the overhead console, wiring, and curtain-airbag areas.
Let the fabric dry fully before judging the result. If the headliner sags, smells musty, shows mold, or has stains near electrical or airbag components, stop the DIY process and arrange professional service.