What Is The Best Way To Clean A Car Headliner: Easy Guide
Introduction
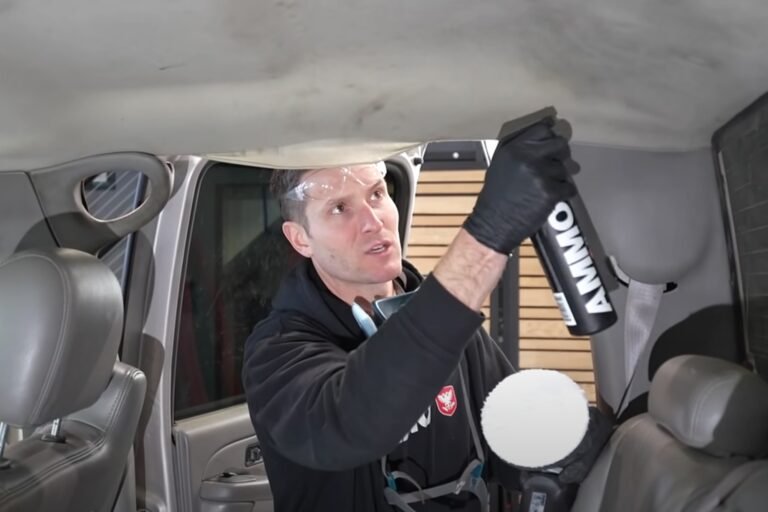
The best way to clean a car headliner in the United States is to use a low-moisture method: vacuum loose dust, test a small hidden spot, apply a small amount of mild upholstery cleaner to a microfiber cloth, and gently blot the fabric. Do not soak, steam, or scrub the headliner.
A headliner is more than cloth. It usually has a thin fabric layer bonded to foam and a rigid backing board. Too much water or heat can weaken the adhesive and cause the fabric to sag, bubble, stain, or separate.
This guide explains how to clean a car headliner safely, remove common stains, avoid damage, and know when professional cleaning is the better choice.

Why a Car Headliner Needs Gentle Cleaning
A car headliner needs less moisture and pressure than seats or floor carpet. The fabric is often glued to foam, and the foam is attached to a backing board. Water can move through the fabric and stay between these layers.
Common damage from over-cleaning includes:
- Sagging fabric
- Loose edges
- Water rings
- Dark stains
- Crushed foam
- Bad odors
- A headliner that pulls away from the backing board
Some vehicles also have microphones, lights, wiring, or sensors near the roof. Side-curtain airbag components may be located behind trim near the roof rails and pillars. Do not remove trim panels or spray liquid near electrical parts unless the vehicle service manual allows it.
The safest rule is simple: clean the surface, not the whole headliner.

What You Need Before Cleaning
Gather these supplies before you start:
- A vacuum with a soft brush attachment
- Two or three clean microfiber cloths
- A small spray bottle
- Distilled water
- A mild, pH-neutral upholstery cleaner
- A soft detailing brush, if needed
- A clean, dry towel
- Nitrile gloves
- A fan or open-air space for drying
Use a clean cloth for each stage. A dirty cloth can spread smoke film, grease, or dye across the roof.
Choosing a cleaner
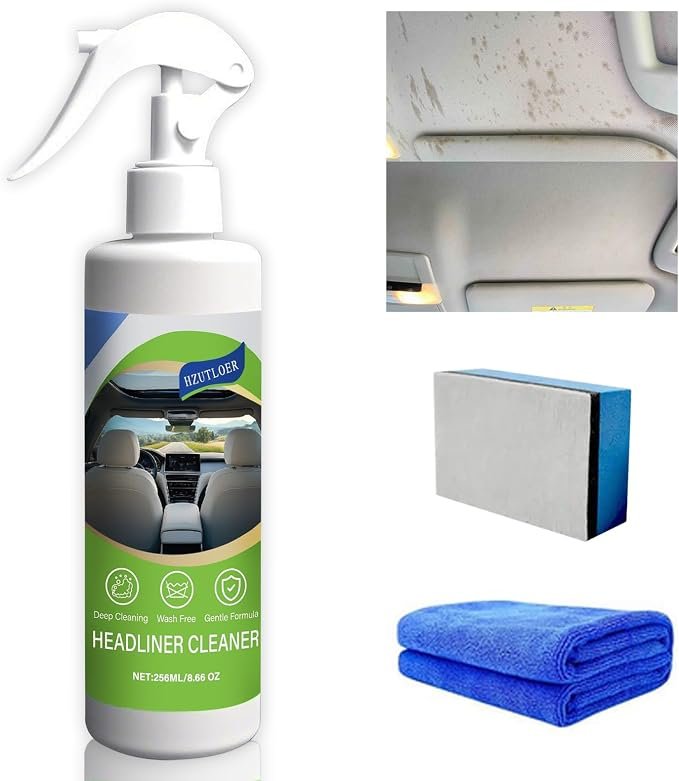
A mild upholstery cleaner made for automotive fabric is the safest general choice. Read the product label first. Avoid any product that warns against use on foam-backed fabric.
Do not use these products on a headliner unless the vehicle maker specifically approves them:
- Bleach
- Ammonia
- Strong degreasers
- Glass cleaner
- Solvent-based cleaners
- Household carpet shampoo
- Acetone
- Undiluted vinegar
- Heavy interior dressing
- High-alkaline soap
Never mix cleaning chemicals. A chemical mixture can create harmful fumes or damage the fabric.

How to Clean a Car Headliner Step by Step
1. Park in a shaded, ventilated place
Park the vehicle in a garage with the door open or in a shaded outdoor area. Avoid cleaning a hot roof. Heat can make the fabric and adhesive softer, while direct sun can cause cleaner to dry too fast and leave marks.
Turn off the vehicle. Remove personal items from the cabin. Open the doors or windows to improve airflow.
2. Read the vehicle owner’s manual
Check the interior-care section of the owner’s manual. The manual may identify special fabric, trim, sensors, or cleaning limits.
If the headliner has a built-in control panel, sunroof controls, a camera, or a microphone, keep liquid away from those areas.
3. Vacuum loose dust
use the soft brush attachment and hold it just below the fabric. Move slowly across the headliner without pressing hard.
Pay attention to:
- The area above the driver’s seat
- Door-side edges
- The space around the rear-view mirror
- Sun visor areas
- Roof handles
- Areas near the hatch or trunk
Do not drag a stiff vacuum nozzle across the fabric. It can pull threads or leave shiny marks.
4. Test the cleaner
Choose a hidden area, such as near the rear edge or under a sun visor. Apply a small amount of cleaner to a cloth, not directly to the roof.
Wait until the test area dries. Check for:
- Color loss
- Fading
- Fabric shrinkage
- Water marks
- A rough or sticky surface
- Loose fabric
- A new odor
If the test area changes, stop and use a professional detailer.
5. Apply cleaner to the cloth
Lightly dampen a microfiber cloth. The cloth should feel moist but should not drip.
For most stains, spraying the product directly onto the headliner creates too much moisture. Applying it to the cloth gives you better control.
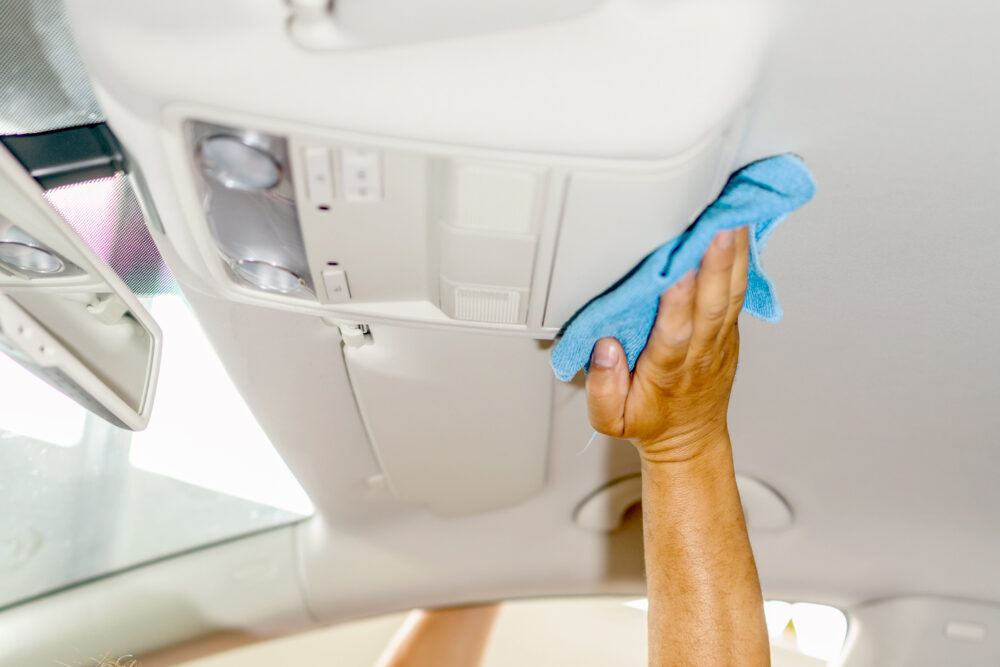
6. Blot the dirty area
Press the cloth against the mark and lift it away. Repeat with a clean part of the cloth.
For a larger area, work in small sections of about 6 to 12 inches. Use light, even pressure. Do not rub in circles or scrub back and forth.
Blotting lifts dirt from the fibers. Hard rubbing can push dirt deeper and flatten the headliner’s texture.
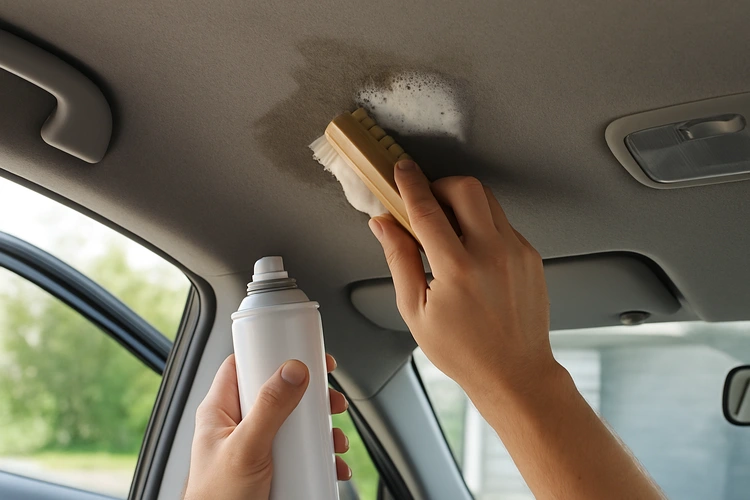
7. Use a soft brush only when needed
If dirt remains, use a soft detailing brush with very light strokes. Keep the brush nearly parallel to the surface.
Stop if the fabric begins to fuzz, pill, stretch, or change color. A brush should loosen surface dirt, not force cleaner into the foam.
8. Remove cleaner residue
Use a second microfiber cloth that is only slightly damp with distilled water. Blot the cleaned section once or twice to remove excess product.
Do not rinse the headliner with water. The goal is to remove residue without wetting the backing board.
9. Dry the headliner
Blot the area with a dry towel. Leave the doors or windows open until the fabric is fully dry.
A small fan can improve airflow. Do not use a heat gun or a high-heat hair dryer. Strong heat may shrink the fabric or soften the adhesive.
Do not judge the final result until the area is dry. Some water marks look worse while the fabric is still damp.

How to Remove Common Headliner Stains
The best treatment depends on the stain. Always test the method first.
| Stain | First method | Main risk |
|---|---|---|
| Dust or light dirt | Vacuum, then dry microfiber cloth | Rubbing dirt into fabric |
| Fingerprints | Mild upholstery cleaner on cloth | Water rings |
| Food or drink | Blot with a damp cloth, then use mild cleaner | Sticky residue |
| Grease | Use a small amount of automotive upholstery cleaner | Spreading the oil |
| Makeup | Blot; use cleaner only if the cloth is colorfast | Dye transfer |
| Ink | Seek professional advice first | Permanent spreading |
| Smoke film | Clean the entire interior, not just the roof | Odor returning |
| Mold or mildew | Stop and seek professional cleaning | Spores and hidden moisture |
Food and drink stains
Remove solid material with a spoon or the edge of a plastic card. Do not scrape hard.
Blot the mark with a cloth lightly dampened with distilled water. If a sticky film remains, use a small amount of mild upholstery cleaner. Work from the outer edge toward the center to reduce spreading.
Grease and oily marks
Grease can spread when rubbed. Use a cleaner labeled for automotive upholstery and apply it to the cloth.
Blot from the outside of the mark toward the middle. Replace the cloth when it becomes dirty. Several light treatments are safer than one wet treatment.
Smoke odor
Smoke odor may remain in the foam, seats, carpet, vents, and other trim. Cleaning only the headliner may improve the smell but may not remove the source.
Clean the headliner lightly, then clean other fabric surfaces according to their material. Replace the cabin air filter if the owner’s manual allows and if it smells strongly of smoke. Severe smoke contamination may require professional odor treatment.
Mold or mildew
Do not simply spray and scrub visible mold. Moisture may be trapped above the headliner or inside the vehicle.
A moldy headliner can point to a leak around the windshield, sunroof, roof antenna, door seal, or roof rack. Have the leak found and repaired. For widespread mold, hire a qualified automotive detailer or remediation professional.

What Not to Do When Cleaning a Headliner
Avoid these common mistakes:
Do not soak the fabric
A wet headliner may look clean at first and then sag days later. Excess water can also create large rings and soften the adhesive.
Do not use a steam cleaner
Steam adds heat and moisture. It can loosen the bond between the fabric and foam. Steam may also force moisture into roof electronics.
Do not scrub hard
Aggressive scrubbing can make one patch look lighter than the rest of the roof. It may also roughen the fabric or expose the foam.
Do not spray near roof electronics
Keep sprays away from lights, switches, microphones, cameras, sunroof controls, and wiring. Liquid can enter through small gaps.
Do not pull at loose fabric
If the fabric has started to sag, cleaning will not fix the adhesive failure. Pulling it tight can enlarge the damaged area.
Do not use a household magic eraser
A melamine foam sponge works like a very fine abrasive. It can remove color and change the texture of the fabric.
Do not clean only one large visible patch
A sharply cleaned rectangle may look worse than a light overall cleaning. If the whole headliner is evenly dirty, clean small adjoining sections with the same amount of moisture and pressure.
When You Should Hire a Professional
Professional cleaning is the safer choice when:
- The headliner is sagging
- The fabric has separated from the backing board
- The stain covers a large area
- The vehicle has heavy smoke damage
- Mold or mildew is present
- Water entered through the roof
- The stain may be ink, dye, or permanent marker
- The headliner has delicate suede, wool, or specialty fabric
- The roof contains exposed electronics
- You are unsure whether the fabric is colorfast
Ask the detailer how they control moisture. A good service should explain whether it uses low-moisture extraction, fabric-safe chemicals, and proper drying.
A professional may not be able to remove every stain. Some marks permanently change the fabric color or damage the foam. The best result may require headliner repair or replacement rather than more cleaning.

How Often Should You Clean a Car Headliner?
Clean the headliner only when it looks dirty or develops an odor. Most vehicles do not need frequent headliner washing.
A practical schedule is:
- Vacuum lightly during regular interior cleaning
- Spot-clean spills as soon as possible
- Deep-clean only when needed
- Check for roof leaks after heavy rain or car washing
- Clean smoke film as part of a full interior service
Frequent wet cleaning creates more risk than benefit. Regular dust removal and quick blotting are usually enough to maintain the fabric.

Signs the Cleaning Worked
A successful cleaning should leave the headliner:
- Even in color
- Free of loose surface dirt
- Dry to the touch
- Free of a sticky residue
- Free of a strong chemical odor
- Firmly attached to the backing board
If the fabric feels stiff, looks patchy, or has a damp smell, allow more drying time. If the headliner begins to sag or separate, stop cleaning and arrange a repair assessment.
Quick Decision Guide
Use this guide before choosing a cleaning method:
- Light dust: Vacuum with a soft brush.
- Small fresh spill: Blot with a slightly damp microfiber cloth.
- Set-in food or grease stain: Use a small amount of tested upholstery cleaner on the cloth.
- Large stained area: Have a professional assess it before applying liquid.
- Sagging fabric: Repair or replace the headliner; do not clean it with water.
- Smoke odor: Clean the full cabin and inspect the cabin air filter.
- Mold or repeated dampness: Find and fix the water source first.
The best method is the least aggressive method that solves the problem.

Frequently Asked Questions
Can I use vinegar to clean a car headliner?
Vinegar is not the best general choice. It may leave an odor, affect some dyes, or fail to remove oily residue. A mild automotive upholstery cleaner is a more controlled option. Always follow the vehicle and cleaner manufacturer’s instructions.
Can I use a carpet cleaner on a headliner?
It is usually better not to use a carpet extractor or carpet shampoo on a headliner. These tools can add too much water and suction. Use a low-moisture upholstery product only if it is approved for foam-backed fabric.
How do I remove water stains from a headliner?
First, find and repair the leak. Then test a mild upholstery cleaner in a hidden area. Lightly blot the entire affected section instead of wetting only the ring. Cleaning only the center can create a new visible boundary.
Why is my headliner sagging after cleaning?
Excess moisture, heat, age, or failed adhesive can cause sagging. More cleaning will not restore the bond. Avoid gluing the fabric without checking the backing board, because a poor repair can cause wrinkles and interfere with trim or airbag areas.
Should I remove the headliner before cleaning it?
Usually, no. Removing it adds a risk of damaged clips, trim, wiring, and roof-mounted safety equipment. Clean it in place unless a qualified technician needs to remove it for repair or replacement.
Conclusion
The best way to clean a car headliner is to use minimal moisture, gentle blotting, and controlled drying. Vacuum first, test the cleaner, apply it to a microfiber cloth, work in small sections, and never soak or steam the fabric.
If the headliner is sagging, moldy, heavily stained, or close to roof electronics, stop and use a qualified automotive detailer. A careful clean can remove surface dirt, but it cannot repair failed adhesive or hidden water damage.