What To Use To Clean Car Headliner: Safe Cleaning Guide
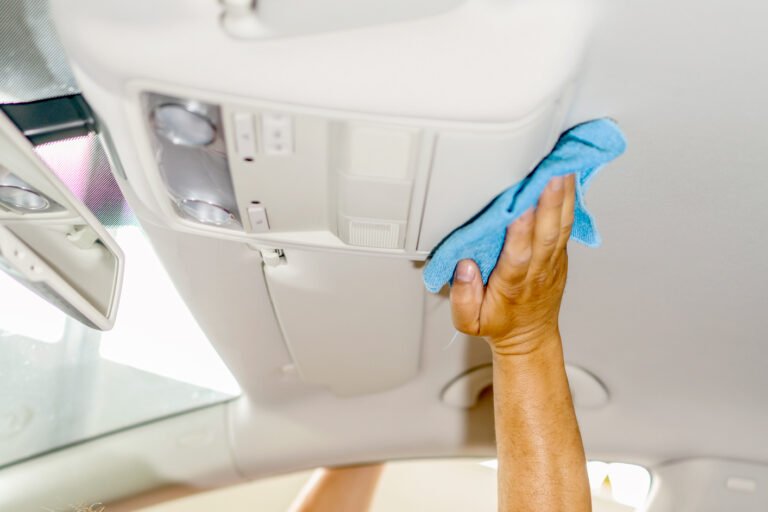
The safest way to clean a car headliner in the United States is to use a vacuum, clean microfiber cloths, and a small amount of fabric or upholstery cleaner labeled safe for automotive interiors. Use very little moisture. Never soak the headliner, since liquid can loosen the adhesive that holds the fabric to the roof panel.
Before cleaning, check your vehicle owner’s manual. Ford, GM, Toyota, Honda, Stellantis, and other U.S. automakers may give different care instructions for specific fabrics and trim materials.

Best Products for Cleaning a Car Headliner
The best cleaning tools depend on how dirty the headliner is. For most light stains, you do not need a strong chemical or special machine.
| Cleaning need | What to use | Why it works |
|---|---|---|
| Dust and loose dirt | Vacuum with a soft brush | Removes dry soil with little risk |
| Small spot | Microfiber cloth and mild fabric cleaner | Gives controlled cleaning |
| Grease mark | Automotive upholstery cleaner | Helps break down oily soil |
| Water mark | Lightly damp microfiber cloth | Removes surface residue |
| Pet hair | Rubber pet-hair brush or lint roller | Lifts dry hair without soaking |
| Smell | Cleaning first, then air drying | Removes the source instead of masking it |
The safest basic kit
Gather these items before you start:
- A vacuum with a soft brush attachment
- Two or three clean microfiber cloths
- An automotive fabric or upholstery cleaner
- A small bowl of clean water
- A soft, clean interior brush, if needed
- A dry towel
- Painter’s tape for protecting nearby trim
Choose a cleaner that says it is safe for automotive fabric, cloth upholstery, or headliners. A cleaner made for household carpet may be too wet or too strong for a vehicle roof liner.
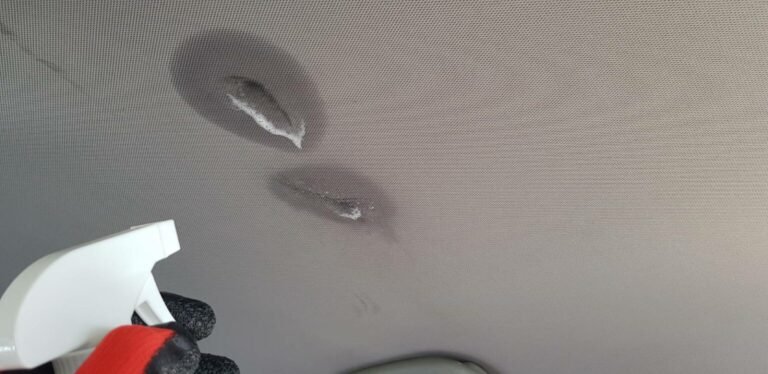
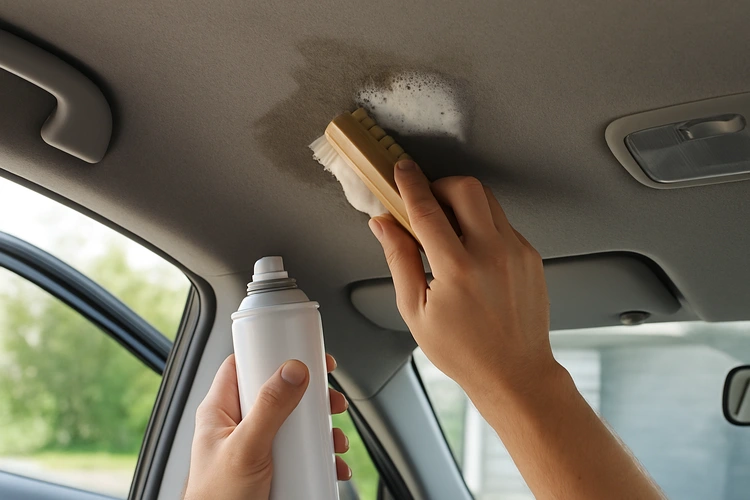
Do not spray cleaner directly onto the headliner. Spray a small amount onto the microfiber cloth instead. This gives you better control and reduces the chance of liquid reaching the foam backing or roof hardware.
How to Clean a Car Headliner Step by Step
Clean the headliner from the least aggressive method to the most aggressive one. Start dry, use a small amount of cleaner, and stop as soon as the mark is gone.
1. Park in a shaded, well-ventilated area
Park the vehicle in a garage or shaded area in the United States. Avoid cleaning a hot headliner in direct sun. Heat can make the fabric and adhesive more sensitive, while fast drying can leave uneven marks.
Open the doors or windows if conditions are safe. Remove sunglasses, papers, and other items from the roof console and seats.
2. Read the owner’s manual
Look for the interior-care section of the manual. Follow any warning about:
- Roof-mounted airbags
- Suede or Alcantara-style material
- Leather or vinyl roof panels
- Specialty coatings
- Recommended cleaning products
- Water restrictions around the overhead console
If the headliner is part of a roof-mounted airbag area, do not pull, remove, or sharply scrub the fabric.
3. Vacuum the surface
Use the soft brush attachment and keep the suction light. Move in one direction rather than pressing hard into the fabric.
Vacuum the entire headliner, including the edges near the doors, sun visors, grab handles, and overhead console. This removes dust and grit that could turn into mud during wet cleaning.
Do not use a bare vacuum nozzle. Its edge can mark, stretch, or pull the fabric.
4. Test the cleaner
Apply a small amount of the cleaner to a hidden area. Good test spots include:
- Behind a sun visor
- Near the rear edge
- Inside a trim seam, if accessible without pulling it apart
Wait until the test area dries. Check for color change, a ring, rough texture, or loose fabric. If you see a problem, do not use that product on the visible area.
5. Blot the stain with a damp cloth
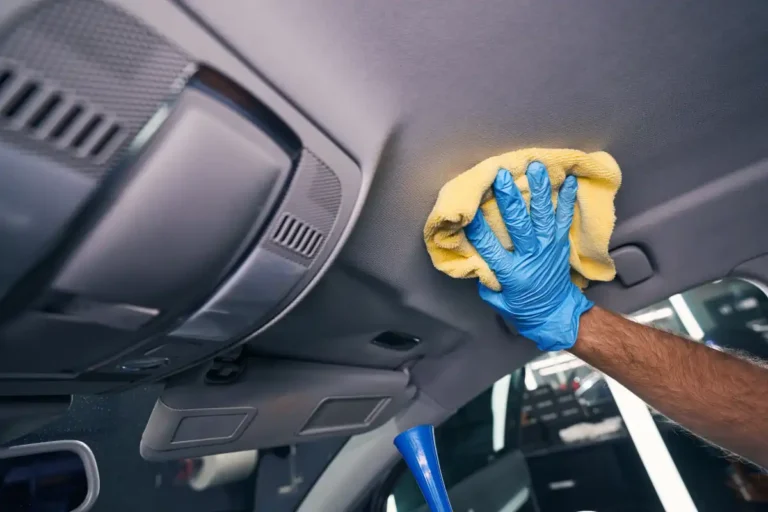
Spray the cleaner onto a microfiber cloth. The cloth should be damp, not wet.
Gently blot the mark. Do not scrub in circles and do not push hard. Headliner fabric is often bonded to a thin foam layer. Heavy rubbing can create a fuzzy patch or separate the fabric from its backing.
Work from the outer edge of the stain toward the center. This helps reduce the chance of spreading the mark.
6. Use a soft brush only when needed
If the stain remains, use a soft interior brush with very light pressure. Make a few short passes, then blot with a clean microfiber cloth.
Avoid hard nylon brushes, stiff toothbrushes, and abrasive pads. They can damage the fabric surface even when the cleaner is safe.
7. Remove cleaner residue
Dampen a clean microfiber cloth with plain water and wring it out well. Lightly blot the treated area to pick up leftover cleaner.
Do not wipe the whole headliner with a wet cloth. Clean only the affected area. Too much water can leave a larger ring than the original stain.
8. Let the headliner dry fully
Leave the doors or windows open in a safe place until the fabric is dry. Do not use a heat gun, hair dryer on high heat, or steam cleaner.
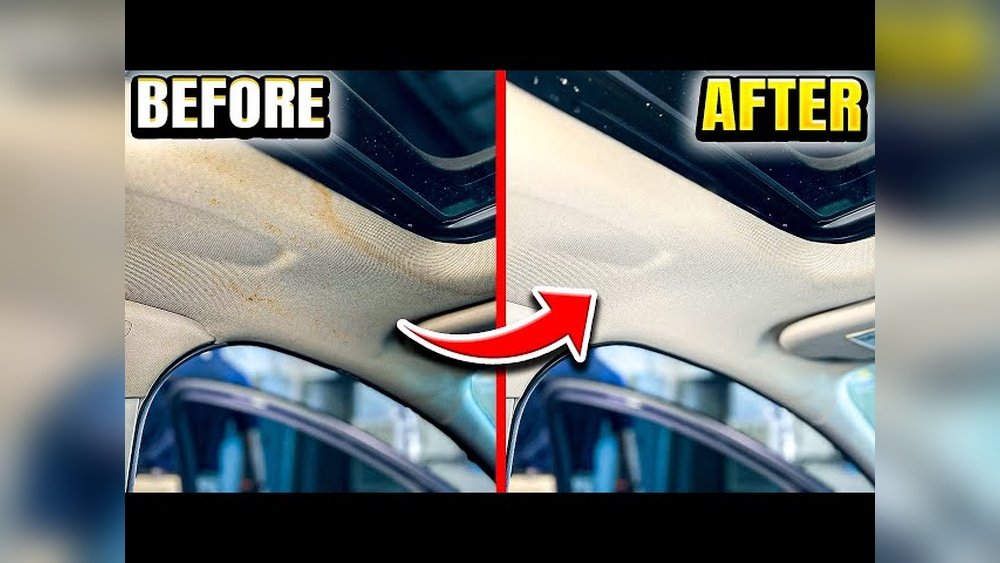
The headliner should look even and feel dry before you close the vehicle. If a faint ring appears, do not add more liquid right away. Let it dry completely first. Some marks change as the moisture evaporates.
Signs the cleaning worked
A successful cleaning usually leaves the headliner:
- Free of loose dust
- Even in color
- Dry to the touch
- Free of a strong chemical smell
- Firmly attached to the roof
- Free of new fuzz or fabric damage

What to Use for Specific Headliner Stains
The right approach changes with the type of stain. Identify the mark before choosing a stronger cleaner.
Dust and light dirt
Use a vacuum and a dry microfiber cloth first. If the surface still looks dull, use a small amount of automotive fabric cleaner on the cloth.
This is the lowest-risk cleaning method because it adds little moisture.
Fingerprints and light grease
Use an automotive upholstery cleaner designed for fabric. Apply it to a cloth, then blot the mark.
Grease can spread when rubbed. Use several clean sections of the cloth so you do not move the oil back onto the headliner.
Coffee, soda, or juice
Remove the stain as soon as possible. Blot with a dry towel first. Then use a slightly damp cloth with a fabric-safe cleaner.
Sugary drinks can leave a sticky residue. After the first pass, use a barely damp cloth with clean water to lift cleaner and sugar residue. Dry the area well.
Smoke odor
Cleaning the surface may reduce smoke odor, but it may not remove odor from the seats, carpet, vents, and other trim. Clean the headliner gently, then air out the vehicle.
Do not cover smoke odor with a strong fragrance. That may create a mixed smell without removing the source.
If the odor remains, professional interior cleaning may be more effective than repeated wet cleaning.
Water stains
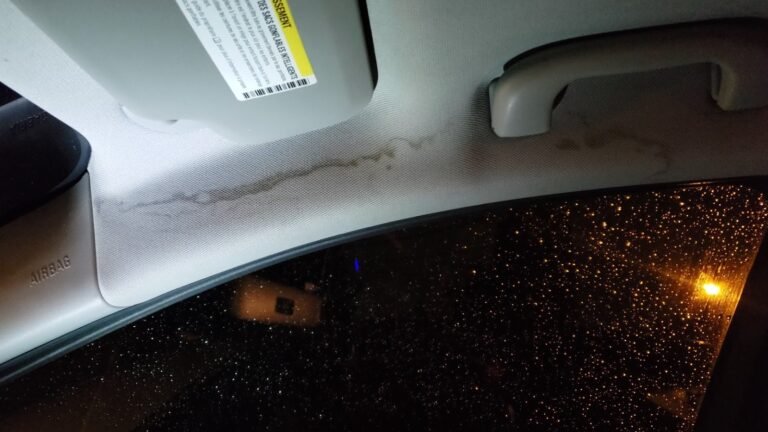
First find and fix the leak. Common sources include:
- Sunroof drains
- Door seals
- Windshield seals
- Roof antennas
- Roof rack mounting points
- Weatherstripping
Cleaning a water ring without fixing the leak will not solve the problem. Once the leak is repaired and the headliner is dry, treat the mark with a small amount of fabric cleaner.
Mold or mildew
Do not simply spray fragrance or household cleaner over mold. Persistent moisture may point to a leak or trapped water inside the roof liner.
If you see widespread mold, smell a strong musty odor, or suspect water inside the headliner, have the vehicle inspected by an automotive interior professional. Avoid disturbing large areas near airbags or electrical parts.
Products and Methods to Avoid
Some common cleaning methods are too aggressive for a car headliner.
Avoid soaking the fabric
A headliner is not like a removable floor mat. It usually consists of fabric bonded to foam and a rigid backing board. Excess liquid may weaken the adhesive and cause sagging.
A sagging headliner often requires repair or replacement. More cleaning will not restore the bond.
Avoid steam cleaners
Steam adds heat and moisture. It can loosen adhesive, leave water marks, or affect nearby electrical components and roof-mounted airbags.
A professional may use specialized equipment and controlled methods, but a household steam cleaner is not a safe first choice for most owners.
Avoid bleach and strong household chemicals
Do not use bleach, ammonia, glass cleaner, bathroom cleaner, or undiluted degreaser. These products may discolor the fabric, leave residue, or damage the foam backing.
Even a cleaner that works well on glass or plastic may be unsuitable for cloth.
Avoid hard scrubbing
Hard scrubbing can:
- Flatten the fabric
- Create a lighter patch
- Pull fibers loose
- Spread grease
- Separate the fabric from the backing
Blotting is safer than scrubbing.
Avoid spraying near the overhead console
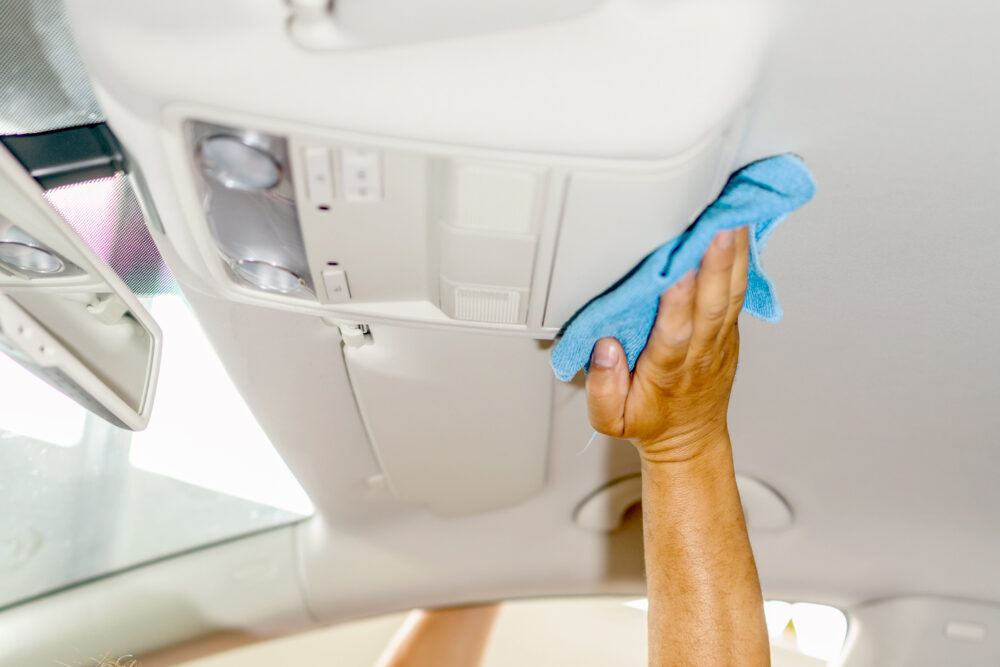
Liquid can enter buttons, lights, microphones, sensors, or wiring. Spray the cloth away from the vehicle, then bring the cloth to the headliner.
Avoid removing the headliner as a first step
Headliner removal may involve trim clips, wiring, curtain airbags, and other parts. If the fabric is sagging or torn, seek a qualified automotive trim professional rather than forcing it down.

When to Repair or Replace the Headliner Instead
Cleaning is suitable for surface dirt and small stains. It is not a fix for structural damage.
Consider professional repair when:
- The fabric is sagging
- The foam backing is visible
- The headliner has large water damage
- The fabric has torn
- The stain covers a large area
- The roof liner has mold
- The fabric remains loose after drying
- A roof-mounted airbag area is damaged
A small stain may be inexpensive to clean. A loose or sagging headliner may need fabric replacement, adhesive work, or a new backing board.
Do not glue a sagging headliner near an airbag without professional guidance. A repair that blocks or changes the path of a curtain airbag could create a serious safety problem.
How to Prevent New Headliner Stains
Prevention is easier than repeated wet cleaning.
- Keep drinks in sealed containers.
- Do not smoke inside the vehicle.
- Fix roof and door leaks quickly.
- Clean hands before adjusting the rearview mirror.
- Use the sun visors carefully.
- Keep dirty cargo away from the roof.
- Vacuum lightly during regular interior cleaning.
- Wipe spills before they dry.
- Keep windows closed during rain when possible.
When cleaning the rest of the interior, do the headliner first. This prevents cleaner from dripping onto seats or dashboard surfaces. Use a separate cloth for glass, plastic, and fabric.

Key Takeaways
- Use a soft vacuum brush, microfiber cloth, and automotive fabric cleaner.
- Test the cleaner in a hidden spot first.
- Spray the product on the cloth, not on the headliner.
- Blot gently and use as little moisture as possible.
- Never soak, steam, bleach, or aggressively scrub the fabric.
- Fix leaks before treating water stains.
- Get professional help for sagging fabric, mold, airbag-area damage, or large stains.
Frequently Asked Questions
Can I use dish soap to clean a car headliner?
Dish soap is not the best first choice. It can leave residue and may be difficult to rinse from the fabric without using too much water. Use an automotive fabric cleaner instead. If the vehicle manual permits mild soap, use a very diluted solution on a cloth and test it first.
Can I use vinegar on a car headliner?
Vinegar is not recommended as a general headliner cleaner. Its odor may linger, and its effect can vary by fabric and backing material. A product labeled safe for automotive upholstery is a more controlled option.
Can I use a Magic Eraser on a headliner?
Avoid it. A melamine foam eraser is mildly abrasive and may create a light or fuzzy patch on headliner fabric. It can remove the surface finish along with the stain.
How do I remove nicotine stains from a headliner?
Vacuum first, then use a fabric-safe automotive cleaner on a microfiber cloth. Blot small areas and allow them to dry between passes. If yellowing or smoke odor covers the entire roof, professional detailing may be safer and more effective than repeated wet cleaning.
Why is my car headliner sagging after cleaning?
Excess moisture, heat, age, or adhesive failure can cause the fabric to separate from its foam backing. Stop cleaning the area. Do not pull the fabric down or add more adhesive, especially near curtain airbags. Have an automotive trim professional inspect it.
How often should I clean my car headliner?
Clean it only when it shows dust, stains, or odor. Light vacuuming during routine interior care is usually enough. Frequent wet cleaning can increase the risk of residue, water marks, and adhesive failure.
Final Recommendation
For most vehicles in the United States, start with a soft vacuum brush. If a stain remains, use a tested automotive upholstery cleaner on a microfiber cloth and blot gently. Keep the headliner almost dry, protect the overhead controls and airbags, and stop if the fabric begins to loosen.