What Is The Best Headliner Cleaner: Easy Buying Guide
Introduction
The best headliner cleaner for most cars, trucks, and SUVs in the United States is a low-moisture foaming fabric or upholstery cleaner made for automotive interiors. It should lift dirt without soaking the headliner or loosening the fabric from its backing.
For light marks, a clean microfiber towel and a small amount of foam are often enough. The safest method is to clean the surface, not saturate it. Too much water, steam, or pressure can damage the headliner adhesive and cause sagging.

Quick Answer: What Is the Best Headliner Cleaner?
A mild foaming automotive upholstery cleaner is usually the best choice. Look for a product that:
- Is labeled for fabric, cloth, or automotive upholstery
- Produces foam rather than a watery spray
- Leaves little residue
- Does not contain bleach or strong solvents
- Can be tested on a hidden area first
- Has clear use and safety instructions
Common examples include automotive carpet and upholstery foams from brands such as Meguiar’s, 303, and Tuff Stuff. The brand matters less than the formula, the label directions, and how much moisture you use.
No cleaner is safe for every headliner. Headliner materials differ by vehicle. Many use a thin fabric bonded to foam or a fiberboard shell. If the adhesive gets too wet, the fabric may bubble, wrinkle, or fall.
Best Headliner Cleaner by Cleaning Need
The right product depends on the stain, the headliner material, and the amount of moisture involved.
| Cleaning need | Best option | Why it works | Main caution |
|---|---|---|---|
| Light dust or fingerprints | Dry microfiber towel | Removes loose soil with little risk | Do not rub hard |
| Small food or drink mark | Foaming automotive upholstery cleaner | Adds cleaning power with less water | Use a small amount |
| Greasy spot | Mild upholstery foam and a clean towel | Helps break up surface oil | Do not spread the stain |
| Smoke odor | Surface cleaning plus ventilation | Removes residue on exposed surfaces | Odor may remain in padding |
| Mold or deep water damage | Professional inspection | Damage may be below the fabric | Do not mask the problem |
| Loose or sagging fabric | Repair shop or upholstery specialist | Cleaning will not fix failed adhesive | Avoid brushing the area |
Best overall type: automotive upholstery foam
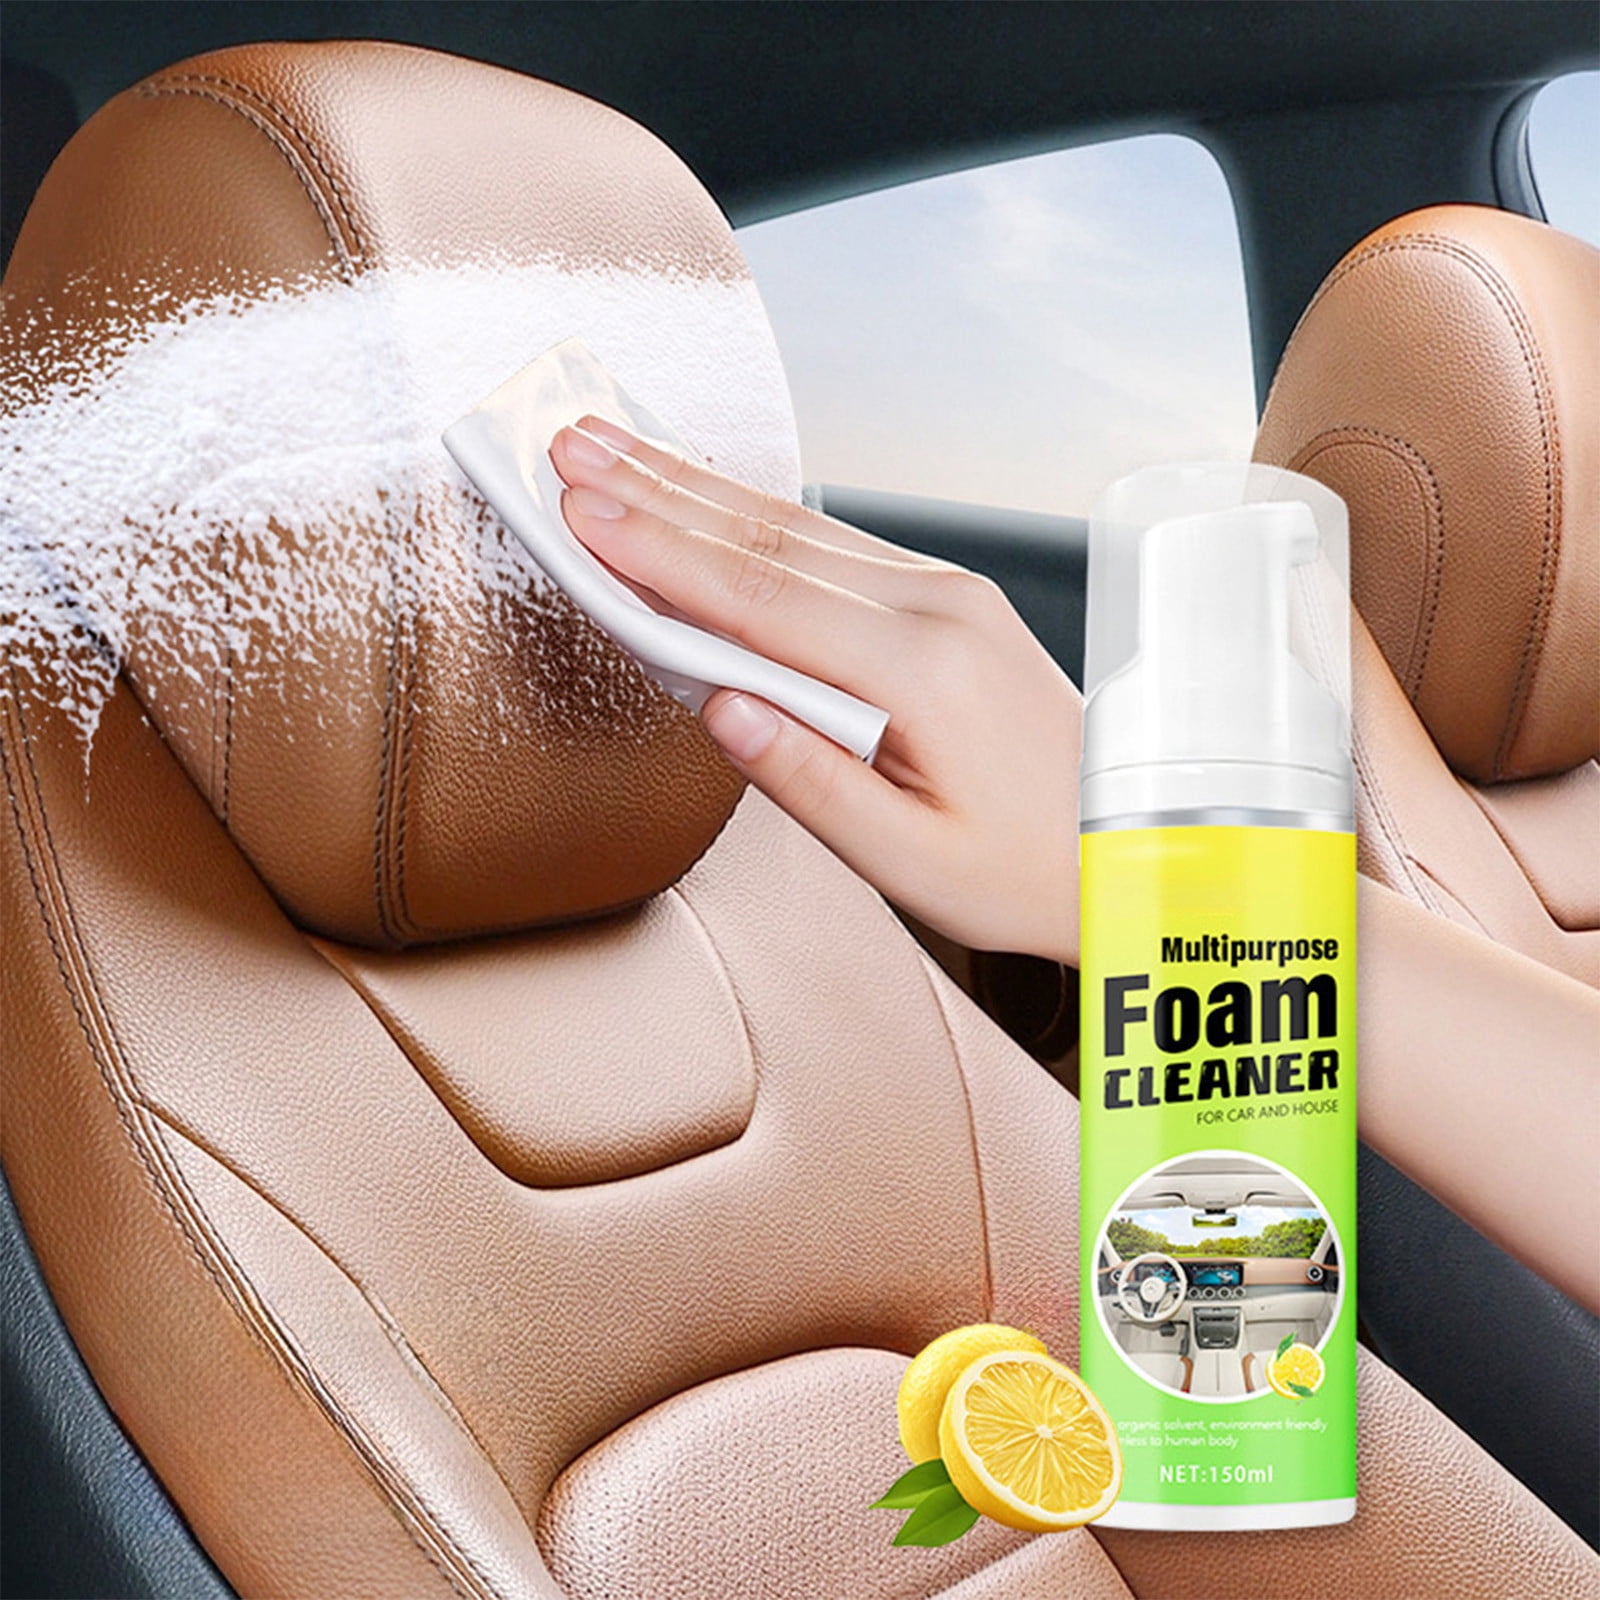
A foam cleaner is a practical first choice because it helps control moisture. The foam sits on the towel or surface instead of flooding the fabric.
This does not mean every foam cleaner is safe. Some formulas may leave a white film, dark rings, or a strong scent. Always read the current product label and test a hidden spot.
Best option for very light soil: water and a microfiber towel
If the headliner only has dust or a few fingerprints, start with the least aggressive method. Use a dry microfiber towel. If needed, lightly dampen one corner of the towel with clean water.
Do not spray water directly onto the ceiling. A damp towel gives you much better control.
Best option for smoke odor
A cleaner may remove smoke residue from the visible fabric, but it may not remove odor trapped in the foam, insulation, seats, carpet, or air system.
Start with gentle surface cleaning. Then air out the vehicle. Replace the cabin air filter if it smells strongly of smoke and the vehicle maker lists it as serviceable. Severe smoke odor may need professional odor treatment.
Best option for a sagging headliner
No headliner cleaner is the right fix for sagging fabric. Sagging often points to failed adhesive or damaged backing. Cleaning can make the fabric move more and may increase the damage.
A trim shop or automotive upholstery shop can inspect the panel and recommend repair or replacement.

How to Clean a Car Headliner Without Damaging It
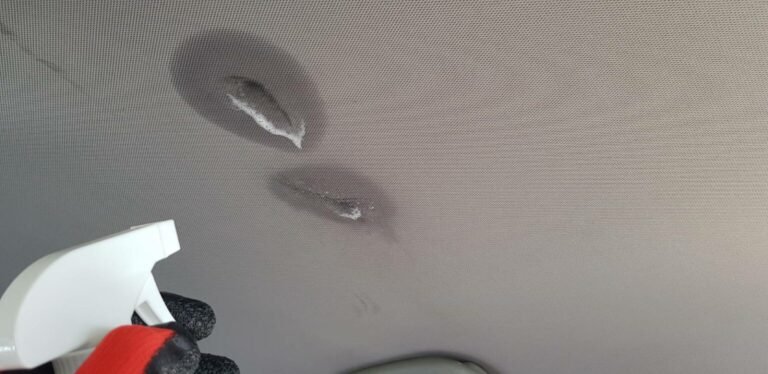
Use a small amount of cleaner, light pressure, and short work sections. Stop if the fabric begins to change color, ripple, or separate.
What you need
Gather:
- A vacuum with a soft brush attachment
- Two or three clean microfiber towels
- A mild automotive fabric or upholstery foam
- A soft interior brush, if needed
- Nitrile gloves
- Good ventilation
- A small test area that is not easy to see
Avoid using a stiff carpet brush. Headliner fabric is thinner and more fragile than carpet.
Step 1: Check the vehicle manual
The owner’s manual may include instructions for the headliner. Some vehicle makers advise using only a damp cloth. Others allow a mild upholstery cleaner.
If the manual warns against liquid cleaners, follow that warning. The vehicle maker’s instructions take priority over general advice.
Step 2: Remove loose dust
Use a vacuum with a soft brush. Keep the nozzle from pressing into the fabric.
Move in one direction. Do not grind dirt into the headliner. If the fabric is already loose, skip vacuuming that area.
Step 3: Test the cleaner
Apply a small amount to a hidden area. Wait until it dries.
Check for:
- Color change
- Water rings
- Fuzzing
- Stiffness
- Sticky residue
- Fabric separation
- New odors
A cleaner that looks fine when wet may leave a mark after drying. Always inspect the dry result.
Step 4: Put the foam on the towel
For most spot cleaning, spray the product onto a microfiber towel. Do not spray the ceiling directly.
Fold the towel so you have a clean section. Dab or wipe the mark with light pressure.
Step 5: Work in small areas
Clean an area about the size of your hand. Use short, gentle passes.
Avoid scrubbing back and forth. That motion can spread the stain and roughen the fabric.
Step 6: Lift the soil
Use a clean part of the towel to blot the area. Do not push the dirt deeper into the backing.
If the mark remains, repeat once after the first area dries. More product is not always better.
Step 7: Let the headliner dry
Leave the doors or windows open in a safe, dry place. Do not use high heat near the headliner.
The headliner should feel dry before the vehicle is closed for a long period. If it stays damp or develops a musty odor, stop using more cleaner.
How to Choose a Headliner Cleaner
Choose the cleaner by risk, not by the strongest claim on the bottle.
Look for these label features
A suitable product should clearly state that it is intended for one or more of these surfaces:
- Automotive fabric
- Cloth upholstery
- Carpet
- Interior trim
- Headliners, if specifically listed
A product labeled only for tires, engines, leather, plastic, or glass is not a headliner cleaner.
Avoid harsh ingredients and methods
Do not use these as a first choice:
- Household bleach
- Ammonia-based cleaners
- Acetone
- Paint thinner
- Strong degreasers
- Abrasive powders
- Solvent-heavy adhesive removers
- High-pressure steam
- Carpet extractors
- Large amounts of water
Some all-purpose cleaners can work on durable automotive fabrics. They are still a poor first choice for a headliner because their strength and moisture level may be hard to control.
Foam versus liquid
Foam is usually easier to control. A liquid spray can travel through the fabric and reach the adhesive.
This does not make foam risk-free. A large amount of foam still contains moisture. Apply less than you think you need.
Scent is not proof of cleaning power
A strong fragrance may cover an odor without removing its source. If a product leaves a heavy scent, use ventilation and avoid repeated applications.

Headliner Cleaner Comparison
The following comparison describes cleaner types, not laboratory rankings. Product formulas can change, so check the current label before use.
| Cleaner type | Good for | Benefits | Limitations |
|---|---|---|---|
| Automotive fabric foam | Small stains and general soil | Easy to control | May leave residue |
| Low-moisture upholstery cleaner | Larger dirty areas | Less water than wet cleaning | Still needs careful testing |
| Mild interior cleaner | Some durable fabrics | Useful for light grime | Can be too strong for delicate fabric |
| Water-only towel method | Dust and light marks | Lowest chemical exposure | Limited stain removal |
| Steam cleaner | Usually not recommended for a headliner | Can loosen dirt | Heat and moisture may damage adhesive |
| Enzyme cleaner | Some organic odors or stains | May break down organic residue | May require more moisture and dwell time |
| Professional upholstery service | Severe stains or odor | Better tools and material knowledge | Costs more |
For most owners, a mild automotive fabric foam offers the best balance of cleaning ability and control.
Common Headliner Cleaning Mistakes
Most headliner damage comes from excess moisture, pressure, heat, or repeated rubbing.
Spraying the entire ceiling
Direct spraying can create uneven wet spots. It can also send cleaner into the roof liner.
Spray the towel instead. If the product label requires direct application, use the smallest amount possible.
Scrubbing too hard
Headliner fabric can pill, fuzz, or separate from its backing. Light blotting is safer than forceful scrubbing.
Cleaning only one visible spot
A strong spot clean can leave a clean circle or dark edge. For a larger dirty area, blend gently into the surrounding fabric with a nearly dry towel.
Do not expand the wet area unless the entire section needs treatment.
Using a stiff brush
A brush may pull fibers or damage the foam layer. Use a very soft brush only when the fabric remains firm and the label allows brushing.
Using steam
Steam adds heat and moisture. That combination can weaken the adhesive that holds the headliner fabric in place.
Steam may be useful for some professional interior work, but it is not the safest home method for an overhead headliner.
Ignoring loose fabric
If the fabric has started to sag, stop cleaning that area. Cleaning cannot restore failed adhesive.

What to Do When Headliner Cleaning Fails
The next step depends on the symptom.
The stain becomes larger
This usually means the cleaner moved soil through the fabric or created a wet edge.
Let the area dry fully. Do not add more product at once. If the mark remains, a professional detailer may be able to clean the full panel evenly.
A ring appears after drying
A ring can result from uneven moisture or residue. Do not keep rubbing the center.
A trained detailer may use a controlled low-moisture process. Repeated home cleaning can make the ring more visible.
The fabric starts to sag
Stop immediately. Avoid water, steam, brushes, and adhesive removers.
A trim or upholstery shop can assess whether the panel can be repaired or needs replacement.
The odor returns
The odor may be in the foam, carpet, seats, vents, or cabin air filter rather than only in the headliner.
Clean the wider interior and check likely sources. If the smell is from water damage, find and repair the leak before treating the odor.
The headliner has mold or mildew
Do not simply spray fragrance or a general cleaner. Moisture damage may affect insulation and other hidden materials.
Wear suitable protection, keep the vehicle ventilated, and consider professional assessment. People with asthma, allergies, or other sensitivities should avoid exposure.

Is Professional Headliner Cleaning Worth It?
Professional cleaning is worth considering when the headliner has broad staining, smoke damage, water damage, mold, or delicate material.
A trained detailer should be able to explain:
- What product will be used
- How moisture will be controlled
- Whether the headliner is already loose
- How the area will be dried
- What result is realistic
Ask whether the work is a surface clean or a full odor treatment. These are different services.
Professional cleaning also cannot guarantee removal of every stain. Some marks permanently change the fabric or backing.
Safety Tips for Using Headliner Cleaner
Use the product in a well-ventilated area. Follow the label for gloves, eye protection, and ventilation.
Keep aerosol cans away from heat and flames. Do not smoke in the work area. Avoid spraying near electrical openings, sunroof controls, lights, cameras, or sensors.
If cleaner reaches an electrical part, stop and allow the area to dry before using that feature. If the vehicle has a roof-mounted sensor or electronics near the headliner, use extra care.
Never mix cleaning products. Mixing chemicals can create harmful vapors or damage the fabric.
Frequently Asked Questions
Can I use Windex on a car headliner?
Windex and similar glass cleaners are not the best choice for a headliner. They may leave residue, cause discoloration, or spread moisture through the fabric. Use a product labeled for automotive fabric or upholstery instead.
Can I use dish soap to clean a headliner?
Dish soap is not ideal. It can create excess suds and leave a sticky film that attracts dirt. If the vehicle manual permits a mild soap solution, use very little liquid and apply it to a towel, not the ceiling.
Can I use vinegar on a headliner?
Vinegar may change the smell of the fabric and does not solve every type of stain or odor. It also adds moisture. A labeled automotive upholstery cleaner is easier to control and is usually the better first step.
Will a Magic Eraser clean a headliner?
A melamine foam eraser acts like a fine abrasive. It can remove color, flatten fibers, or create a lighter patch. Avoid it on most headliners.
How often should I clean my car’s headliner?
Clean the headliner only when it is visibly dirty or has an odor. Routine vacuuming with a soft brush is safer than frequent wet cleaning.
Final Recommendation
For most U.S. vehicles, choose a mild, low-moisture automotive upholstery foam and apply it to a microfiber towel. Test it first, use light pressure, work in small sections, and let the headliner dry fully.
The best cleaner cannot prevent damage caused by too much water or force. If the fabric is sagging, badly stained, moldy, or affected by water damage, stop cleaning and contact an automotive upholstery or professional detailing service.
Sources and research basis
This guidance follows the common care limits found in:
- Vehicle owner manuals, which often advise gentle cleaning and warn against excess moisture on headliners
- Current product labels and safety data sheets for automotive fabric and upholstery cleaners
- Automotive upholstery repair practices concerning foam-backed fabric and failed headliner adhesive
- General interior-cleaning safety guidance from product manufacturers
Always use the current owner’s manual and product label for your exact vehicle and cleaner.