How To Clean Vinyl Headliner: Easy Stain Removal Guide
A vinyl headliner can collect dust, smoke film, fingerprints, food marks, and mildew. The safest way to clean it is to vacuum loose dirt, use a small amount of mild soap solution, and wipe gently without soaking the material. This method works for most vinyl headliners in cars, trucks, RVs, and boats in the United States.
Before you begin, check the vehicle or vessel owner’s manual. Some headliners use vinyl over foam, fabric, or a thin backing. Too much water, heat, or force can loosen the adhesive or cause the covering to sag.

What Is a Vinyl Headliner?
A vinyl headliner is the interior covering attached to the roof of a vehicle or boat. It may be made from solid vinyl or from a thin vinyl layer bonded to foam, board, or another backing.
Vinyl is water-resistant, but the structure beneath it may not be. This is why a vinyl headliner should be cleaned with a damp cloth rather than a soaking wet one.
A typical vinyl headliner has three parts:
- The visible vinyl surface: This is the part that holds dust and stains.
- The backing or foam layer: This gives the headliner shape and padding.
- The adhesive or fasteners: These hold the headliner to the roof.
The vinyl may tolerate light moisture, while the adhesive may not. Cleaning should remove dirt from the surface without pushing liquid into seams, edges, lights, or trim.

What You Need to Clean a Vinyl Headliner
Gather the following supplies before you start:
- A vacuum with a soft brush attachment
- Two or three clean microfiber cloths
- A small bowl of warm water
- Mild dish soap or a pH-neutral interior cleaner
- A soft upholstery brush, if needed
- A dry towel
- Cotton swabs for seams and small areas
- Nitrile gloves, especially if using a commercial cleaner
Use clean, white or colorfast cloths. A dyed towel may transfer color to light-colored vinyl.
For a simple homemade cleaner, mix:
- 2 cups of warm water
- 2 to 4 drops of mild dish soap
The solution should feel lightly soapy, not thick or sudsy. More soap does not mean better cleaning. Extra soap can leave a sticky film that attracts more dust.
Avoid these cleaners
Do not use the following unless the headliner manufacturer specifically permits them:
- Bleach
- Ammonia-based glass cleaner
- Acetone
- Nail polish remover
- Mineral spirits
- Strong degreasers
- Abrasive powders
- Rough scrub pads
- Undiluted alcohol
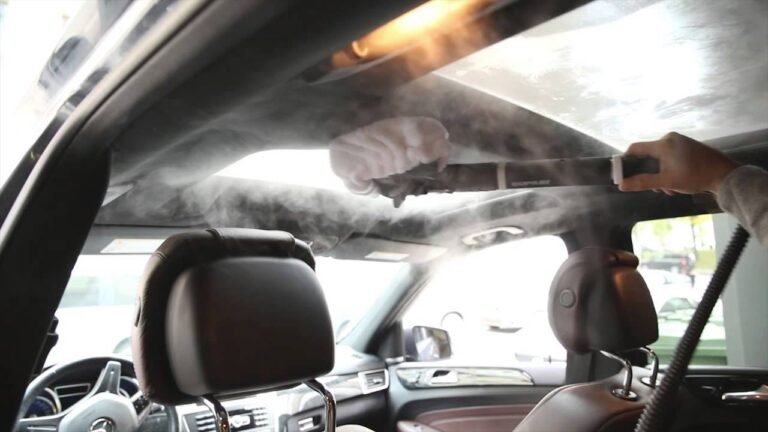
- High-heat steam cleaners
These products can discolor vinyl, dry its finish, damage the backing, or weaken the adhesive.
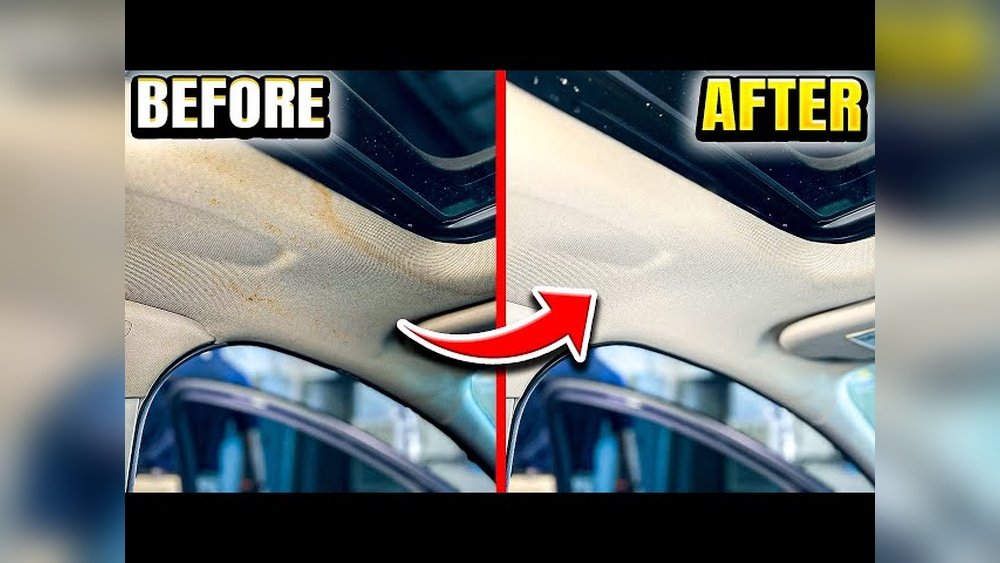
How to Clean a Vinyl Headliner Step by Step
Follow this process for routine dirt, light stains, and general buildup.
1. Park in a shaded, ventilated area
Park the vehicle in shade or indoors with the doors open. Avoid cleaning a hot roof liner in direct sunlight.
Heat can make vinyl softer and can cause cleaning liquid to dry too fast. Good airflow also helps the headliner dry after cleaning.
Remove sunglasses, clips, papers, and other items that may fall while you work.
2. Test the cleaner in a hidden spot
Apply a small amount of the cleaner to an unseen area, such as near the edge or behind a trim piece.
Wait several minutes. Check for:
- Color loss
- Sticky residue
– Swelling - Wrinkles
- A change in shine
- Softening of the surface
If the vinyl changes, stop using that cleaner. A hidden test is especially important on older vehicles, custom interiors, and marine vinyl.
3. Remove loose dust with a vacuum
Use the vacuum’s soft brush attachment. Keep the nozzle close to the surface without pressing hard.
Work in small sections. Move from front to back or from one side to the other. This helps you see which areas are clean.
Do not drag a hard vacuum nozzle over the vinyl. It may leave shiny marks, scratches, or dents.
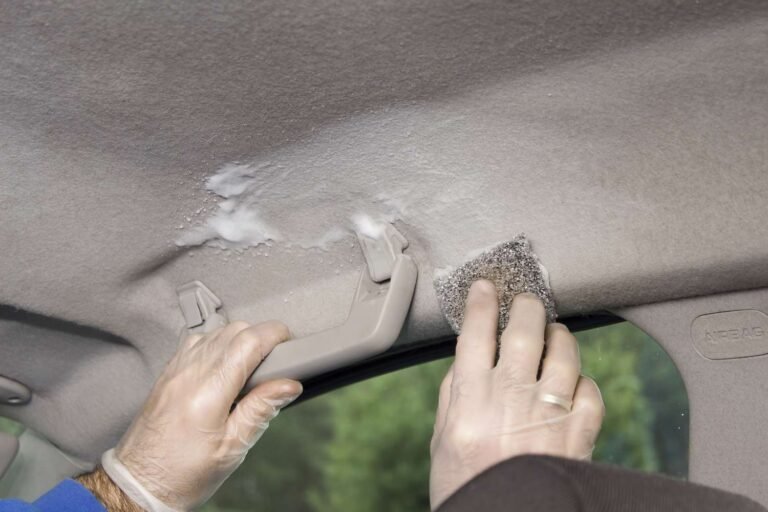
4. Wipe the surface with a damp microfiber cloth
Dip a microfiber cloth into the cleaning solution. Wring it out until it is damp, not wet.
Wipe one small area at a time with light pressure. Use straight, overlapping passes instead of forceful circular scrubbing.
A good working area is about 12 by 12 inches. Rinse and wring the cloth often so you do not spread dirt across the headliner.
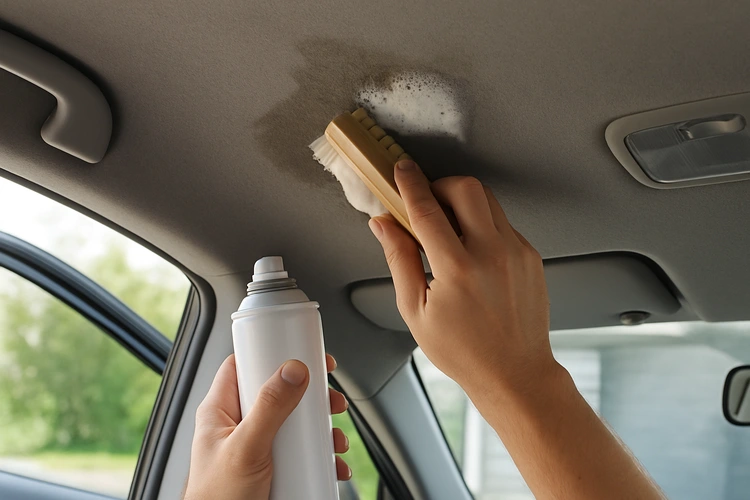
5. Use a soft brush for textured vinyl
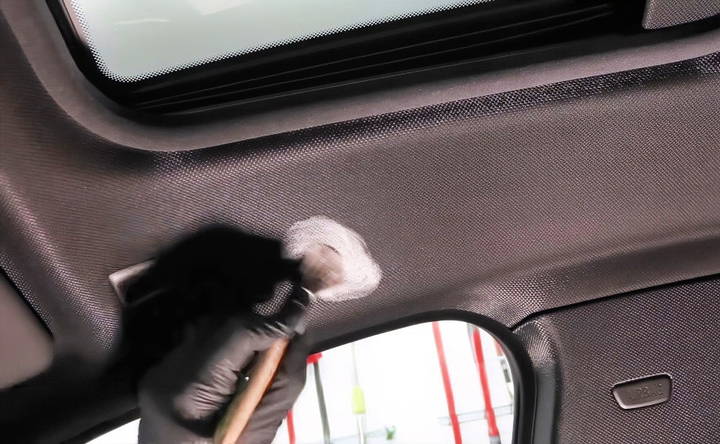
If dirt remains in the grain, use a soft upholstery brush.
Dip only the brush tips into the solution. Brush gently in one direction, then wipe the area with a clean damp cloth.
Do not scrub aggressively. Repeated pressure can flatten the texture or pull at the vinyl surface.
6. Wipe away soap residue
Use a second microfiber cloth dampened with plain water. Wring it out well and wipe the cleaned section.
This step removes leftover soap. It also reduces the chance of a dull or sticky film.
Do not spray water directly onto the headliner. Spray should always go onto the cloth, if the product label allows spraying at all.
7. Dry the headliner
Use a dry microfiber towel to blot excess moisture. Do not rub hard.
Leave the doors or windows open until the headliner is fully dry. Use normal ventilation, but avoid placing a heat gun, hair dryer, or space heater near the vinyl.
The headliner should feel dry and should not sag, ripple, or feel soft when you finish.

How to Remove Common Vinyl Headliner Stains
Different stains need different levels of care. Always start with the mildest method.
| Stain | First method | Extra caution |
|---|---|---|
| Dust or road film | Vacuum, then mild soap solution | Do not grind dirt into the surface |
| Fingerprints | Damp microfiber cloth | Use very little soap |
| Food or drink | Blot, then mild soap solution | Do not spread the stain |
| Grease | Mild soap solution in small amounts | Avoid strong degreasers |
| Smoke film | Several light cleaning passes | Ventilate the vehicle |
| Mildew spots | Clean only after finding the moisture source | Do not hide ongoing water damage |
| Ink or dye | Test a vinyl-safe cleaner first | Permanent discoloration may remain |
Food and drink stains
Blot fresh spills with a dry cloth. Do not rub, since rubbing can spread the stain through the vinyl texture.
Next, use the mild soap solution on a damp cloth. Clean from the outside edge toward the center of the mark.
Repeat with light passes rather than using a stronger chemical.
Grease and oily marks
A small amount of mild dish soap may help break down fresh oil. Place the solution on the cloth, not directly on the headliner.
Wipe gently, then follow with a clean damp cloth to remove soap. If the area still feels oily, repeat once.
Do not use engine degreaser or concentrated kitchen cleaner. These products may remove the vinyl’s finish or affect the adhesive below it.
Smoke film
Smoke residue may require more than one cleaning pass. Clean a small section, rinse the cloth, and repeat as needed.
Also clean nearby hard surfaces, such as the visor, dome light cover, door panels, and trim. Smoke odor can remain if residue is left elsewhere in the cabin.
Do not saturate the headliner to remove odor. Moisture can create a deeper problem than the smoke film.
Mildew or mold
Mildew on a headliner often points to a leak, condensation, wet clothing, or trapped moisture. Find and fix the moisture source before cleaning.
For a small surface spot, test a vinyl-safe cleaner in a hidden area. Clean gently and dry the area fully.
If the growth covers a large area, returns after cleaning, or has entered the foam backing, professional interior or mold remediation may be safer. Do not mix bleach with ammonia or other cleaners.

How to Clean a Vinyl Headliner With Nicotine or Heavy Grime
Heavy yellowing or sticky smoke residue may need several mild cleaning passes. It is safer to repeat a gentle process than to use a harsh chemical once.
Work in sections:
- Vacuum the entire headliner.
- Clean one small section with diluted mild soap.
- Wipe the section with plain water.
- Blot it dry.
- Move to the next section.
- Inspect the headliner after it dries.
If yellowing remains after cleaning, the discoloration may have penetrated the vinyl, foam, or adhesive. Cleaning cannot always restore the original color.
A professional detailer may be able to improve the appearance, but replacement may be the only option if the backing is stained or damaged.
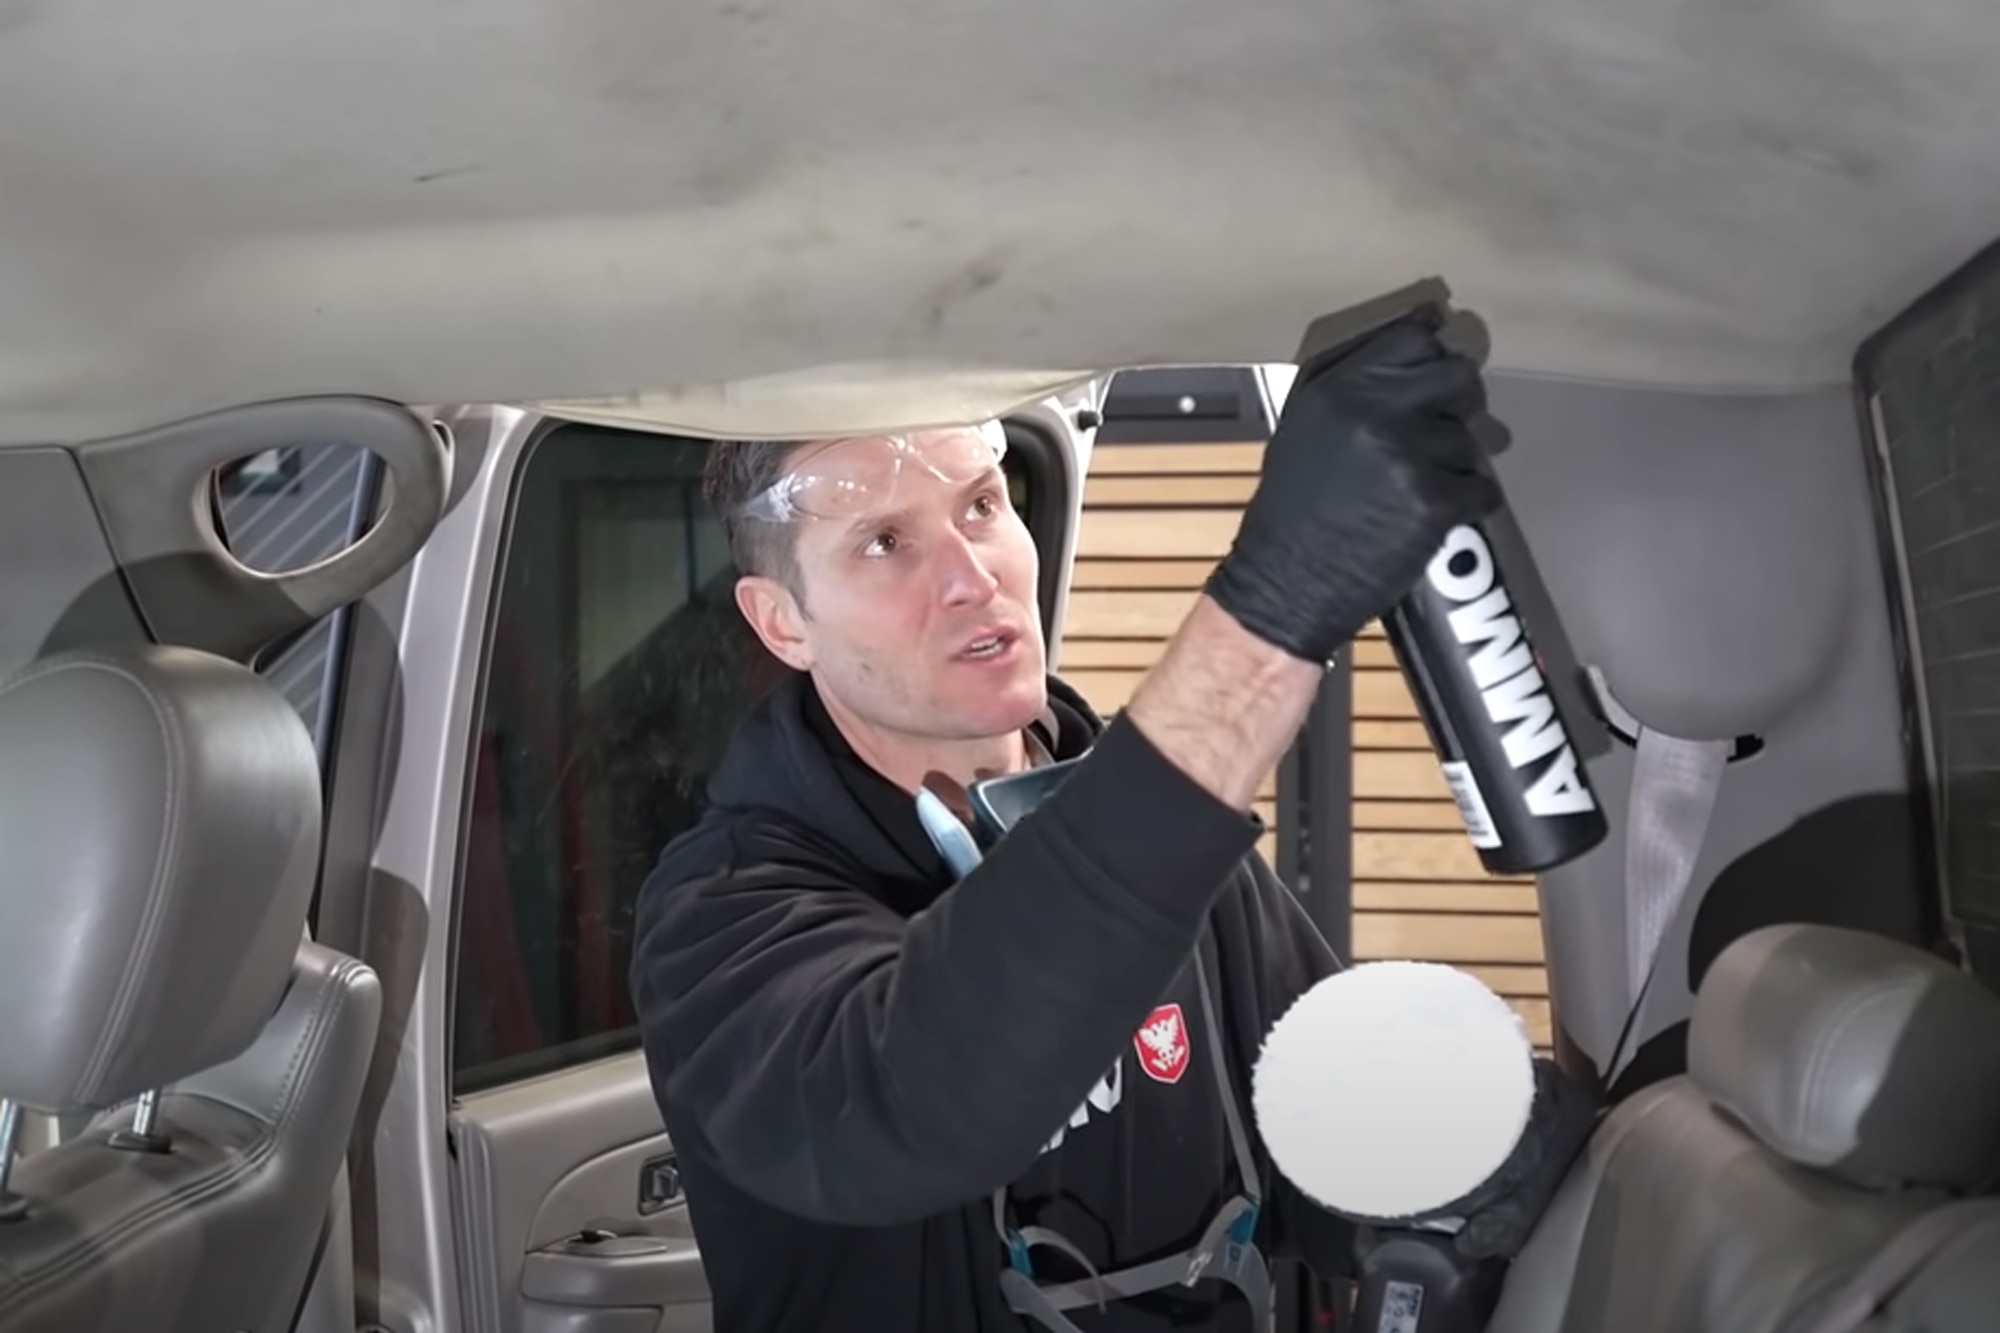
What to Do if the Vinyl Headliner Is Sagging
Cleaning will not repair a sagging headliner. Sagging usually means the foam backing or adhesive has broken down.
Avoid pulling the vinyl tight or pushing it back into place while it is wet. This can create wrinkles or tear the material.
Look for these signs of structural damage:
- A loose edge
- Bubbles under the vinyl
- Wrinkles that remain after drying
- Foam dust falling from the headliner
- A section that hangs lower than the rest
- Trim or dome lights pulling away from the roof
If the headliner is only dirty, clean it gently. If it is loose or sagging, seek an automotive upholstery shop. Removing and rebonding a headliner often requires the right adhesive, tools, and trim-removal method.
Do not use household glue or spray adhesive without confirming that it is made for automotive headliners. Some adhesives fail under heat and may release strong fumes inside the vehicle.

Common Mistakes to Avoid
The most common headliner damage comes from too much moisture, too much pressure, or the wrong cleaner.
Avoid these mistakes:
- Spraying cleaner directly on the roof: Liquid can reach lights, wiring, seams, and adhesive.
- Soaking the fabric or vinyl: The backing may hold moisture and develop odors or stains.
- Scrubbing hard: Friction can damage the finish and loosen the covering.
- Using a stiff brush: Hard bristles can mark textured vinyl.
- Cleaning in direct heat: Hot surfaces dry unevenly and may soften adhesive.
- Using a magic eraser: Melamine foam acts like a fine abrasive and may dull the surface.
- Ignoring a water leak: New stains may return after cleaning.
- Using too much soap: Residue attracts dust.
- Skipping a spot test: Some vinyl coatings react badly to solvents or strong cleaners.
- Cleaning around electrical parts carelessly: Dome lights, microphones, sensors, and switches can be damaged by liquid.
If you make the headliner too wet, stop cleaning. Blot it with dry towels, open the doors, and allow it to dry with good airflow.

How Often Should You Clean a Vinyl Headliner?
Clean a vinyl headliner when it looks dusty, feels sticky, or develops visible marks. Light dusting every few weeks can reduce the need for wet cleaning.
For many vehicles, a gentle deep clean once or twice a year is enough. Vehicles used for work, pets, smoking, food delivery, or outdoor activities may need cleaning more often.
Use this simple schedule:
- Every few weeks: Dust with a soft brush or vacuum.
- Every few months: Wipe high-touch areas and visible marks.
- As needed: Clean spills and stains promptly.
- After a leak: Find and repair the water source before cleaning.
The best frequency depends on use, climate, and the condition of the vinyl. Frequent heavy scrubbing is not better than light, regular care.

When Should You Call a Professional?
Professional help makes sense when the headliner has structural damage, widespread staining, or persistent odor.
Contact an automotive upholstery or professional detailing service if:
- The headliner is sagging
- The vinyl has torn
- The foam backing is crumbling
- A water stain keeps returning
- Mold or mildew covers a large area
- The surface has severe smoke damage
- You cannot identify the material
- Cleaning causes bubbling, wrinkling, or color loss
Ask what cleaning method the service will use and whether it is suitable for vinyl over foam. A careful professional should inspect the headliner before applying water, heat, or chemicals.
Frequently Asked Questions
Can I use a regular household cleaner on a vinyl headliner?
Only if the product label says it is safe for vinyl and interior surfaces. Avoid cleaners with bleach, ammonia, solvents, abrasives, or strong degreasers. A diluted mild soap solution is often the safer starting point.
Can I use a steam cleaner on vinyl headliner material?
Steam can expose the adhesive and backing to heat and moisture. Unless the vehicle or headliner manufacturer specifically approves steam cleaning, avoid it. Use a lightly damp microfiber cloth instead.
How do I remove water stains from a vinyl headliner?
First, find and repair the leak. Then vacuum the area and clean it with a damp cloth and mild soap solution. If the stain remains after the headliner dries, it may be inside the backing or adhesive and may need professional treatment.
Can I use vinegar to clean a vinyl headliner?
Vinegar may affect some finishes, coatings, adhesives, and nearby materials. It is not necessary for routine cleaning. Use a mild soap solution or a vinyl-safe interior cleaner, and test it in a hidden area first.
Why does my headliner still smell after cleaning?
Odor may remain in the foam backing, carpet, seats, vents, or other cabin surfaces. Check for leaks and moisture. If the smell is musty, do not keep adding cleaner; dry the vehicle and address the moisture source.
Final Takeaway
To clean a vinyl headliner safely, vacuum first, test the cleaner, use a small amount of mild soap solution, and work with a damp microfiber cloth. Keep moisture away from seams, lights, and the backing. Never use harsh solvents, heavy pressure, or high heat.
If the headliner sags, bubbles, smells musty, or shows repeated water stains, cleaning is not the full solution. Find the source of the damage or contact an automotive upholstery professional.