How To Clean Cloth Headliner: Easy Safe Steps
A cloth headliner is the fabric-covered panel fixed to the roof inside your car, truck, or SUV. To clean it safely, vacuum loose dust first, test a mild cleaner in a hidden spot, apply very little moisture, and blot instead of scrubbing. Too much water can loosen the fabric, stain the foam backing, or make the headliner sag.
This guide is for vehicles commonly sold and used in the United States. Always check your vehicle owner’s manual before using a chemical cleaner. Some manufacturers use delicate foam-backed fabric that needs special care.
What You Need Before Cleaning a Car Headliner
Gather the right tools before you start. A careful setup helps prevent excess moisture and streaks.
You will need:
- A vacuum with a soft brush attachment
- Two or three clean microfiber cloths
- A soft interior brush or clean, soft toothbrush
- A small spray bottle
- Warm water
- A mild automotive interior cleaner or a small amount of gentle dish soap
- A dry towel
- Painter’s tape or plastic sheeting to protect the seats and dashboard
- Nitrile gloves, if your cleaner calls for them
Choose a mild cleaner made for automotive fabric when possible. Read the product label and follow its dilution and ventilation instructions. Avoid strong solvents, bleach, ammonia, and household glass cleaner.
Why headliner fabric needs special care
Most cloth headliners are not solid fabric panels. They often consist of several layers:
- A thin cloth surface
- A foam or felt backing
- An adhesive layer
- A rigid roof panel
The adhesive and backing are the weak points. Heavy scrubbing can roughen the cloth. Excess water can soak through the fabric and affect the adhesive. Heat can also speed up adhesive failure in a hot vehicle.
The goal is to clean the surface, not soak the entire panel.
Prepare the vehicle
Park in a shaded, dry place with good airflow. A garage with the door open can work well. Do not clean the headliner in direct, hot sunlight because the cleaner may dry too fast and leave marks.
Open the vehicle doors or windows. Remove sunglasses, papers, and other items from the cabin. Cover the top edges of the seats if you plan to use a spray cleaner.
If your vehicle has a sunroof, keep the sunroof closed while cleaning. Do not spray near overhead lights, microphones, switches, grab handles, or wiring.

How to Clean a Cloth Headliner Step by Step
The safest process is dry cleaning first, followed by controlled spot cleaning. Work in small sections so you can see how the fabric reacts.
1. Read the vehicle manual
Look for instructions about interior materials and approved cleaners. Some automakers list cleaning methods for fabric, suede-like trim, or special roof materials.
If the headliner has a warning label, follow it. If the fabric is loose, torn, or already sagging, avoid wet cleaning until you decide whether it needs repair.
2. Remove loose dust with a vacuum
Use a soft brush attachment. Hold the vacuum close to the surface without pressing hard.
Move in one direction across the fabric. Avoid dragging the nozzle directly over the headliner. The nozzle can pull at the cloth or leave a shiny mark.
Pay close attention to:
- The area above the driver and front passenger seats
- The edges near the doors
- Around the dome light
- Near the sun visors
- Around the sunroof opening
- Areas near the rear hatch or liftgate
A dry vacuum may remove most dust, hair, and loose crumbs. If the headliner only looks dull, this step may be enough.
3. Test the cleaner
Choose a hidden area, such as the rear corner near the hatch. Apply a small amount of diluted cleaner to a cloth, not directly to the headliner.
Blot the test area. Wait until it dries. Check for:
- Color transfer
- Water rings
- Fabric fuzzing
- A stiff or shiny patch
- Loose adhesive
- A change in texture
Do not continue if the test area reacts badly. Use a product made specifically for automotive headliners or ask an automotive upholstery professional for help.
4. Apply cleaner to the cloth
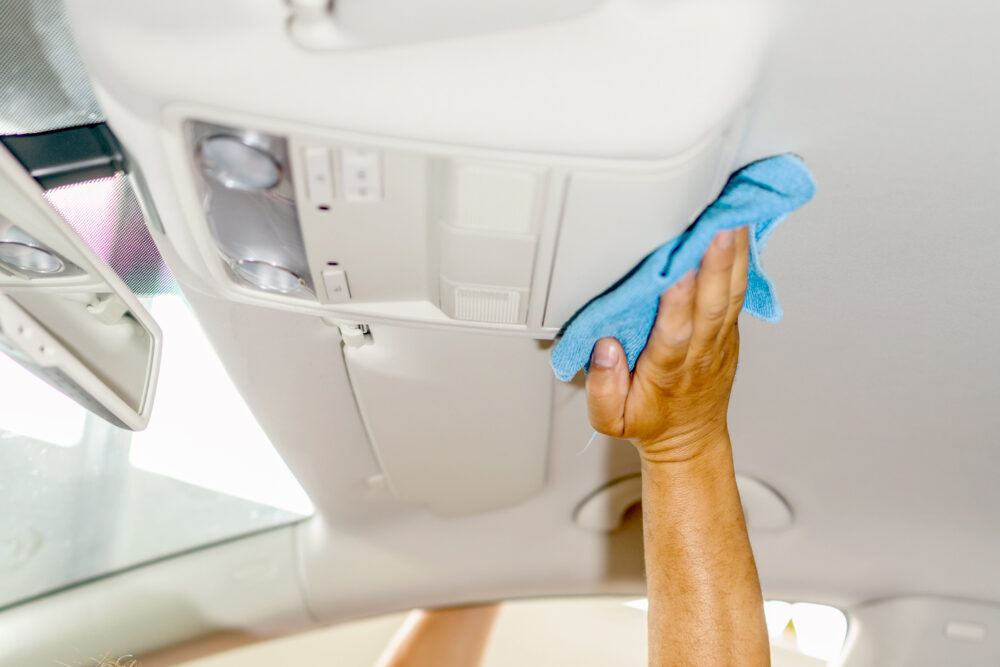
Lightly dampen a microfiber cloth. It should feel moist, not wet enough to drip.
Do not soak the headliner. Do not spray a large amount of cleaner overhead. Spraying directly onto the panel can force liquid into the foam, lights, switches, and adhesive.
A mild mix can work for light soil. For example, add a few drops of gentle dish soap to a cup of warm water. This is a general cleaning option, not a universal manufacturer-approved formula. A labeled automotive fabric cleaner is the better choice when the material is unknown.
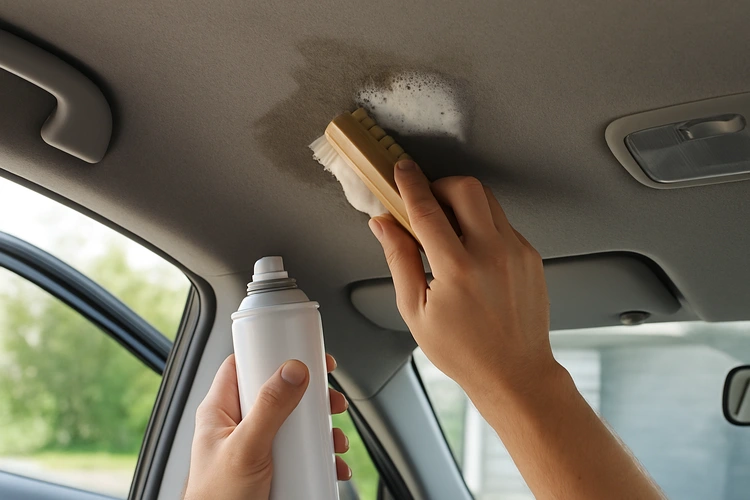
5. Clean one small section at a time
Divide the headliner into sections of about 12 by 12 inches. Start near the back or another less visible area.
Blot or wipe gently in one direction. Use short strokes with light pressure. Do not scrub in circles. Circular scrubbing can create a visible change in the fabric’s nap, which is the direction and texture of its surface fibers.
For a mark that does not lift, let the damp cloth rest on the spot for a few seconds. Then blot again. Several light passes are safer than one aggressive pass.
6. Blot away leftover moisture
Use a clean, dry microfiber towel to press the area lightly. This removes cleaner and water from the surface.
Do not twist, rub, or push hard. The towel should absorb the moisture without compressing the headliner layers.
7. Let the headliner dry
Keep the doors or windows open until the headliner is fully dry. A fan aimed across the cabin can improve airflow. Do not use a heat gun, hair dryer on high heat, or space heater.
Inspect the area after it dries. Some marks become less visible only after the fabric is completely dry.
8. Repeat only when needed
If the stain is lighter but still visible, repeat the process once. Stop if the fabric begins to change texture or color.
Repeated wet cleaning can cause more harm than a small remaining mark. A professional detailer or automotive upholstery shop may have safer tools for severe stains.
How to Remove Common Headliner Stains
Different stains need different levels of care. Start with the mildest method that fits the problem.
| Stain or problem | First method | Avoid |
|---|---|---|
| Dust and loose dirt | Soft vacuum brush | Hard brushing |
| Fingerprints | Lightly damp microfiber cloth | Soaking the area |
| Food or drink | Blot with mild fabric cleaner | Rubbing the stain outward |
| Grease | Automotive fabric cleaner used sparingly | Oil-based cleaners |
| Smoke odor | Vacuum, air out, and clean nearby surfaces | Perfume-only sprays |
| Water mark | Light, even cleaning of the surrounding area | Treating only the dark edge |
| Mold or mildew | Stop and seek professional advice | Brushing mold into the cabin |
| Ink or dye | Professional upholstery assessment | Strong solvents |
Food and drink stains
Remove solid material with a spoon or the edge of a plastic card. Do not scrape with a knife.
Dampen a cloth with mild cleaner and blot from the outside of the stain toward the center. This helps reduce spreading. Follow with a clean, damp cloth to remove cleaner residue, then blot dry.
Sugary drinks may leave a sticky film. In that case, use very small amounts of clean water on a cloth after the first cleaning pass. Too much water can spread the residue through the backing.
Grease and oily marks
Grease can spread when rubbed. Use a cleaner labeled for automotive fabric and test it first.
Apply the cleaner to a cloth. Press and lift rather than rubbing back and forth. Change to a clean part of the cloth as oil transfers.
Avoid household degreasers unless the vehicle or product maker specifically approves them for the headliner. Strong degreasers may affect the color, adhesive, or foam.
Water stains
A water stain often has a dark edge because moisture dried unevenly. Cleaning only the edge can create another ring.
Use a barely damp cloth to clean a slightly larger area around the mark. Blend the passes gently so the fabric dries evenly. If the mark returns, water may have entered from the sunroof, roof seam, antenna, door seal, or another leak.
Fix the leak before repeated cleaning. Otherwise, the stain will likely return and the backing may continue to deteriorate.
Smoke odor
Smoke odor can remain in the entire cabin, not just the headliner. Clean the seats, carpets, door panels, seat belts, and other soft surfaces as appropriate.
Vacuum first and improve airflow. Clean the headliner with a low-moisture method. Do not mask the smell with heavy fragrance sprays. Odor products may add residue without removing the source.
If the odor is strong or the vehicle has been exposed to heavy tobacco or fire smoke, professional interior cleaning may be more effective.
Mold or mildew
Do not brush visible mold or mildew into the cabin. Mold may also point to a water leak or trapped moisture.
Wear suitable protection, avoid spreading the material, and have the vehicle assessed by a qualified cleaning or restoration professional. A professional can determine whether the headliner can be cleaned safely or needs replacement.
What Not to Use on a Cloth Headliner
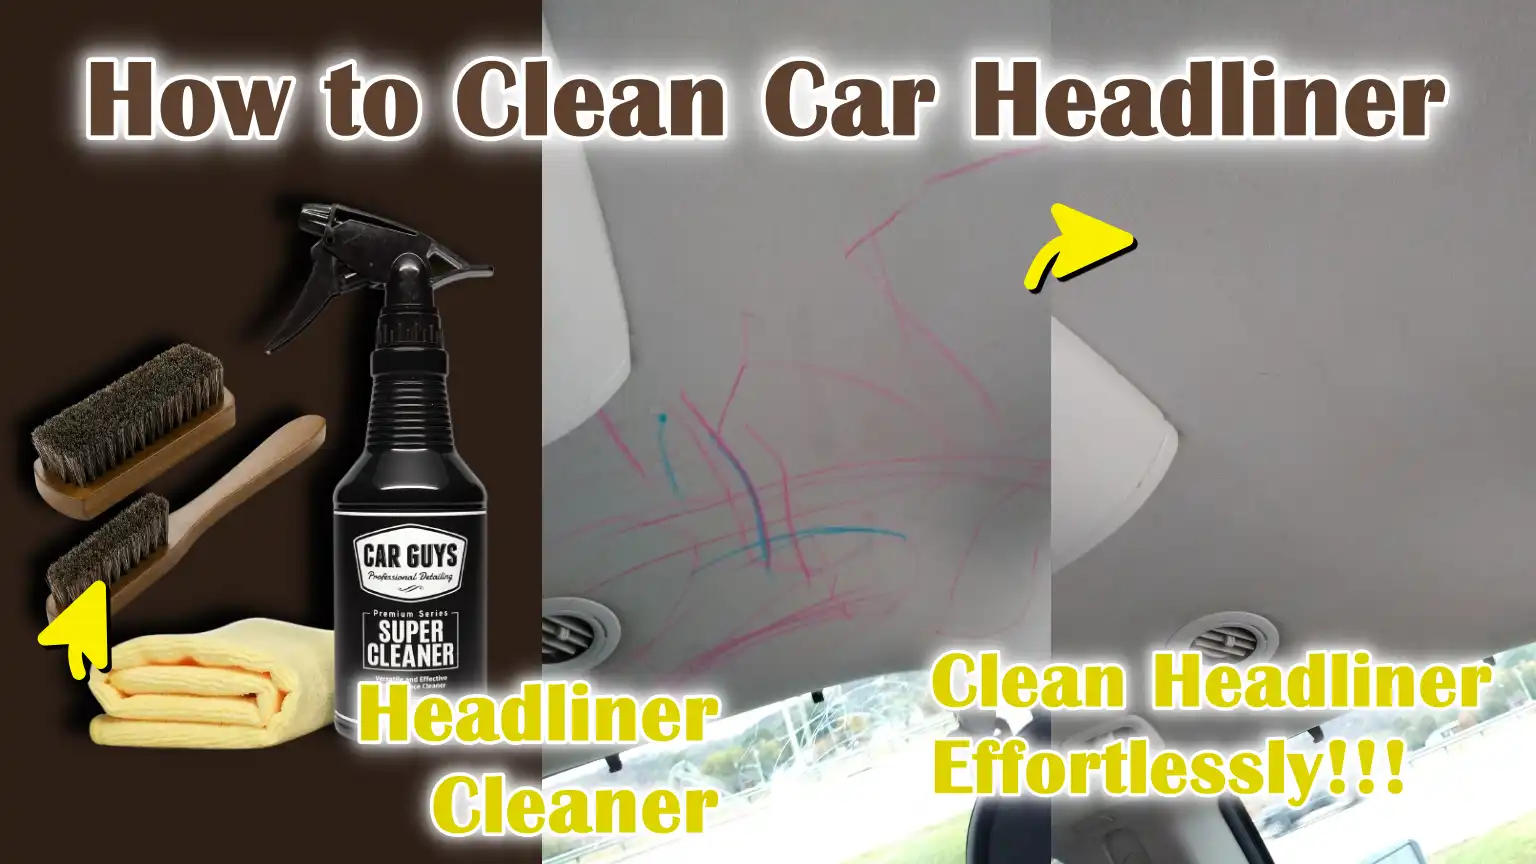
Avoid methods that flood, heat, or mechanically stress the headliner.
Do not use:
- A carpet extractor
- A steam cleaner
- A pressure sprayer
- A stiff scrub brush
- A magic eraser
- Bleach
- Ammonia
- Acetone or paint thinner
- Undiluted all-purpose cleaner
- Aerosol spray applied heavily overhead
- A high-heat dryer or heat gun
A carpet or upholstery extractor may work well on some removable fabrics, but a vehicle headliner is bonded to a panel. Extraction can force water into the foam and adhesive.
Steam can loosen adhesive or leave moisture behind the fabric. Heat is especially risky in a vehicle that may already have adhesive weakened by age or high temperatures.
Also avoid pulling on the cloth. If it has started to sag, cleaning will not restore the bond. Pressing it back up or adding household glue can create a lumpy surface and may make a later repair more difficult.
Safety around vehicle electronics
Use extra care around:
- Dome and map lights
- Overhead control panels
- Microphones
- Garage-door buttons
- Sunroof controls
- Wiring
- Side-curtain airbag areas
Do not spray liquid into openings. If you need to clean around a light or switch, use a nearly dry cloth and keep the liquid away from the edge.
Never remove trim near an airbag unless you understand the vehicle’s service procedure. The owner’s manual or a qualified technician can help identify restricted areas.

How to Fix a Sagging or Damaged Headliner
A sagging headliner usually needs repair or replacement, not cleaning. Sagging often means the foam backing has broken down or the adhesive has failed.
Minor edge separation
If only a small edge has lifted, an automotive upholstery professional may be able to reattach it. The correct adhesive matters because it must tolerate cabin heat.
Do not use household glue, school glue, or general craft adhesive. These products may stain the cloth, remain soft, or fail when the vehicle heats up.
Large sagging areas
A headliner that sags across the center or several sections usually needs the panel removed and the old foam and adhesive replaced. This job may involve trim pieces, handles, lights, and airbag-adjacent parts.
A professional repair is often safer and neater than trying to inject glue through the cloth. Driving with a headliner that blocks your view or interferes with equipment is not safe.
Torn or discolored fabric
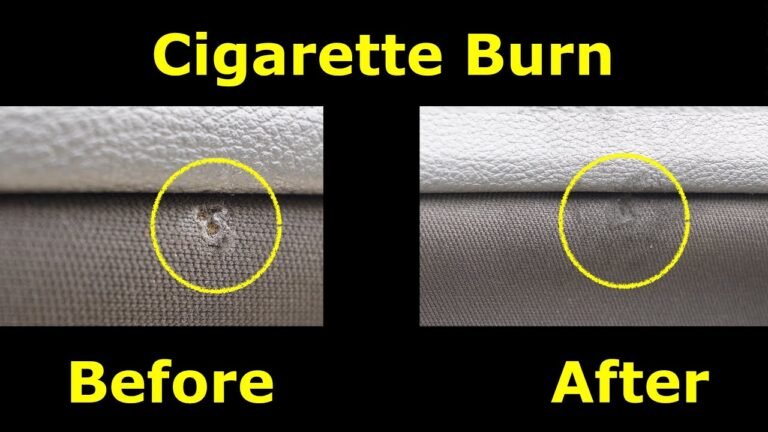
Cleaning cannot repair a tear, burn, faded patch, or permanent dye mark. An upholstery shop can advise whether to replace the fabric or the full headliner board.
If the panel is cracked or badly warped, replacement may be more practical than surface cleaning.

Common Headliner Cleaning Mistakes
The most common mistake is using too much water. A headliner can look cleaner at first and then develop rings, loosened edges, or sagging after it dries.
Other frequent errors include:
- Skipping the hidden-area test
- Scrubbing one spot until the fabric changes texture
- Using a household chemical without checking the label
- Cleaning in direct sun
- Ignoring a roof or sunroof leak
- Spraying near overhead electronics
- Drying with high heat
- Cleaning only the visible stain edge
- Using a dirty cloth that spreads oil and dust
- Rubbing instead of blotting
A clean headliner should look even in color and texture when dry. It should not feel sticky, stiff, wet, or loose.
If you see a new ring, stop adding cleaner. Let the panel dry fully, then use a barely damp cloth to blend the surrounding area. If the ring remains, professional cleaning may be the safest next step.

How Often Should You Clean a Car Headliner?
Most headliners do not need frequent wet cleaning. Vacuum lightly during routine interior cleaning and spot-clean spills soon after they happen.
A practical schedule is:
- Vacuum when dust becomes visible
- Blot spills as soon as possible
- Deep-clean only when stains or odors remain
- Check for leaks after any new water mark
- Inspect for sagging during regular interior care
The best routine depends on how the vehicle is used. A family vehicle, work truck, rideshare vehicle, or vehicle exposed to smoking may need more frequent care than a lightly used commuter car.
Preventive care also helps. Keep drinks closed, avoid touching the roof fabric with dirty hands, and use the vehicle’s ventilation system correctly to limit excess cabin moisture.
When to Hire a Professional
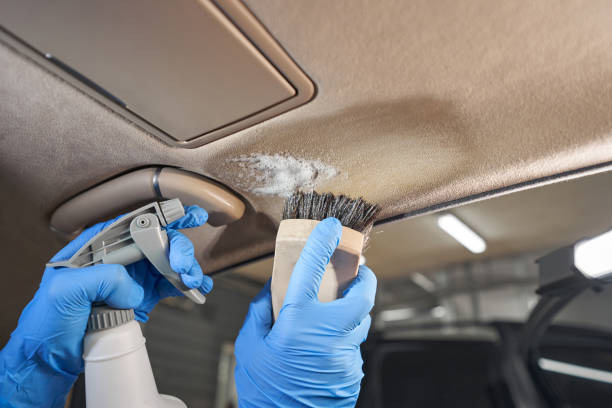
Professional help makes sense when the headliner is sagging, heavily stained, moldy, smoke-damaged, or exposed to a leak.
Seek an automotive detailer or upholstery shop if:
- The fabric pulls away from the board
- The stain covers a large area
- The foam backing feels soft or damaged
- The odor returns after cleaning
- Water continues to enter the cabin
- The headliner is near airbag or electrical components
- You cannot identify the fabric or adhesive
- Cleaning changes the color or texture
Ask what method the shop will use and whether it is suitable for a bonded automotive headliner. A good service provider should explain the moisture level, drying process, and risks before starting.

Frequently Asked Questions
Can I use laundry detergent to clean a car headliner?
It is usually better to use an automotive fabric cleaner or a very mild soap solution. Laundry detergent may leave residue, brighten the fabric unevenly, or require too much water to rinse away. If you use any soap, dilute it well and test it in a hidden area first.
Can I use vinegar on a cloth headliner?
Vinegar is not a universal headliner cleaner. Its smell can linger, and its effect can vary by fabric, dye, and adhesive. Use a cleaner labeled for automotive fabric unless your vehicle or material manufacturer gives different instructions.
Can I shampoo a car headliner?
Avoid fully shampooing a fixed headliner. Shampooing often adds more moisture than the foam backing and adhesive can safely handle. Use a low-moisture spot-cleaning method instead.
How do I remove yellow stains from a headliner?
First identify the cause. Yellow marks may come from smoke, water intrusion, adhesive breakdown, or aging foam. Test a mild automotive fabric cleaner. If the stain returns or appears near a roof seam or sunroof, inspect for a leak before cleaning again.
How do I remove a bad smell from a headliner?
Vacuum the headliner, improve airflow, and clean the other soft surfaces in the cabin. Use a low-moisture fabric cleaner if needed. If the smell comes from mold, water damage, or heavy smoke, professional treatment may be necessary.
Can I use a Magic Eraser on a headliner?
A Magic Eraser is abrasive and can change the texture or color of cloth. It is not a good first choice for a headliner. Use a soft microfiber cloth and a mild cleaner instead.
Key Takeaways
- Vacuum the headliner before using any liquid.
- Test every cleaner in a hidden area.
- Apply cleaner to a cloth, not directly to the roof.
- Use very little moisture.
- Blot gently and avoid scrubbing.
- Keep liquids away from lights, switches, microphones, and wiring.
- Do not use steam, extractors, bleach, or high heat.
- Treat sagging, mold, major stains, and water leaks as professional-repair issues.
Conclusion
The safest way to clean a cloth headliner is to use a dry-first, low-moisture method. Vacuum gently, test a mild automotive fabric cleaner, clean small sections, and blot each area dry. Stop if the fabric changes texture or the panel begins to loosen.
For a sagging, moldy, smoke-damaged, or water-stained headliner, solve the underlying problem before attempting more cleaning. When in doubt, an automotive upholstery professional can protect the fabric, adhesive, electronics, and roof-mounted safety components.