How To Get Grease Out Of Car Headliner: Easy Fix
The safest way to get grease out of a car headliner is to blot the spot, lift dry residue, then clean it with a small amount of mild soap. Do not soak the fabric. A headliner usually has a thin cloth layer bonded to foam and a rigid board. Too much water, heat, or scrubbing can loosen that bond and cause sagging.
This method works for most cars and trucks sold in the United States, including fabric headliners in Ford, Chevrolet, Toyota, Honda, Ram, Jeep, and other vehicles. Always check the owner’s manual first, especially if the stain is near a side-curtain airbag or a removable trim panel.

What You Need Before Cleaning a Greasy Headliner
Gather the supplies before you start:
- Two or three clean, white microfiber cloths
- A soft-bristled toothbrush or soft detailing brush
- A small bowl
- Warm water
- A few drops of mild dish soap
- A vacuum with a soft brush attachment
- Cotton swabs for small marks
- A plastic spoon or dull edge for dried grease
- A dry towel
Use white cloths when possible. Colored cloth may transfer dye to light headliner fabric.
Optional supplies for stubborn grease
For a heavy or old stain, you may also need:
- A car upholstery cleaner labeled safe for fabric
- A dry-cleaning solvent made for automotive fabric, used only as directed
- A fabric-safe stain remover
Test any cleaner in a hidden area first. The cleaner may darken the fabric, remove color, or leave a ring.
Protect the vehicle interior
Park the vehicle in a shaded, well-ventilated place. Keep the doors open if weather and security allow. Place a towel over the seats and dashboard below the stain.
Do not spray cleaner directly onto the headliner. Spray it onto the cloth instead. This keeps liquid from running into lights, wiring, trim, and airbag areas.
How to Remove Fresh Grease From a Car Headliner
Fresh grease is easier to remove because it has not fully soaked into the fabric. Work slowly and use light pressure.
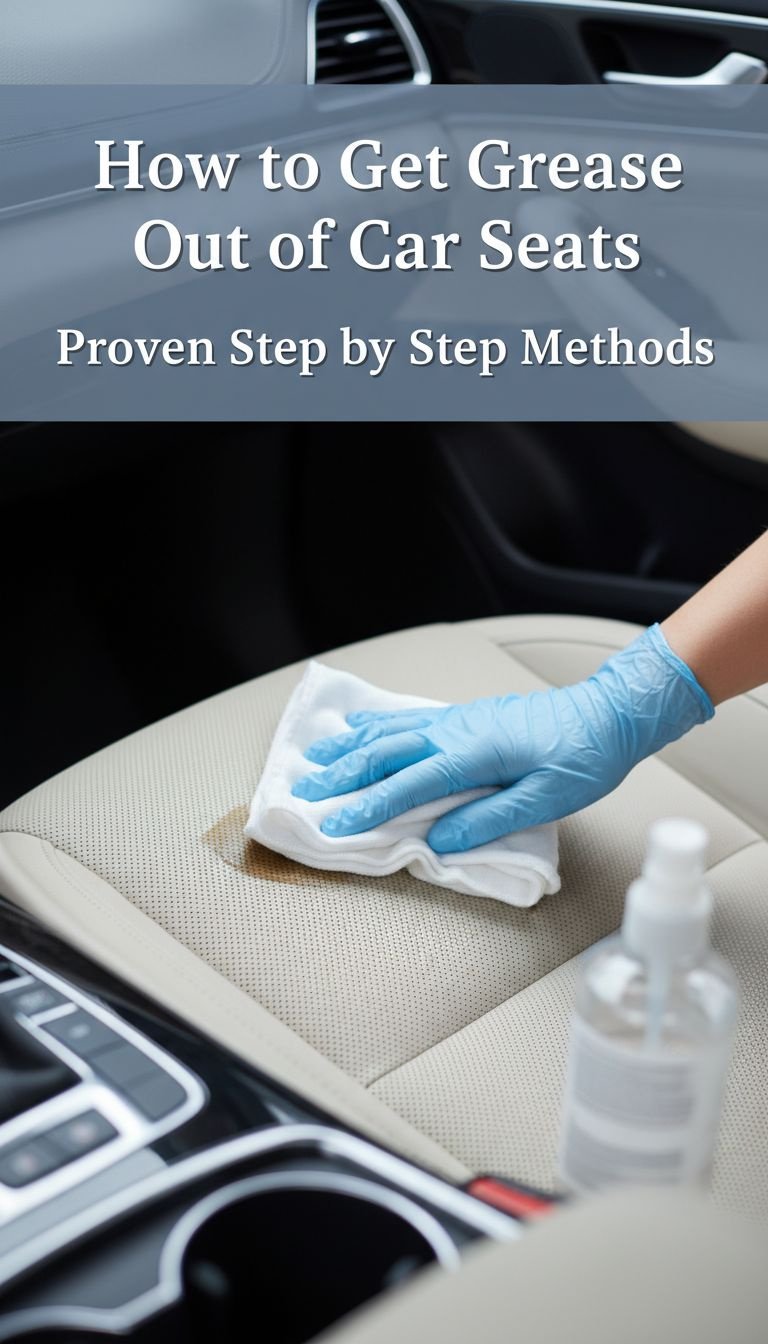
1. Blot the grease
Press a clean, dry microfiber cloth against the spot. Lift the cloth straight up after each press. Turn to a clean part of the cloth as grease transfers.
Do not rub in circles. Rubbing spreads the oil and pushes it deeper into the headliner.
2. Lift thick or dried grease
If the grease has a raised edge or crust, let it dry first. Then use a plastic spoon or another dull edge to lift it gently.
Keep the tool nearly flat. A sharp edge can cut the cloth or damage the foam below it.
3. Vacuum loose particles
Use a soft brush attachment to remove crumbs, dust, or dried grease. Hold the vacuum slightly away from the fabric if the cloth feels loose.
Avoid pressing a strong vacuum nozzle against the headliner. Suction can pull at the fabric.
4. Clean with diluted soap
Mix a few drops of mild dish soap into about 1 cup of warm water. The mixture should feel lightly soapy, not thick or foamy.
Dip a microfiber cloth into the solution. Wring it until it is damp, not wet. Dab the outer edge of the stain first, then work toward the center.
5. Remove soap residue
use a second cloth dampened with plain water. Wring it well, then lightly dab the area. This removes leftover soap that could attract dirt.
Do not keep adding water if the stain does not improve. Repeated wetting can damage the adhesive.
6. Dry the headliner
Press a dry towel against the area. Leave the doors open or run the vehicle’s fan without using high heat.
The headliner should dry within a reasonable time. If it remains wet, smells musty, or feels loose, stop using liquid and seek professional help.

How to Remove an Old or Stubborn Grease Stain
Old grease may leave a dark shadow after the oily material is gone. This can happen when the grease has reached the foam layer or when dirt has bonded with the oil.
Use this sequence:
- Vacuum the area with a soft brush.
- Apply a small amount of fabric cleaner to a cloth.
- Dab the stain from the outside toward the center.
- Wait a few minutes, following the product label.
- Blot with a clean, damp cloth.
- Dry with a towel and allow full air drying.
- Repeat once if the fabric remains stable.
Do not repeat the process many times in one day. Multiple wet treatments can create a larger water mark than the original grease stain.
When to use a solvent
A solvent may help with thick oil, mechanic’s grease, or tar-like residue. However, solvents can dissolve the adhesive that holds the headliner fabric to its backing.
Use a solvent only when:
- The label says it is safe for automotive fabric.
- You have tested it in a hidden spot.
- You can ventilate the vehicle.
- You use a very small amount on a cloth.
- You keep it away from plastic trim, vinyl, lights, and airbag seams.
Never pour solvent onto the headliner. Do not use gasoline, paint thinner, acetone, brake cleaner, or carburetor cleaner inside the cabin.

How to Clean a Grease Spot Near a Side-Curtain Airbag
A stain near an airbag area needs extra care. Side-curtain airbags often sit behind the roof rail or upper door trim. The exact layout varies by vehicle.
Do not remove the trim, pull the headliner down, or insert tools into a seam to reach the stain. A repair can affect airbag deployment.
For a small surface mark, use only a barely damp cloth and light dabbing. If grease has soaked into a seam, trim joint, or airbag label, contact the vehicle dealer or a qualified automotive interior technician.
Never use a heat gun, hair dryer on high heat, steam cleaner, or strong solvent near an airbag area.
Cleaning Method by Stain Type
The best method depends on the source of the grease.
| Stain type | First method | Main caution |
|---|---|---|
| Fresh food oil | Blot, then mild soap | Do not rub |
| Hand or hair oil | Mild soap on a damp cloth | Clean a small area |
| Automotive grease | Lift solids, then use fabric cleaner | Solvent may damage adhesive |
| Silicone or lubricant spray | Blot, then use a suitable upholstery cleaner | Avoid spreading the slick film |
| Tar or adhesive | Do not scrape hard; seek a fabric-safe solvent | Test first |
| Old dark stain | Gentle repeated dabbing | Stop if fabric loosens |
This table is a guide, not a guarantee. Headliner fabric, color, age, and adhesive type differ between vehicles.
Why grease can be hard to remove
Grease is oil-based. Water alone does not dissolve it well. Mild dish soap helps break the oil into smaller droplets so they can transfer to the cloth.
The problem is that a headliner is not like a removable floor mat. It has a thin surface and a delicate backing. A cleaner strong enough to remove grease may also weaken the adhesive below the fabric.

What Not to Use on a Car Headliner
Avoid these common cleaning mistakes:
- Do not soak the headliner.
- Do not scrub with a stiff brush.
- Do not use a steam cleaner.
- Do not spray cleaner overhead.
- Do not use bleach or ammonia.
- Do not use glass cleaner as a grease remover.
- Do not use a magic eraser.
- Do not use a heat gun.
- Do not press a hot iron against the fabric.
- Do not pull sagging fabric back into place with glue.
- Do not clean across an airbag seam with force.
A magic eraser is an abrasive foam. It may remove the stain, but it can also lighten or roughen the headliner fabric.
Steam can loosen the glue that connects the cloth to the foam. High heat can make the same problem worse.
How to Prevent Water Rings and Fabric Damage
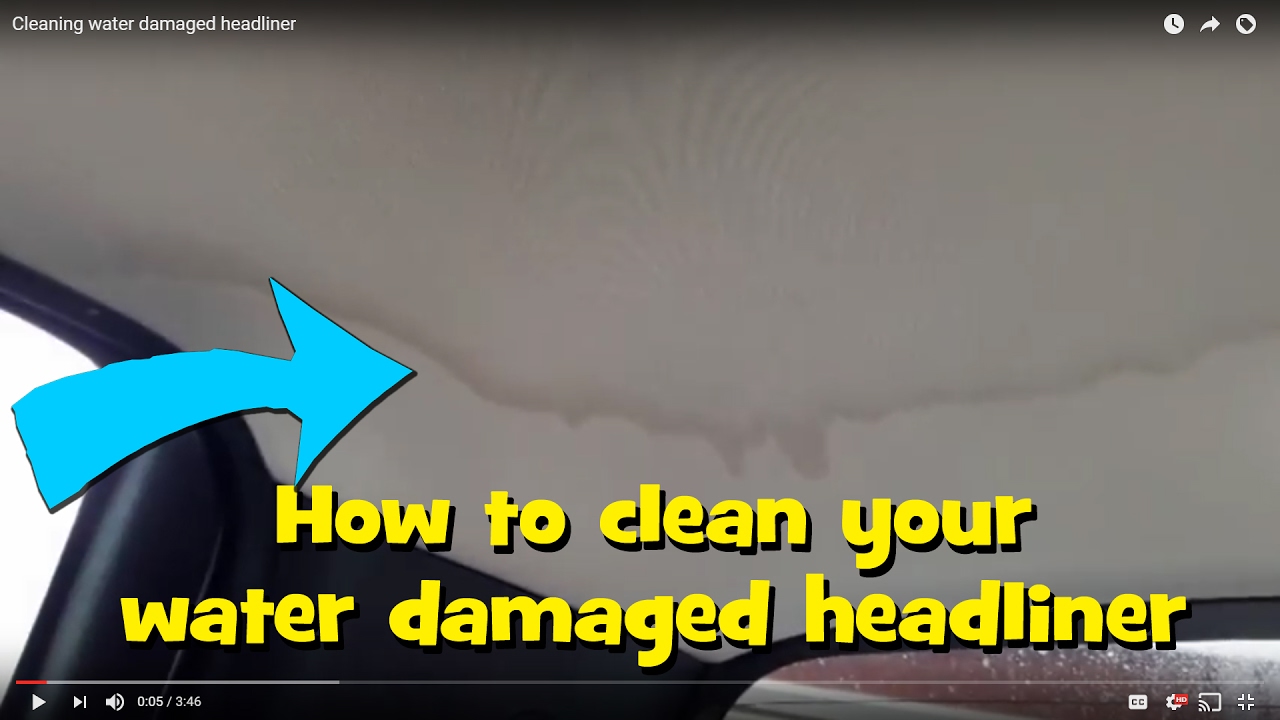
Water rings form when moisture moves dirt or cleaner to the edge of a wet area. The best prevention is to use less liquid.
Follow these rules:
- Clean a small section at a time.
- Keep the cloth damp, not wet.
- Start at the outside of the mark.
- Use gentle, even dabs.
- Blend slightly beyond the visible stain.
- Dry the area soon after cleaning.
- Do not stop with a visibly wet patch.
If the headliner is very dirty, cleaning only one small spot may make it look brighter than the surrounding fabric. In that case, a professional may clean the full panel to create an even finish.
When DIY Cleaning Has Failed
Stop cleaning if you notice any of these signs:
- The fabric begins to bubble.
- The cloth separates from the foam.
- The headliner starts to sag.
- The stain spreads outward.
- The fabric becomes rough or fuzzy.
- A strong solvent smell remains.
- The stain returns after drying.
- The backing feels soft or wet.
A small loose area may become a full headliner replacement if it is pulled or soaked. A professional automotive upholstery cleaner can select a method based on the fabric and adhesive.
Replacement may be the better option when the headliner has widespread grease, smoke damage, water damage, or failed adhesive. Cleaning cannot restore foam that has broken down.

A Simple Decision Guide
Use this guide before choosing a method:
- Small, fresh spot: Blot and use diluted mild soap.
- Dry, raised spot: Lift the residue, then dab with cleaner.
- Large stain: Avoid spot cleaning alone; consider professional cleaning.
- Stain near an airbag seam: Use minimal moisture or seek professional help.
- Sagging or bubbling fabric: Stop cleaning and arrange a repair.
- Unknown chemical stain: Do not mix products; test or consult a professional.
- Strong odor or visible mold: Avoid disturbing it and seek qualified interior service.
The safest choice changes when the headliner is old, loose, or close to safety equipment.
Frequently Asked Questions
Can I use Dawn dish soap on a car headliner?
A very small amount of mild dish soap can help remove fresh grease. Dilute it heavily in warm water and apply the mixture to a cloth, not directly to the headliner. Remove soap residue with a barely damp cloth.
Will baking soda remove grease from a headliner?
Baking soda may absorb some surface oil, but it is not a complete grease cleaner. If you try it, use a small amount on a dry stain, let it sit briefly, and vacuum with a soft brush. Do not grind the powder into the fabric.
Can I use rubbing alcohol on a headliner?
Rubbing alcohol may damage dye, plastic, or adhesive. It can also spread some oily stains. Avoid it unless the vehicle maker or cleaner label specifically supports its use on that headliner material.
How do I remove a greasy handprint from a headliner?
Blot the handprint with a dry white cloth. Then dab it with a cloth dampened with diluted mild soap. Work from the outside toward the center and dry the area with a towel.
Why did my headliner sag after cleaning?
Sagging often means moisture or heat weakened the adhesive between the fabric and its backing. Do not try to stretch or glue it while it is still damp. A headliner repair shop can assess whether the panel needs adhesive repair or replacement.
Should I remove the headliner to clean it?
Usually, no. Removing a headliner can damage clips, wiring, trim, or side-curtain airbag components. Clean the surface in place unless a trained technician handles removal.
Conclusion
To get grease out of a car headliner, start with dry blotting and use as little moisture as possible. A damp microfiber cloth with diluted mild soap is suitable for many fresh, small stains. Avoid soaking, heat, steam, abrasive tools, and harsh solvents.
Test every cleaner in a hidden spot. Stop if the fabric loosens, the stain spreads, or the spot is near an airbag seam. For large, old, or deeply soaked grease stains, professional automotive interior cleaning is safer than repeated DIY treatments.