How To Clean Sticky Headliner: Easy Safe Method
A sticky car headliner needs gentle care. Start by removing loose dust, then test a small hidden area with a barely damp microfiber cloth and a mild upholstery cleaner. Do not soak the fabric, scrub hard, or spray cleaner directly onto the ceiling. Too much liquid can loosen the headliner board or dissolve the foam and adhesive beneath the cloth.
Introduction
Sticky headliners are common in vehicles driven across the United States, especially where hot summers, strong sun, smoke, or high humidity affect the interior. Older cars may also develop a tacky surface when the foam backing breaks down or the original adhesive begins to rise through the fabric.
The right cleaning method depends on what feels sticky. A light surface film from dust, skin oils, smoke, or spilled products may come off with mild cleaning. A headliner that feels soft, saggy, or gummy across a wide area often has failing foam or glue. Cleaning alone will not fix that type of damage.

Why Is the Headliner Sticky?
A sticky headliner usually has one of four causes: surface residue, adhesive transfer, foam breakdown, or heat damage.
Surface residue
Dust and oils can mix with humidity and form a tacky film. Smoke from cigarettes, cigars, or vaping can also leave residue on the roof fabric. This type of stickiness is often limited to areas near the front seats, grab handles, or sun visors.
Cleaner or product residue
Some interior cleaners leave a glossy or oily film. Hair products, hand lotion, air fresheners, and spilled drinks can also make the fabric feel sticky. These marks may look darker than the surrounding cloth.
Failing foam or adhesive
Most cloth headliners have a thin foam layer between the fabric and the rigid backing board. With age, heat and moisture can break down this foam. The remains may feel powdery, oily, or gummy.
When the adhesive fails, the fabric may sag. You may also see bubbles, ripples, dark spots, or a loose edge. This is a repair problem, not a normal cleaning problem.
Heat and sun exposure
A vehicle parked in direct sun can become very hot inside. Repeated heat cycles can weaken adhesive and speed up foam failure. This is one reason older vehicles in hot parts of the United States may develop sticky or sagging headliners.
Key clue: If the fabric is still firm and only the surface feels tacky, cleaning may help. If the cloth moves, bubbles, or leaves residue on your fingers, replacement or professional repair is more likely.

What You Need Before Cleaning
Gather simple tools before you begin:
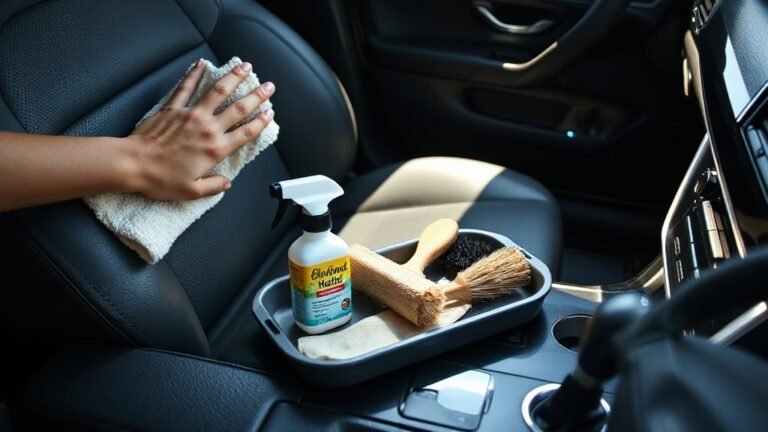
- Two or more clean microfiber cloths
- A vacuum with a soft brush attachment
- A small bowl of warm water
- A mild, fabric-safe upholstery cleaner
- A soft-bristle detailing brush
- Cotton swabs for seams and edges
- A clean, dry towel
- Painter’s tape for protecting trim
- Nitrile gloves, if your skin reacts to cleaners
Choose a shaded, ventilated place. The vehicle should be cool, and the doors should remain open while the headliner dries.
Read the vehicle owner’s manual before using any cleaner. Some headliners include special fabric, mesh, electronics, microphones, or sensors. Avoid products with bleach, strong solvents, ammonia, or heavy oils unless the vehicle maker specifically approves them.
Always test first. Apply a small amount of cleaner to a hidden spot near the edge of the headliner. Wait until it dries. Check for color loss, water rings, fuzz, stiffness, or separation from the backing.
How to Clean a Sticky Headliner Step by Step
Use as little moisture as possible. The goal is to lift the sticky film from the fabric, not to wet the board underneath it.
1. Remove loose dust
Park the vehicle in the shade and open the doors. Use a vacuum with a soft brush to remove dust, crumbs, and loose particles.
Move the brush lightly across the fabric. Do not press hard. Strong pressure can flatten the nap, stretch the cloth, or push dirt deeper into the fibers.
2. Protect nearby trim
Place painter’s tape along plastic trim, sun visors, lights, grab handles, and the edges of the headliner. This helps prevent cleaner from reaching parts that may stain or loosen.
If the headliner is already sagging, do not pull it down to clean behind it. The fabric may tear or fall away from the board.
3. Make a mild cleaning mix
For light residue, start with warm water on a microfiber cloth. If water alone does not work, use a small amount of mild upholstery cleaner according to its label.
Do not mix cleaning products. A stronger solution is not always more effective. It can leave a film, change the fabric color, or weaken the adhesive.
4. Dampen the cloth, not the headliner
Spray the cleaner onto the microfiber cloth. The cloth should feel damp, not wet enough to drip.
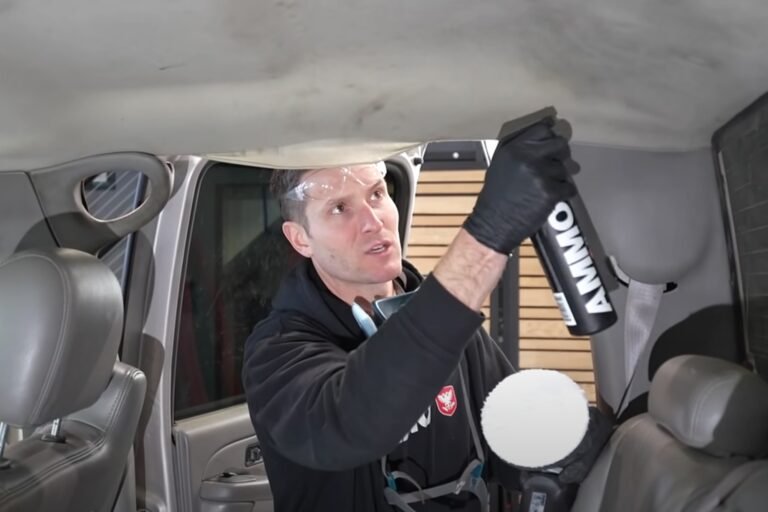
Never spray the ceiling directly. Overspray can reach the dome light, wiring, sunroof controls, microphones, or other electronic parts.
5. Blot the sticky area
Press the damp cloth onto a small section. Lift it away rather than rubbing in circles. Turn to a clean part of the cloth as residue transfers to it.
Work in sections of about 6 to 12 inches. This gives you control and helps prevent uneven drying.
6. Use a soft brush only when needed
If residue remains in the fabric, use a soft brush with very light strokes. Brush in one direction. Stop if the fabric pills, sheds, changes color, or begins to lift.
Do not use a stiff scrub brush. Headliner cloth is thin and often bonded to fragile foam.
7. Remove cleaner residue
Use a second microfiber cloth that is lightly dampened with clean water. Blot the area once or twice to pick up leftover cleaner.
Do not rinse the headliner by pouring or spraying water onto it. Excess moisture is the main cause of water marks, sagging, and adhesive failure during cleaning.
8. Dry the area
Blot with a dry towel. Leave the doors open so air can move through the cabin. A fan outside the vehicle can help, but do not use high heat.
Avoid hair dryers, heat guns, and strong direct sunlight while the headliner is damp. Heat can soften the adhesive and make the problem worse.
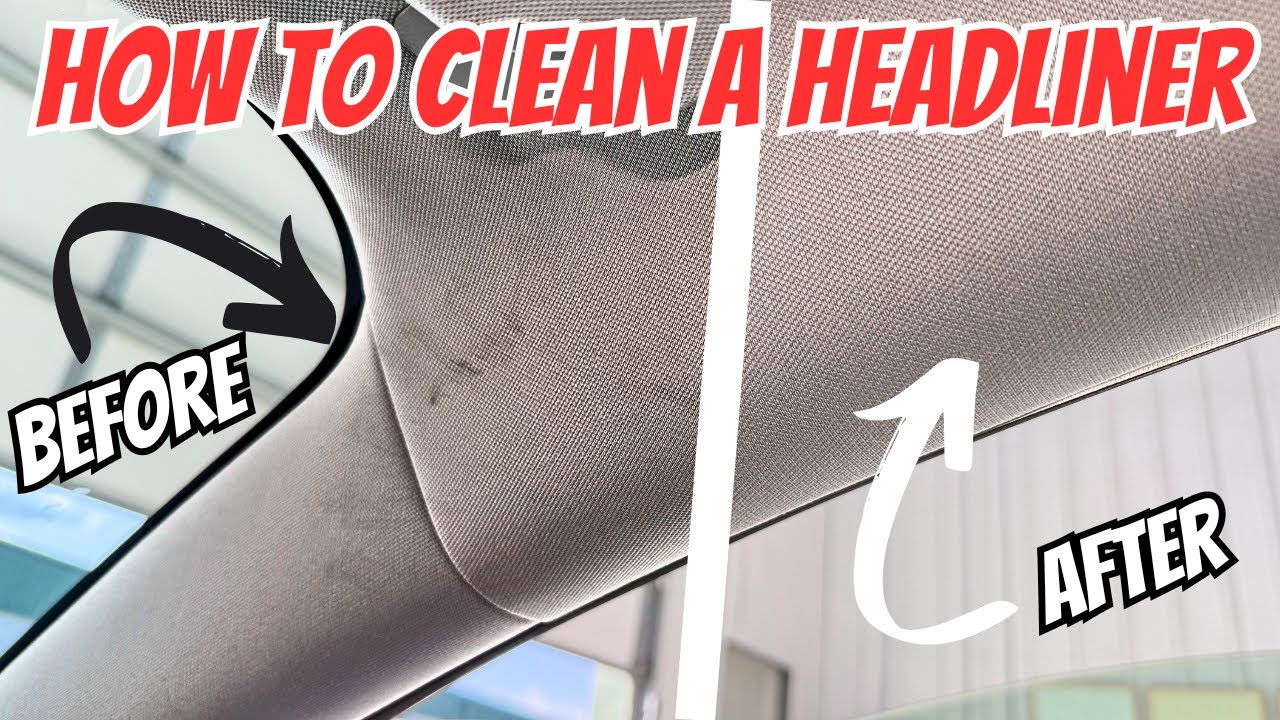
9. Inspect after drying
Wait until the fabric is fully dry before judging the result. Look for:
- Less surface tack
- No new water rings
- No color change
- No loose fabric
- No cleaner odor that remains after ventilation
- No sticky transfer to a clean finger or cloth
If the area looks clean but still feels gummy, the problem may be foam or adhesive breakdown rather than dirt.
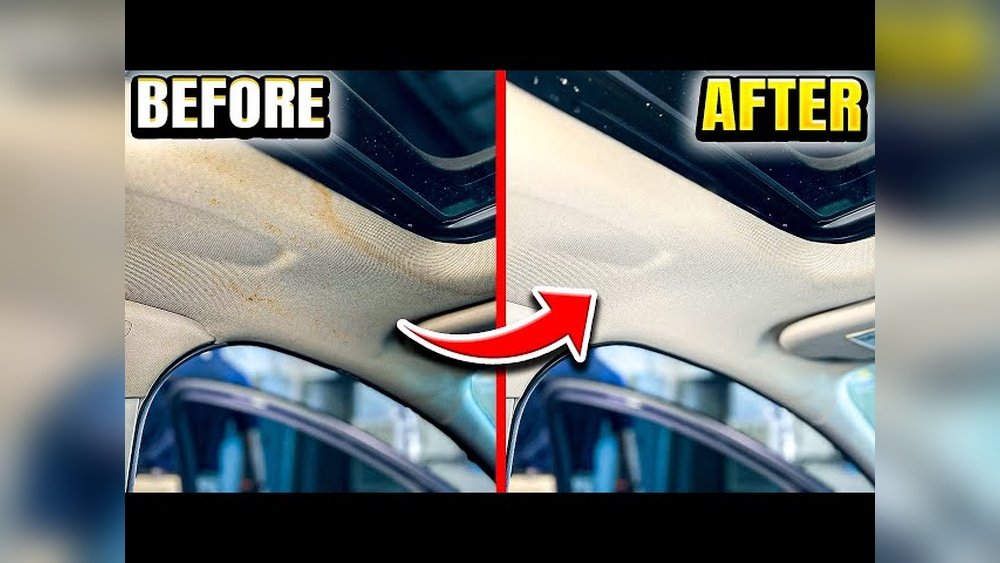
How to Remove Heavy Sticky Residue
Heavy residue needs a slower approach. Aggressive scrubbing or solvent use can create more damage than the original stain.
First, place a dry microfiber cloth over the area and press gently. This may lift part of the residue. Replace the cloth as it becomes dirty.
If that does not work, test a small amount of fabric-safe upholstery cleaner on a hidden area. Apply it to the cloth, not the ceiling. Blot the residue in short passes and let each pass dry before doing more.
Avoid common household solvents such as acetone, paint thinner, gasoline, and strong adhesive removers. These products can dissolve foam, discolor fabric, damage plastic trim, and create harmful fumes inside a closed vehicle.
For residue from gum, wax, or a thick product, do not scrape with a knife or metal tool. A plastic edge may remove a small hardened spot, but only if the fabric is firm and well bonded. If the headliner is loose, professional cleaning is safer.

When Cleaning Will Not Fix the Headliner
Cleaning will not repair a headliner with structural failure. Replace or professionally repair the headliner when you see:
- Sagging fabric
- Large bubbles or wrinkles
- Crumbling yellow, brown, or gray foam
- Sticky material coming from under the fabric
- Fabric that pulls away when touched
- A large area that remains gummy after gentle cleaning
- Stains that return after drying
A headliner repair shop can remove the board, strip the old foam, and install new headliner material with the correct adhesive. This is usually more reliable than gluing loose fabric in place while it remains installed.
Do not use household glue, duct tape, staples, or expanding foam as a quick fix. These methods can leave hard spots, stain the fabric, block trim, or create a poor fit around lights and visors.
If the headliner is near an airbag, sensor, or electrical component, follow the vehicle maker’s service instructions. Some roof and pillar areas contain safety equipment. A qualified technician should handle work that may affect those systems.
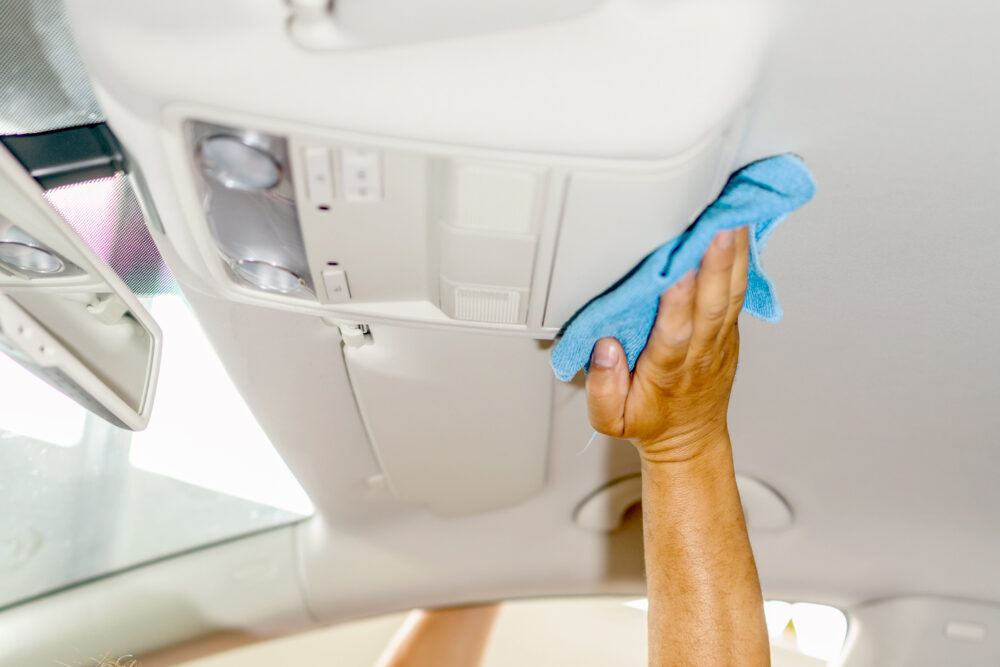
Cleaning Methods to Avoid
Several popular methods can damage a car headliner.
| Method | Main risk | Better choice |
|---|---|---|
| Steam cleaner | Heat and water can loosen adhesive | Use a barely damp cloth |
| Pressure washer | Forces water into the backing board | Never use it inside the cabin |
| Direct spray | May reach lights and wiring | Spray the cloth instead |
| Hard scrubbing | Can flatten or tear fabric | Blot with light pressure |
| Bleach | Can remove color and weaken fibers | Use a mild fabric cleaner |
| Solvent adhesive remover | May dissolve foam and glue | Test a compatible product first |
| Soaking | Can cause sagging and water marks | Clean small sections |
| Heat gun | Can warp the board or soften glue | Air-dry at room temperature |
A clean-looking result is not worth damaging the headliner board. Gentle cleaning may take more time, but it gives you a better chance of preserving the original material.

What to Do If the Headliner Is Still Sticky
If the headliner remains sticky after one careful cleaning, stop adding product. Repeated wet cleaning can increase the damage.
Use this troubleshooting order:
- Check the surface. Wipe a clean area with a dry microfiber cloth. If residue transfers, surface contamination may remain.
- Check for sagging. Press very lightly near the affected spot. Movement suggests adhesive or foam failure.
- Check the size of the problem. A small isolated spot may be a spill. A broad sticky area often points to aging materials.
- Check for crumbling foam. Powder or dark crumbs indicate breakdown beneath the fabric.
- Choose repair or replacement. Use a professional when the fabric is loose, the board is damaged, or the area is near safety equipment.
Do not keep testing stronger chemicals. Once foam starts to break down, stronger cleaners can speed up separation.
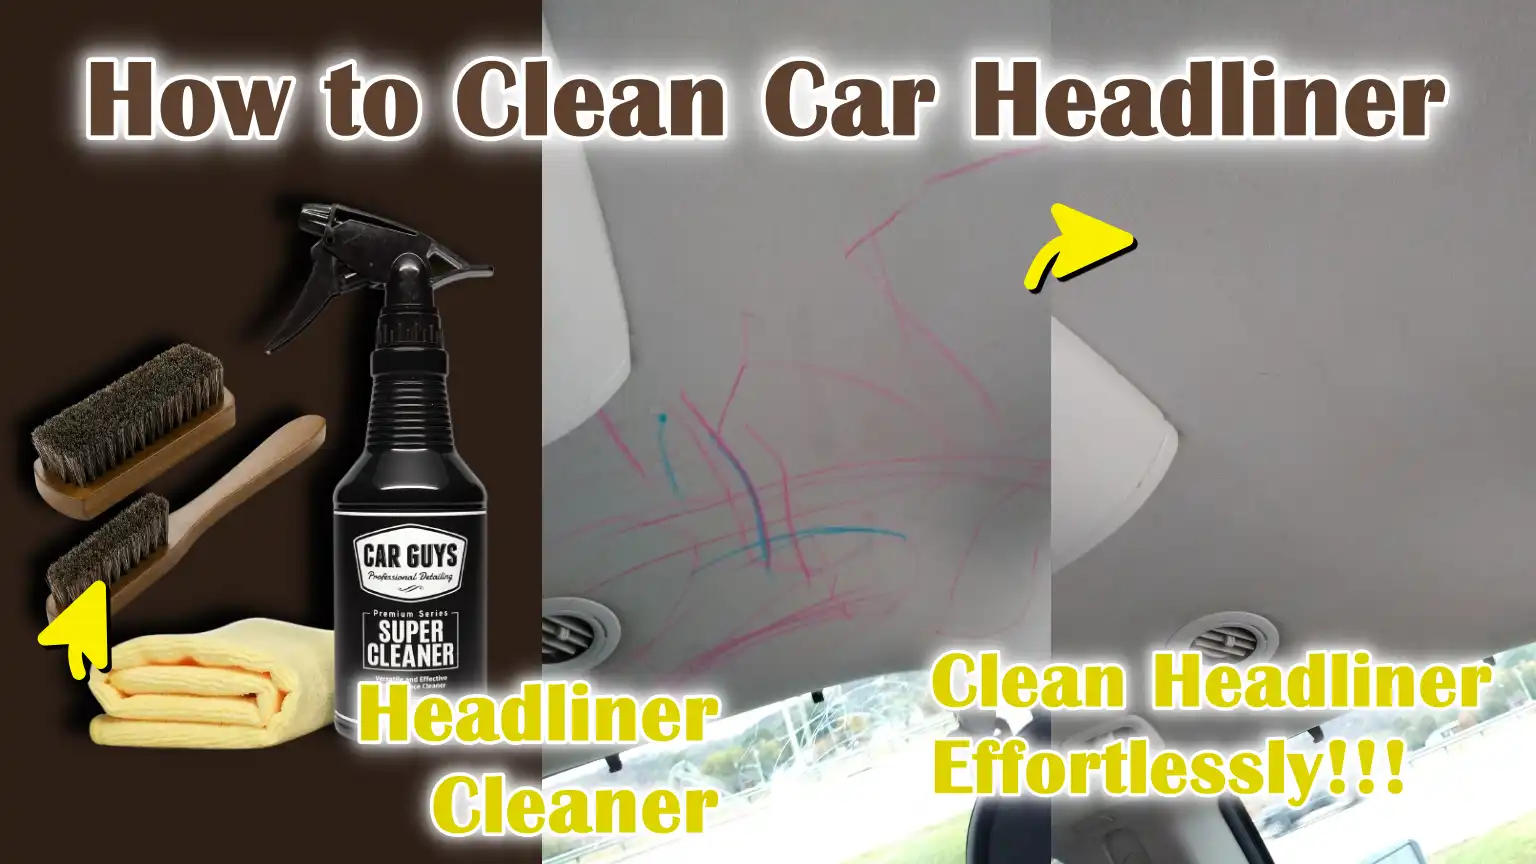
How to Prevent a Sticky Headliner
Prevention begins with less heat, less residue, and gentler cleaning.
- Park in shade or use a windshield sun shade when practical.
- Keep the interior ventilated after driving in rain or high humidity.
- Avoid spraying air freshener, polish, or glass cleaner near the roof.
- Clean smoke residue before it builds up.
- Wipe hands before touching the headliner.
- Use a soft vacuum attachment during regular interior cleaning.
- Fix roof leaks quickly.
- Do not press storage items against the ceiling.
- Avoid hanging heavy objects from grab handles or trim.
- Follow the vehicle owner’s instructions for sunroof and roof drainage care.
A sun shade can reduce cabin heat, but it cannot stop age-related foam failure. If the headliner is already sagging, prevention will not restore the damaged material.

Key Takeaways
- Use a soft vacuum brush and a barely damp microfiber cloth.
- Apply cleaner to the cloth, never directly to the headliner.
- Blot small areas instead of scrubbing.
- Keep water away from lights, wiring, sensors, and roof controls.
- Stop cleaning if the fabric sags, bubbles, or sheds foam.
- Sticky surface residue may be cleanable; failed foam or adhesive usually needs repair.
- Let the headliner air-dry. Do not use a heat gun or steam cleaner.
Frequently Asked Questions
Can I use dish soap to clean a sticky headliner?
A very diluted amount may remove light grease, but dish soap can leave a film. Use a fabric-safe upholstery cleaner when possible. Always test it in a hidden spot first and use very little moisture.
Can I use rubbing alcohol on a headliner?
Rubbing alcohol may affect dye, foam, adhesive, and synthetic fibers. Do not use it unless the headliner material and vehicle maker’s instructions confirm compatibility. A mild upholstery cleaner is the safer first option.
Why does my headliner feel sticky after cleaning?
Leftover cleaner may be causing the tackiness. Blot once with a clean, barely damp microfiber cloth, then dry the area. If the stickiness continues or the fabric moves, the foam or adhesive may be breaking down.
Can I re-glue a sagging headliner without removing it?
A temporary repair may hold a small loose edge, but gluing the fabric while it remains installed often causes wrinkles and hard spots. A proper repair usually requires removing the board, replacing failed foam, and using adhesive made for headliner materials.
How often should I clean my car headliner?
Clean it only when it is visibly dirty or has an odor. Light vacuuming during normal interior care is usually enough. Frequent wet cleaning can shorten the life of the fabric and adhesive.
Conclusion
The safest way to clean a sticky headliner is to use minimal moisture, mild fabric cleaner, and gentle blotting. Start with a hidden-area test, protect nearby trim and electronics, and allow the fabric to dry naturally.
If the headliner sags, bubbles, sheds foam, or stays gummy after careful cleaning, the issue is probably material failure rather than dirt. Stop using stronger chemicals and arrange a proper headliner repair or replacement.