How To Clean Headliner Water Stains: Easy Safe Fix
Introduction
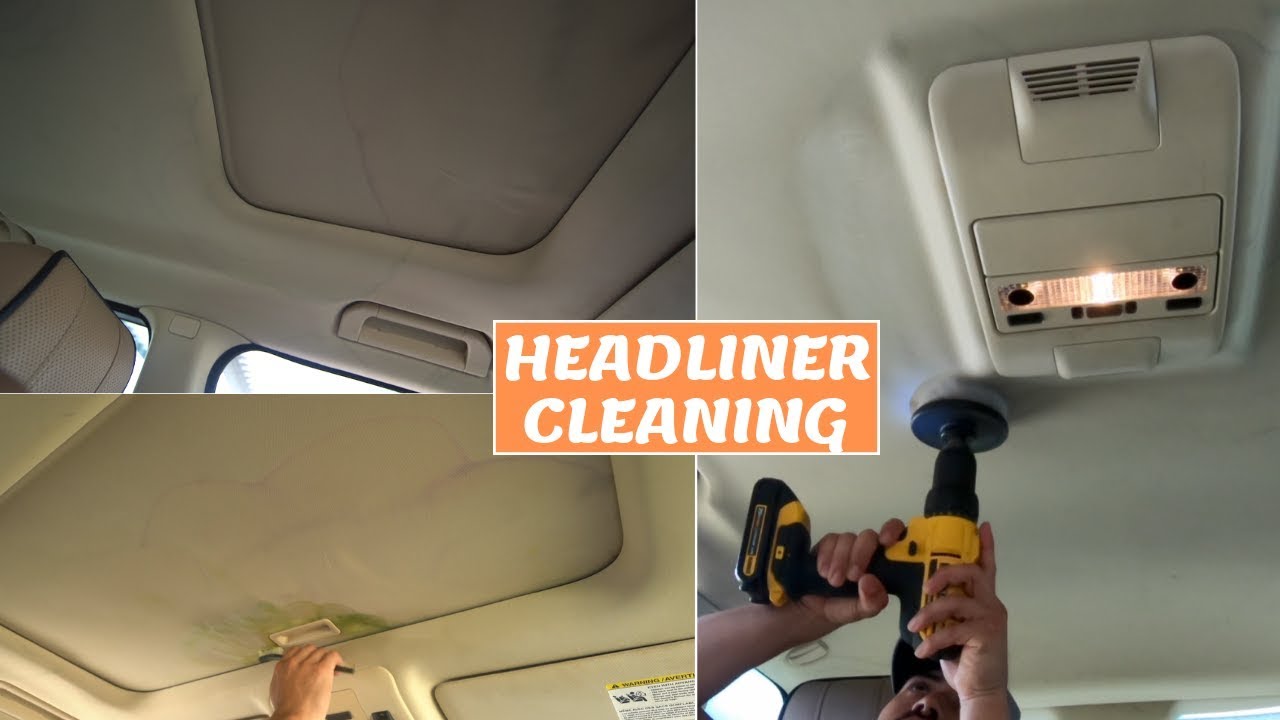
Water stains on a car headliner are common in the United States. They often come from a leaking sunroof drain, door seal, windshield seal, roof rack mount, or antenna base. The stain may look small, but too much water or cleaner can loosen the headliner adhesive and make the fabric sag.
The safest method is simple: find and fix the leak, remove dry dirt, spot-clean with very little moisture, and let the headliner dry fully. Do not soak the fabric, scrub hard, or use a steam cleaner unless the vehicle maker specifically permits it.

What a Car Headliner Is and Why Water Stains Are Difficult
A headliner is the fabric-covered panel attached to the inside roof of a vehicle. Most headliners have three layers:
- A thin fabric or foam-backed cloth
- A soft foam layer
- A rigid backing board
The fabric is often glued to the foam. Water can weaken that glue. Strong rubbing can also damage the foam or create a lighter, rough-looking patch.
A water mark may contain more than water. It can carry dust, rust, tree debris, road film, or minerals from dried tap water. This is why a brown or yellow ring may remain after the area dries.
A stain that returns after cleaning usually points to an active leak. Cleaning the mark without repairing the leak only hides the symptom for a short time.

Supplies You Need
Gather the supplies before you start:
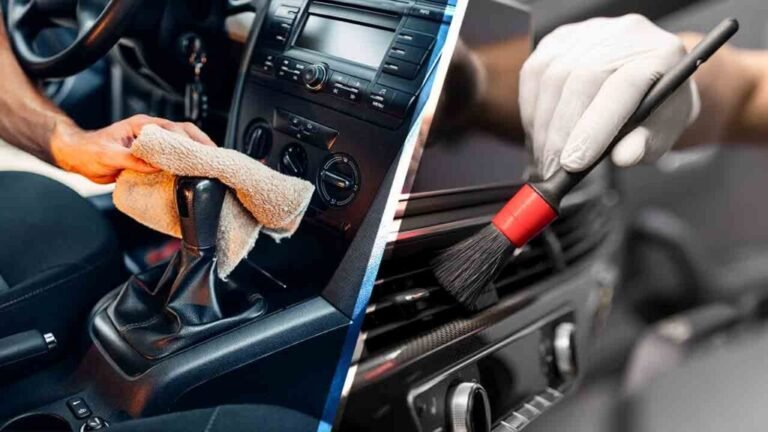
- Two or three clean, white microfiber cloths
- A soft interior brush or clean soft toothbrush
- A vacuum with a brush attachment
- Distilled water
- A small bowl
- A mild, pH-neutral upholstery cleaner
- A spray bottle, used only to mist the cloth
- A dry towel
- A fan, if available
- Nitrile gloves
Use white cloths when possible. A colored towel may transfer dye to light headliner fabric.
Choose a Cleaner Carefully
A mild upholstery cleaner is usually safer than a household multipurpose cleaner. Read the label first. Avoid products that contain bleach, ammonia, strong solvents, acetone, or heavy degreasers.
Do not spray cleaner directly onto the headliner. Spray a small amount onto the cloth instead. This gives you better control and limits the amount of liquid that reaches the adhesive.
Before cleaning, check the vehicle owner’s manual. Some manuals warn against liquid cleaners, strong chemicals, or removal of roof trim because curtain airbags may be installed near the headliner.

How to Clean Headliner Water Stains Step by Step
1. Repair the Source of the Leak
Find the leak before cleaning the stain. Common sources include:
- Sunroof drains or sunroof seals
- Door and hatch weatherstripping
- Windshield or rear-glass seals
- Roof antenna bases
- Roof rack mounting points
- Roof seams
- Satellite radio equipment or aftermarket accessories
Look for damp trim, a wet roof edge, water tracks, or a musty smell. If the leak is not clear, a qualified auto glass or body repair shop can help locate it.
Do not remove the headliner to search for a leak if the vehicle has curtain airbags. Roof trim and headliner parts may sit near airbag modules and wiring.
2. Dry the Headliner Completely
Park the vehicle in a dry, shaded place. Open the doors or windows if weather and security allow. Use a fan to move air through the cabin.
Do not clean a wet headliner. Wet fabric can spread the stain and may trap moisture against the backing board. Wait until the area feels dry and no cool, damp feeling remains.
If the vehicle has a strong moldy smell or visible mold, stop and consider professional service. Mold can spread when disturbed, and a hidden leak may still be active.
3. Vacuum Loose Dirt
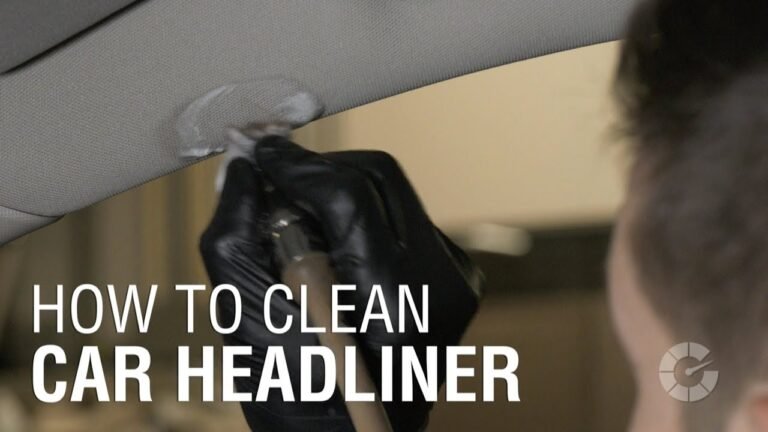
Use a vacuum with a soft brush attachment. Hold the brush lightly over the stain. Do not press hard or drag the vacuum nozzle across the fabric.
This step removes dust that could turn into mud during cleaning. It also helps you see the true size and color of the stain.
4. Test the Cleaner in a Hidden Area
Choose a hidden spot, such as the edge near a door seal or beneath a trim lip. Apply a small amount of the cleaner to a cloth and dab the test area.
Wait several minutes. Check for:
- Color transfer
- Fabric roughness
- Foam damage
- A ring or dark patch
- Loose fabric
- A change in the adhesive
If the test area changes, do not use that cleaner on the visible stain.
5. Make a Mild Cleaning Mix
For a light mark, start with distilled water on a clean cloth. If water alone does not work, use a very small amount of mild upholstery cleaner.
A safe approach is to dampen the cloth until it feels slightly wet, not soaked. You should never be able to squeeze liquid from the cloth.
6. Dab From the Outside Toward the Center
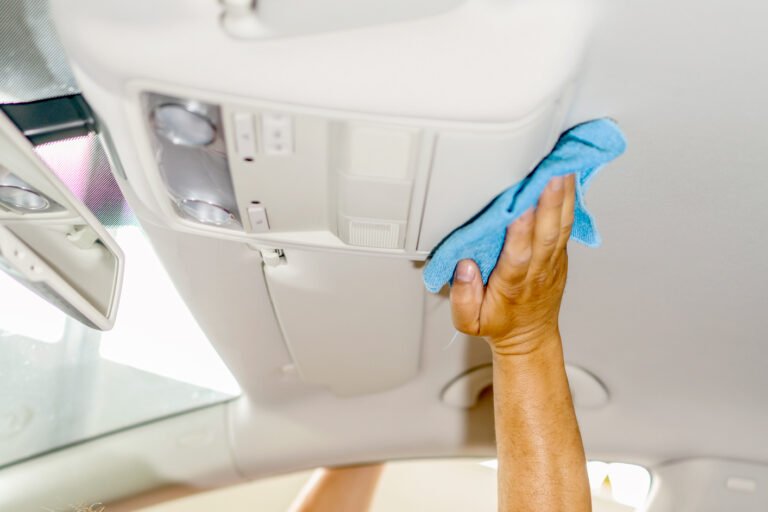
Place the damp part of the cloth on the edge of the stain. Lift it straight up. Repeat as you move toward the center.
This method reduces the chance of spreading the ring. Use a fresh part of the cloth as dirt transfers to it.
Do not scrub in circles. Do not brush back and forth with force. Headliner fabric can become fuzzy or separate from the foam.
7. Blot Away Cleaner and Dirt
Use a second cloth dampened with a small amount of distilled water. Dab the area to pick up cleaner residue.
Then press a dry towel against the spot. Lift the towel instead of rubbing. Repeat until the area is only slightly damp.
Cleaner left in the fabric can attract more dirt. However, adding too much rinse water can cause the same damage as using too much cleaner. Use the least liquid that gives a clean result.
8. Dry the Area Fully
Leave the doors or windows open when safe. Run a fan toward the headliner, but do not use high heat.
Avoid hair dryers, heat guns, and direct heat from a powerful heater. Heat can damage the foam, shrink the fabric, or soften the adhesive.
The spot should feel dry and should not have a cool, damp center. Check it again after several hours and the next day.
9. Inspect the Result
A successful cleaning should leave:
- No damp feel
- No loose fabric
- No new water ring
- No strong chemical odor
- A more even color
- No sagging around the cleaned area
Some old stains cannot be removed fully. If the fabric is permanently discolored, more cleaning may cause more damage without improving the appearance.

How to Remove Different Types of Headliner Stains
Not all roof stains are caused by the same material. The stain type changes the best approach.
| Stain appearance | Possible cause | First approach |
|---|---|---|
| Light brown or yellow ring | Water carrying dirt or rust | Distilled water, then mild upholstery cleaner |
| Dark gray smudge | Dust, hand oil, or trim contact | Dry vacuum, then gentle dabbing |
| Green or black spotting | Possible mold or organic growth | Stop and inspect the leak; consider professional cleaning |
| Sticky or glossy patch | Adhesive, cleaner residue, or grease | Do not add solvent; seek a headliner-safe product or professional help |
| Large sagging area | Water damage to adhesive or foam | Repair or replace the headliner; cleaning will not restore its shape |
| Stain that returns | Active leak | Find and repair the source before further cleaning |
Yellow or Brown Water Rings
Start with distilled water and light dabbing. Mineral-heavy tap water may leave another ring, especially on dark or light-colored fabric.
If the stain remains, use a tested upholstery cleaner. Work in small sections and avoid creating a large wet border around the original mark.
Mold-Like Spots
Black, green, or fuzzy spots need more care. The color alone does not prove that the spot is mold, but a musty odor, repeated dampness, and visible growth are warning signs.
Do not brush suspected mold across the cabin. Fix the leak and ask a qualified detailer or remediation professional about safe cleaning. People with asthma, allergies, or weakened immune systems should avoid disturbing suspected mold.
Large or Old Stains
A large stain may have reached the foam or backing board. If the headliner is sagging, bubbling, or separating, stop wet cleaning.
The proper repair may involve replacing the fabric, repairing the backing board, or replacing the complete headliner. A trim or upholstery shop can assess this without guessing based only on the visible mark.

Common Mistakes to Avoid
Soaking the Headliner
Too much liquid can loosen the adhesive. It can also move dirt into a larger ring and leave moisture inside the roof area.
Spraying the Roof Directly
Direct spray can run into lights, switches, wiring, and airbag areas. Spray the cloth, not the headliner.
Scrubbing Hard
Aggressive scrubbing can create a fuzzy patch. It may also expose the foam beneath the fabric.
Using Bleach or Strong Household Cleaners
Bleach may change the color and weaken fibers. Ammonia and solvents may affect the fabric, foam, plastic trim, or adhesive.
Using a Steam Cleaner
Steam combines heat and moisture. That can loosen glue and cause sagging. Use steam only when the vehicle maker or a qualified upholstery professional confirms that it is suitable for that specific headliner.
Cleaning Before Fixing the Leak
A new leak can undo the cleaning and cause hidden corrosion, odor, or electrical problems. Always treat the leak as the main repair.
Ignoring Airbag Areas
Many U.S. vehicles have curtain airbags along the roof rails. Do not pull trim, disconnect airbag wiring, or remove the headliner unless you have the correct service information and training.

When to Call a Professional
Professional help makes sense when:
- The headliner is sagging
- The backing board is soft or warped
- The stain covers a large area
- Water entered near a dome light or electrical part
- You see possible mold
- The leak source is not clear
- The vehicle has curtain airbags near the repair area
- Several cleaning attempts have failed
- The fabric has already separated from the foam
An auto upholstery shop can often tell whether cleaning is practical or whether the headliner needs repair. An auto glass shop may be better for a windshield or rear-glass leak. A body shop can inspect roof seams, roof rack mounts, and structural areas.
If water reached electrical components, do not keep using wet lights or switches. Have the area inspected before further use.
Key Takeaways
- Fix the leak before cleaning the stain.
- Let the headliner dry fully first.
- Vacuum loose dirt with a soft brush.
- Test every cleaner in a hidden area.
- Dab with a barely damp cloth instead of scrubbing.
- Never soak, steam, or heat the headliner.
- Stop if the fabric sags, mold is present, or water reached electrical parts.
- Use a professional when the stain is large or the headliner is damaged.
Frequently Asked Questions
Can I use vinegar to clean a headliner water stain?
It is better to avoid vinegar unless the vehicle maker or cleaner label supports it. Vinegar is acidic and may affect dyes, coatings, foam, or adhesive. Use distilled water first, then a mild upholstery cleaner that passes a hidden-area test.
Can I use a Magic Eraser on a headliner?
A Magic Eraser is abrasive. It may remove the fabric’s surface texture and leave a lighter patch. It is not a good first choice for a headliner.
Will baking soda remove a water stain from a car roof?
Baking soda may help absorb odor on some fabrics, but it will not repair a water ring or active leak. Loose powder can also be hard to remove from headliner fibers. Use controlled spot cleaning instead.
How long does a car headliner take to dry?
Drying time depends on temperature, airflow, humidity, and how much liquid was used. A lightly damp spot may dry in a few hours. Check it again later and do not close up the vehicle while the headliner still feels damp.
Why did the stain come back after cleaning?
The leak may still be active, or moisture may remain inside the foam or backing board. It is also possible that the original water carried rust or dirt deep into the material. Stop adding cleaner, inspect the leak, and seek professional help if the stain returns.
Can I remove the headliner to clean it better?
Do not remove it without the correct service instructions. Headliners can sit near curtain airbags, wiring, grab handles, and roof-mounted electronics. A trim or upholstery professional can remove and reinstall it safely.
Conclusion
The best way to clean headliner water stains is to use minimal moisture and gentle pressure. Repair the leak, dry the roof lining, vacuum loose dirt, test a mild cleaner, and dab the stain in small sections.
If the fabric sags, the stain returns, or mold and electrical damage may be involved, cleaning is no longer the main solution. Have the leak and headliner checked by an appropriate automotive professional before the damage spreads.