How To Clean Car Headliner: Easy Safe Method
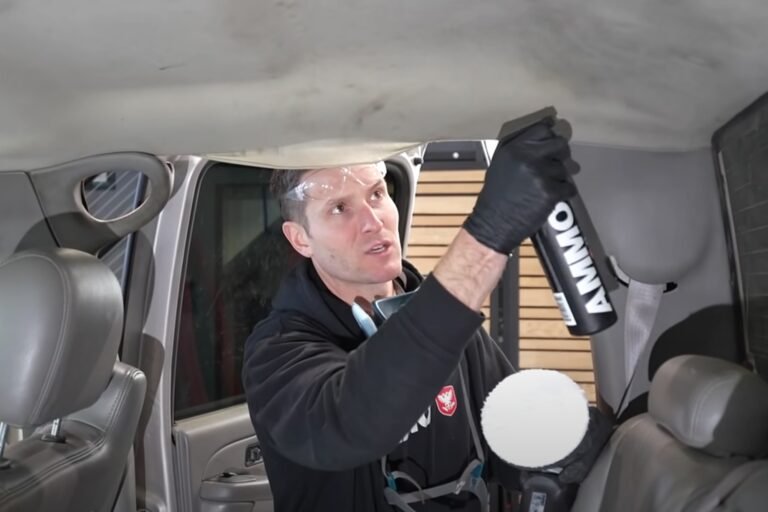
A car headliner is the fabric-covered panel on the inside roof of a vehicle. To clean it safely, vacuum loose dust, spot-test a mild fabric cleaner, apply only a small amount to a microfiber cloth, and gently blot the fabric. Do not soak, scrub hard, or steam the headliner. Too much moisture can loosen the foam backing and cause the fabric to sag.
This method works for most cars, trucks, and SUVs sold in the United States. Always check the vehicle owner’s manual first. Some headliners sit near side-curtain airbags, lights, sensors, and other electrical parts.

What Is a Car Headliner?
A car headliner is more than a piece of cloth. Most headliners have three layers:
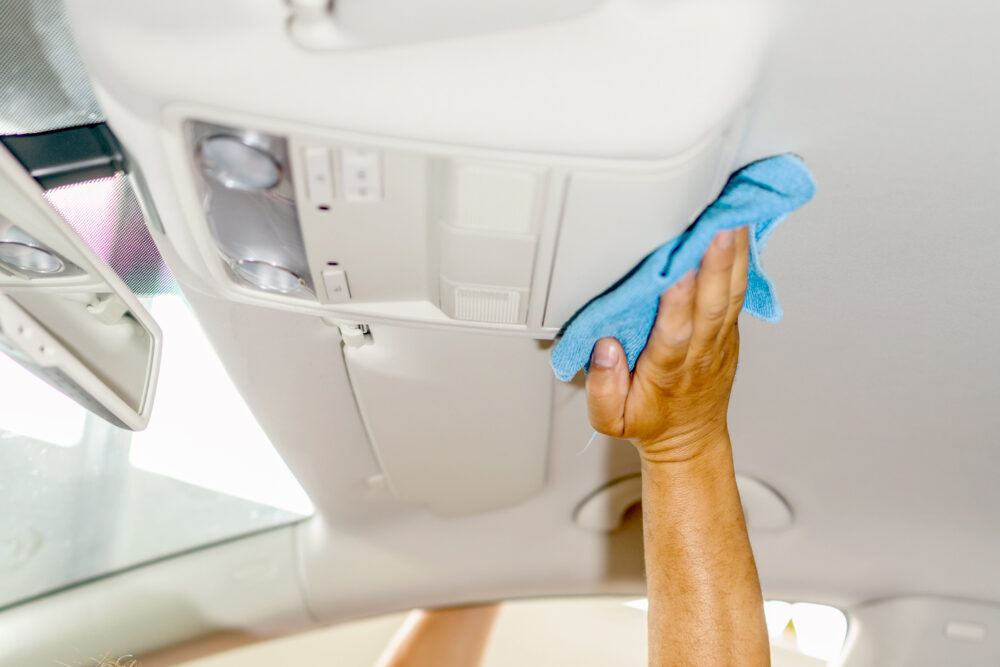
- A visible fabric layer
- A thin foam backing
- A rigid support board attached to the vehicle roof
The foam and adhesive help the fabric stay in place. They are also sensitive to water, heat, solvents, and rough handling.
Why headliners need gentle cleaning
The fabric may look like ordinary upholstery, but it is often bonded to foam. If liquid reaches the foam or support board, it may cause:
- Loose or sagging fabric
- Water marks
- Wrinkles
- Weak adhesive
- A musty odor
- Permanent staining
For this reason, cleaning a headliner is closer to cleaning a delicate wall panel than washing a seat. Use less water than you think you need.
Check for special parts first
Before cleaning, look around the headliner for:
- Side-curtain airbag labels
- Overhead lights
- Sunroof controls
- Microphones
- Garage-door buttons
- Seat belt mounts
- Warning sensors
- Removable trim
Do not remove the headliner or pull away trim just to clean it. If the fabric is already loose near an airbag or trim panel, ask a qualified automotive interior technician to inspect it.
What You Need to Clean a Headliner
Gather the right supplies before you begin. A short list is better than a strong chemical.
Recommended supplies
- Vacuum with a soft brush attachment
- Two or three clean microfiber cloths
- A small bowl
- Lukewarm water
- Mild soap or a cleaner labeled safe for automotive fabric
- Soft detailing brush, if needed
- Dry towel
- Fan or open doors for air flow
Choose a cleaner with clear fabric-care directions. A mild upholstery cleaner may work, but test it first in a hidden area.
Products to avoid
Do not use these products unless the vehicle maker specifically approves them:
- Bleach
- Ammonia
- Acetone
- Paint thinner
- Strong degreasers
- Household glass cleaner
- Abrasive powders
- Stiff scrub brushes
- High-temperature steam cleaners
- Large amounts of water
Chemical cleaners can discolor fabric or weaken the adhesive. Steam and heavy moisture can soften the glue beneath the headliner.
Prepare the vehicle
Park in a dry, shaded place. Keep the doors open if weather and security allow. Avoid cleaning in direct sun because heat can speed drying at the surface while moisture stays trapped below.
Remove sunglasses, papers, and other items from the cabin. If you use an interior light while cleaning, turn it off before spraying or wiping near it.

How to Clean a Car Headliner Step by Step
The safest process is to work from dry cleaning to limited spot cleaning. Start with the least aggressive method and stop when the stain is gone.
1. Inspect the headliner
Look for the type of soil before applying anything.
Common problems include:
- Loose dust
- Finger marks
- Food or drink spots
- Grease
- Smoke odor
- Water stains
- Mold-like spots
- Sagging fabric
If the headliner is sagging, do not begin with wet cleaning. Cleaning may worsen the separation.
2. Vacuum loose dust
Use a vacuum with a soft brush attachment. Hold the attachment just above the fabric or use very light contact.
Work in small sections. Move in one direction rather than pressing the brush into the cloth. This removes dust without pulling at the fabric or creating a visible nap change.
If the vacuum pulls the fabric upward, stop. Use less suction or keep the nozzle slightly away from the surface.
3. Mix a mild cleaning solution
For light soil, start with plain lukewarm water. If water does not remove the mark, mix a very small amount of mild soap into the water.
The mixture should feel weak, not thick or sudsy. Strong foam does not mean better cleaning. It usually means more residue and more moisture.
4. Test in a hidden spot
Apply a small amount of the solution to a microfiber cloth. Do not spray the headliner directly.
Test the cloth on a hidden area, such as near the edge above a door. Wait until the area dries. Check for:
- Color change
- Ring marks
- Fabric distortion
- Loose foam
- Sticky residue
- Dye transfer onto the cloth
If the test area changes, stop and use a professional interior cleaner.
5. Blot the stain
Dampen a clean microfiber cloth so it is moist but not wet. Press it lightly on the stain, then lift it away.
Repeat with a clean part of the cloth. Do not rub in circles. Rubbing can spread the stain, roughen the fabric, or separate the fabric from its backing.
Use short passes from the outside of the stain toward the center. This helps reduce a dark ring around the cleaned area.
6. Use a soft brush only when needed
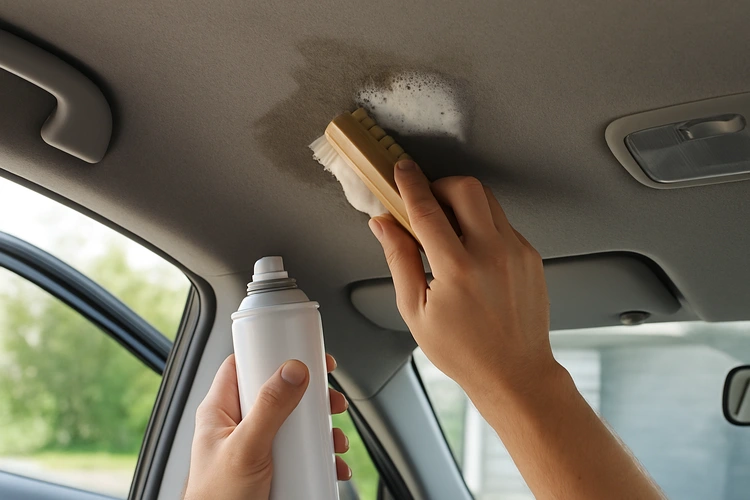
If dirt remains in the fabric weave, use a soft brush with very light pressure. Make one or two gentle passes, then blot with a clean cloth.
Do not keep brushing the same spot. If the stain does not improve after a few careful attempts, stronger force is more likely to cause damage than remove the stain.
7. Remove cleaner residue
Dampen a second microfiber cloth with plain water. Wring it out well, then lightly blot the cleaned area.
This step removes leftover soap. Avoid pressing hard or adding enough water to wet the support board.
8. Dry the headliner
Use a dry towel to blot extra moisture. Then leave the doors or windows open for ventilation when safe.
A small fan can help move air through the cabin. Do not use a heat gun, hair dryer on high heat, or other strong heat source. Heat may affect the adhesive and can damage nearby plastic or electronics.
9. Check the result after drying
A damp headliner can look cleaner than it will after it dries. Inspect it again when fully dry.
Look for:
- Remaining marks
- Water rings
- Loose fabric
- New discoloration
- Odor
- Sticky areas
If the stain is lighter but still visible, wait until the area is fully dry before deciding whether to repeat the process. Do not perform many wet passes in one session.
How to Remove Common Headliner Stains
Different stains need different levels of care. The safest approach is to match the method to the soil.
| Stain or problem | First method | Main risk |
|---|---|---|
| Dust | Soft vacuum brush | Pulling the fabric |
| Finger marks | Light blot with mild cleaner | Spreading oil |
| Food or drink | Remove solids, then blot | Water rings |
| Grease | Automotive fabric cleaner, tested first | Dark halos |
| Smoke odor | Clean all cabin surfaces and ventilate | Masking odor only |
| Water stain | Blot lightly after finding the leak | Permanent ring |
| Mold-like growth | Professional assessment | Spreading contamination |
| Sagging fabric | Repair or replacement | Making adhesive failure worse |
Dust and light dirt
Vacuuming may be enough. Begin with the dry method because it does not introduce moisture or cleaning residue.
Food and drink
Remove solid material with a spoon or the edge of a plastic card. Do not scrape with a knife.
Blot the remaining mark with a slightly damp cloth. Start at the edge and move inward. Sugary drinks may leave a sticky film, so use a second cloth dampened with plain water to remove residue.
Grease and oily marks
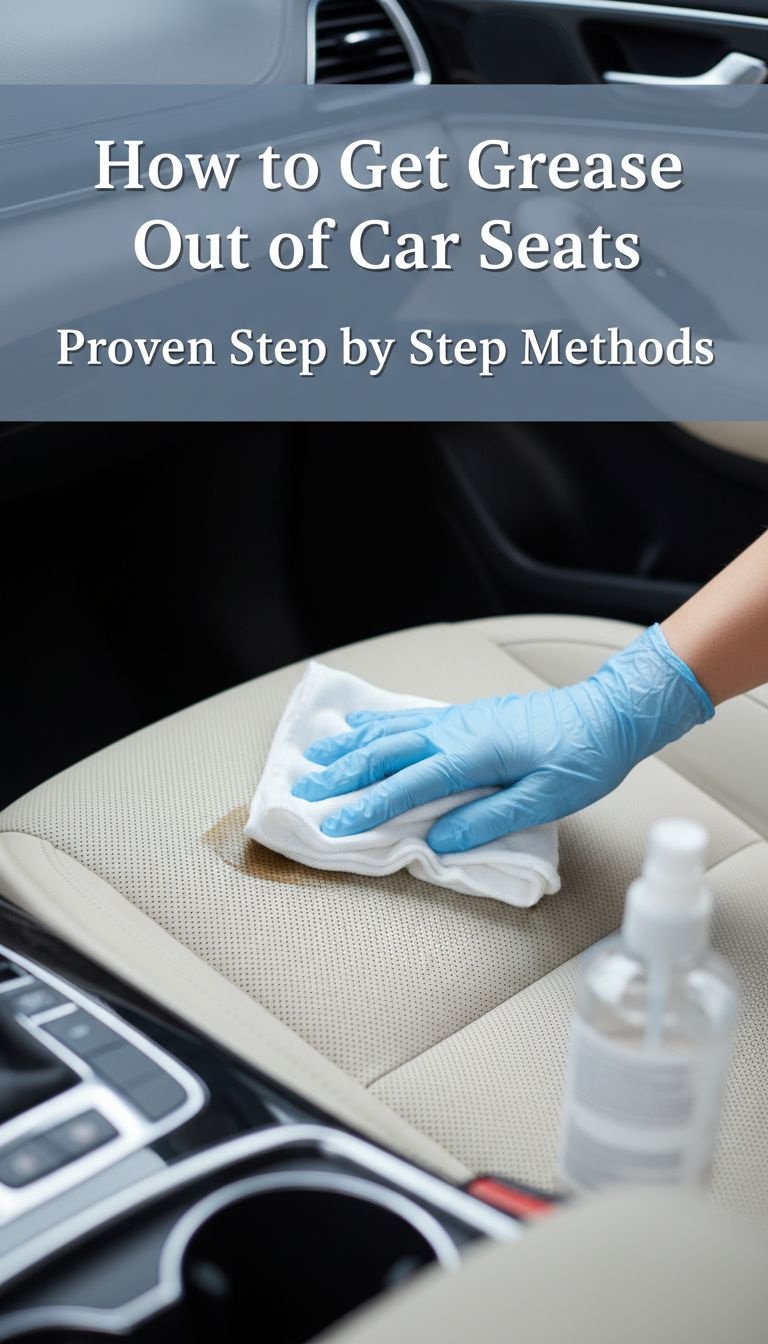
Grease can spread when rubbed. Use a cleaner made for automotive fabric, and follow its label. Apply the cleaner to a cloth, not directly to the roof.
Use very small amounts. If the stain expands or forms a dark border, stop and let the area dry before trying again.
Smoke odor
A headliner can hold smoke odor, but cleaning only the roof may not solve the problem. Smoke residue can also remain in seats, carpets, door panels, vents, and other soft surfaces.
Clean the cabin as a whole and improve ventilation. Avoid covering the odor with heavy fragrance. If the odor remains, a professional detailer may need to assess the interior.
Water stains
A water mark may point to a leak from a sunroof drain, door seal, windshield seal, roof antenna, or another area. Find and repair the leak before cleaning the stain.
If you clean the mark first, it may return. Water can also damage the headliner backing over time.
Mold-like spots
Do not brush or aggressively vacuum suspected mold. Avoid spreading particles through the cabin. Mold can also signal ongoing moisture.
For a large area, strong odor, repeated moisture, or health concerns, seek a qualified vehicle interior cleaning service. The source of the moisture must be corrected.
What to Do if Cleaning Does Not Work
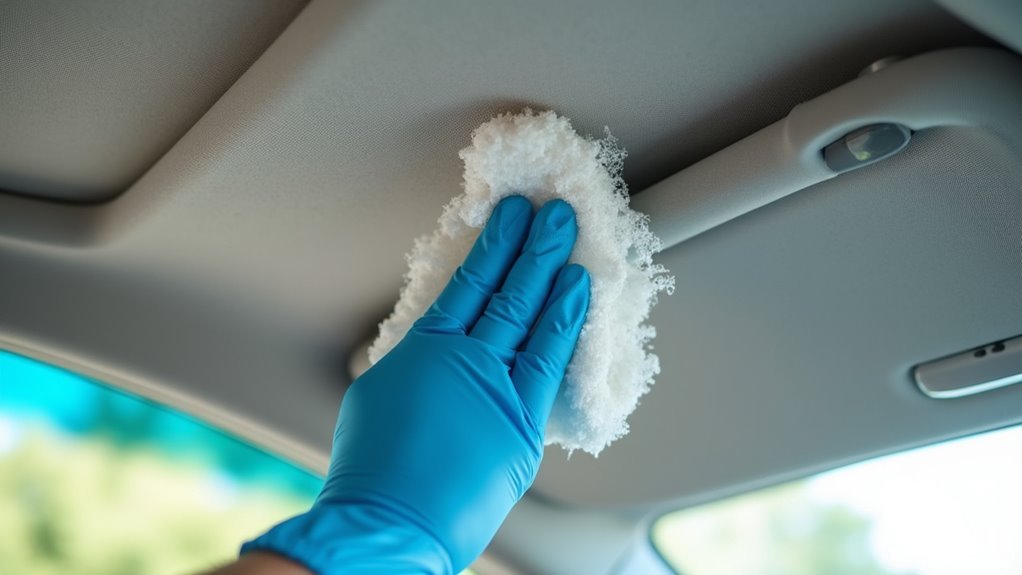
If a stain remains after one careful cleaning attempt, do not automatically use a stronger product. The mark may be permanent, or it may be caused by damage below the fabric.
The fabric is sagging
Sagging usually means the foam backing or adhesive has failed. Cleaning will not restore the bond.
Do not use household spray adhesive through the fabric. It can create hard spots, stains, wrinkles, and poor adhesion. A headliner repair shop can often remove the panel, replace the fabric or foam, and reinstall it correctly.
The stain leaves a ring
A ring usually means the damp area dried unevenly or soil moved toward the edge. Avoid adding more liquid right away.
Let the area dry fully. If you try again, use less solution, clean a slightly wider area, and blot rather than rub. If the ring remains, professional extraction may be safer.
The fabric changes color
Stop cleaning if the fabric becomes lighter, darker, yellow, or blotchy. The cleaner may be affecting the dye, or the area may have developed a water mark.
Further treatment can enlarge the damaged area. A professional may be able to blend or replace the fabric, but results are not guaranteed.
The odor returns
A returning odor often means the source remains. Check for:
- Wet carpet or floor padding
- Leaking seals
- Spilled liquid under a seat
- Air-conditioning moisture
- Smoke residue
- Mold or mildew
- Damp cargo-area materials
Repair the moisture source before repeating surface cleaning.
The headliner has heavy contamination
For heavy grease, widespread stains, mold-like growth, flood exposure, or smoke damage, use a professional automotive detailer. Tell the technician about curtain airbags, sunroof areas, leaks, and any previous chemicals used.

Common Headliner Cleaning Mistakes
Avoiding mistakes matters more than using a powerful cleaner.
Spraying the roof directly
Direct spray can soak the fabric and send liquid into lights, switches, microphones, and the foam backing. Spray a small amount onto a cloth instead.
Using too much water
A wet headliner may look clean at first. Later, it can sag, develop rings, or smell musty. Use a barely damp cloth and work in small areas.
Scrubbing hard
Hard scrubbing can flatten the fabric, expose the foam, and spread oily soil. Blot first, then use only a soft brush when necessary.
Cleaning in direct sun
Sun and heat can dry the surface too quickly. Work in shade with good air flow.
Using household carpet equipment
Some carpet machines release more water than a headliner can safely handle. They may also pull at the fabric. Use a professional service if deeper extraction is needed.
Ignoring a leak
A clean headliner will not stay clean if water is still entering the vehicle. Find the leak before treating the stain.
Removing trim without proper knowledge
Headliner trim may be close to wiring and side-curtain airbags. Do not remove pillars, handles, or roof panels unless the vehicle service information supports the procedure and you understand the safety steps.

Key Takeaways
- Vacuum the headliner first.
- Test every cleaner in a hidden area.
- Apply cleaner to a cloth, not directly to the roof.
- Blot gently and use very little moisture.
- Avoid steam, bleach, strong solvents, and stiff brushes.
- Dry the headliner with air flow, not high heat.
- Treat sagging fabric, mold-like growth, and repeated water stains as repair issues.
- Fix leaks before cleaning water marks.
Frequently Asked Questions
Can I use an upholstery cleaner on a car headliner?
You can use one only if its label says it is suitable for the fabric and you test it first. Apply a small amount to a microfiber cloth rather than spraying the headliner. Stop if the fabric changes color, develops a ring, or begins to loosen.
Can I use vinegar to clean a car headliner?
Vinegar is not the safest default choice. Its water content can still soak the backing, and its acidity may affect some fabrics, dyes, or adhesives. Use plain water or a mild automotive fabric cleaner that has passed a hidden-area test.
Can I use a steam cleaner on a headliner?
Steam is risky because heat and moisture may loosen the adhesive or deform the foam backing. Unless the vehicle or cleaner manufacturer specifically approves the method, avoid steam on a bonded headliner.
How often should I clean my car headliner?
Clean it when dust, marks, or odors appear rather than on a fixed schedule. Light vacuuming during normal interior care is usually less risky than repeated wet cleaning.
How do I clean a black or dark headliner?
Use the same low-moisture method, but inspect the area carefully after it dries. Dark fabric can show light residue, streaks, and uneven brushing. Test in a hidden spot and use a clean cloth to prevent lint transfer.
How do I remove a water stain from a headliner?
First find and repair the leak. Then vacuum loose dirt and gently blot the stain with a barely damp cloth. If the mark returns or spreads, have a professional inspect the headliner and the leak source.
What should I do if my headliner is already falling?
Do not wet-clean the loose area. The adhesive or foam backing may have failed. A headliner repair specialist can replace the affected material or repair the panel without creating extra stains or wrinkles.
Final Recommendation
For most light dirt and small stains, use a soft vacuum brush, a barely damp microfiber cloth, and a mild cleaner tested in a hidden area. Work slowly and keep moisture low. If the headliner sags, has widespread staining, shows mold-like growth, or sits near a suspected leak, skip aggressive cleaning and arrange a professional inspection.