What To Use To Clean Car Interior Fabric: Easy Guide
Introduction
For most cars in the United States, the safest way to clean fabric seats, carpets, and door panels is to use a vacuum, clean microfiber cloths, warm water, and a small amount of mild soap or a fabric-safe upholstery cleaner. The best method depends on the stain, the fabric type, and the vehicle maker’s care instructions.
Start with the least wet method. Vacuum loose dirt first, test any cleaner in a hidden spot, and use only enough liquid to lift the stain. Too much water can soak the foam under the fabric, leave water marks, or create a musty smell.
This guide explains what to use, how to clean fabric step by step, which products to avoid, and when a stain needs professional care. It applies to cars, trucks, SUVs, and vans commonly sold and used in the United States.

What Should You Use to Clean Car Interior Fabric?
Use these basic supplies:
- A vacuum with a soft brush attachment
- Two or three clean microfiber cloths
- A soft upholstery brush
- Warm water
- A small amount of mild liquid soap
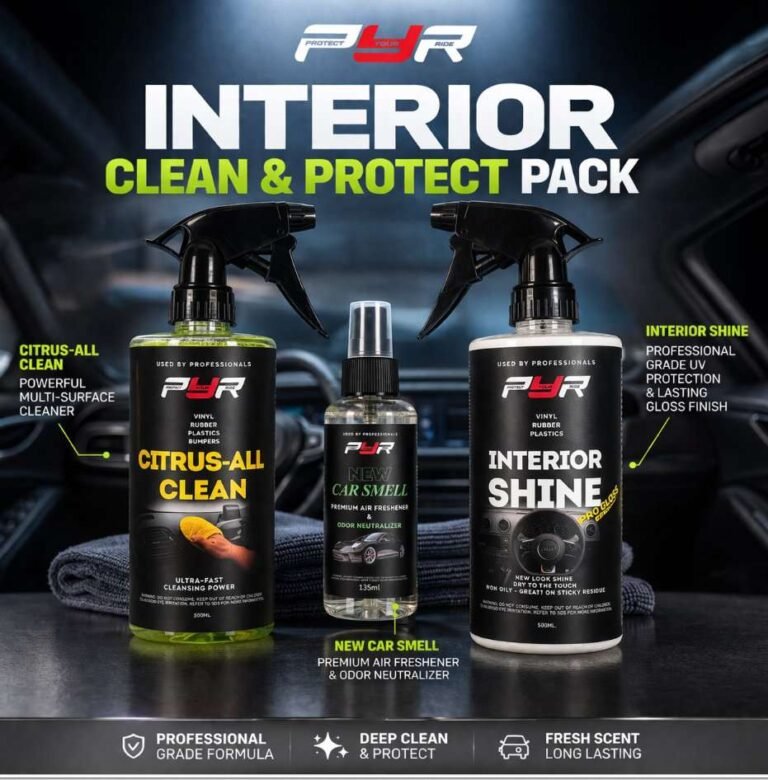
- A fabric-safe automotive upholstery cleaner
- A spray bottle
- Dry towels
- A soft toothbrush for seams and tight areas
For light dirt, warm water and a clean microfiber cloth may be enough. For food, drink, grease, or ground-in soil, use a cleaner labeled for automotive fabric, upholstery, or carpet.
A mild soap mix can work for many synthetic fabrics:
Mix about 1 teaspoon of mild liquid soap with 2 cups of warm water.
Use this as a light cleaning solution, not as a soaking bath. Do not assume that a household cleaner is safe because it works on a sofa or rug. Car fabrics may have stain guards, foam backing, heated-seat wiring, or other parts that need less moisture.
The vehicle owner’s manual is the first source to check. Ford, Toyota, Honda, General Motors, and other automakers may give different care instructions for cloth seats, headliners, seat belts, and specialty trim. Follow the manual if it conflicts with a general cleaning method.
Quick choice guide
| Cleaning need | Best first choice | Main caution |
|---|---|---|
| Dust and crumbs | Vacuum with a soft brush | Do not grind grit into the fabric |
| Fresh water-based spill | Blot with a dry towel | Do not rub outward |
| Coffee, soda, or juice | Mild soap solution or fabric cleaner | Sugar can leave a sticky film |
| Grease or oil | Fabric-safe degreasing cleaner | Use very little moisture |
| Pet hair | Vacuum, rubber brush, or lint tool | Remove hair before wet cleaning |
| Bad odor | Clean the source and dry fully | Fragrance only masks many odors |
| Unknown stain | Hidden-spot test first | Strong cleaners may set or fade color |

How to Clean Fabric Car Seats and Carpet Step by Step
Clean the fabric in a shaded, well-ventilated place. A warm day can help drying, but direct hot sun may dry cleaner too fast and leave marks. Remove personal items before you begin.
1. Read the manual and identify the material
Confirm that the surface is cloth, polyester, nylon, microfiber, or another synthetic fabric. Do not use a fabric method on leather, vinyl, suede-like materials, or Alcantara-style trim without checking the care guide.
Also look for:
- Heated or ventilated seats
- Seat-mounted side airbags
- Electronic seat controls
- Loose seams
- Torn fabric
- Stains near the headliner
- Seat belts that need separate cleaning
Do not remove seat covers or disturb airbag panels. If a seat is torn near an airbag, ask a qualified automotive upholstery or safety professional for help.
2. Remove trash and vacuum slowly
Take out floor mats and shake them away from the vehicle. Pick up coins, stones, and large debris by hand. Then vacuum the seats, carpet, seams, and gaps.
Use a soft brush on delicate fabric. Move the nozzle slowly. Fast passes may leave grit behind. Pay special attention to:
- Seat piping
- The gap between the seat cushion and backrest
- Under child safety seats
- Door-pocket corners
- Carpet near the pedals
- Areas where pets sit
Vacuuming first is one of the most useful steps. If dirt remains in the fabric, water can turn it into mud and make the stain look worse.
3. Blot fresh spills
Place a dry, absorbent towel over a fresh spill. Press down gently, then lift the towel. Repeat with a dry part of the towel.
Do not scrub a wet spill. Rubbing can spread the liquid, push it deeper into the cushion, and roughen the fabric. Work from the outside of the spill toward the center when needed.
For a thick spill, such as milkshake or food, lift solids with a spoon or dull plastic edge first. Avoid sharp tools that can cut the fabric.
4. Test the cleaner
Spray or dab a small amount of cleaner on a hidden area. Good test locations include:
- Beneath the seat
- A carpet edge under a mat
- The rear side of a seat base
Wait until the test area dries. Check for color change, a stiff texture, a ring, or fabric damage. A wet test alone is not enough because some marks appear only after drying.
5. Apply cleaner to the cloth, not the seat
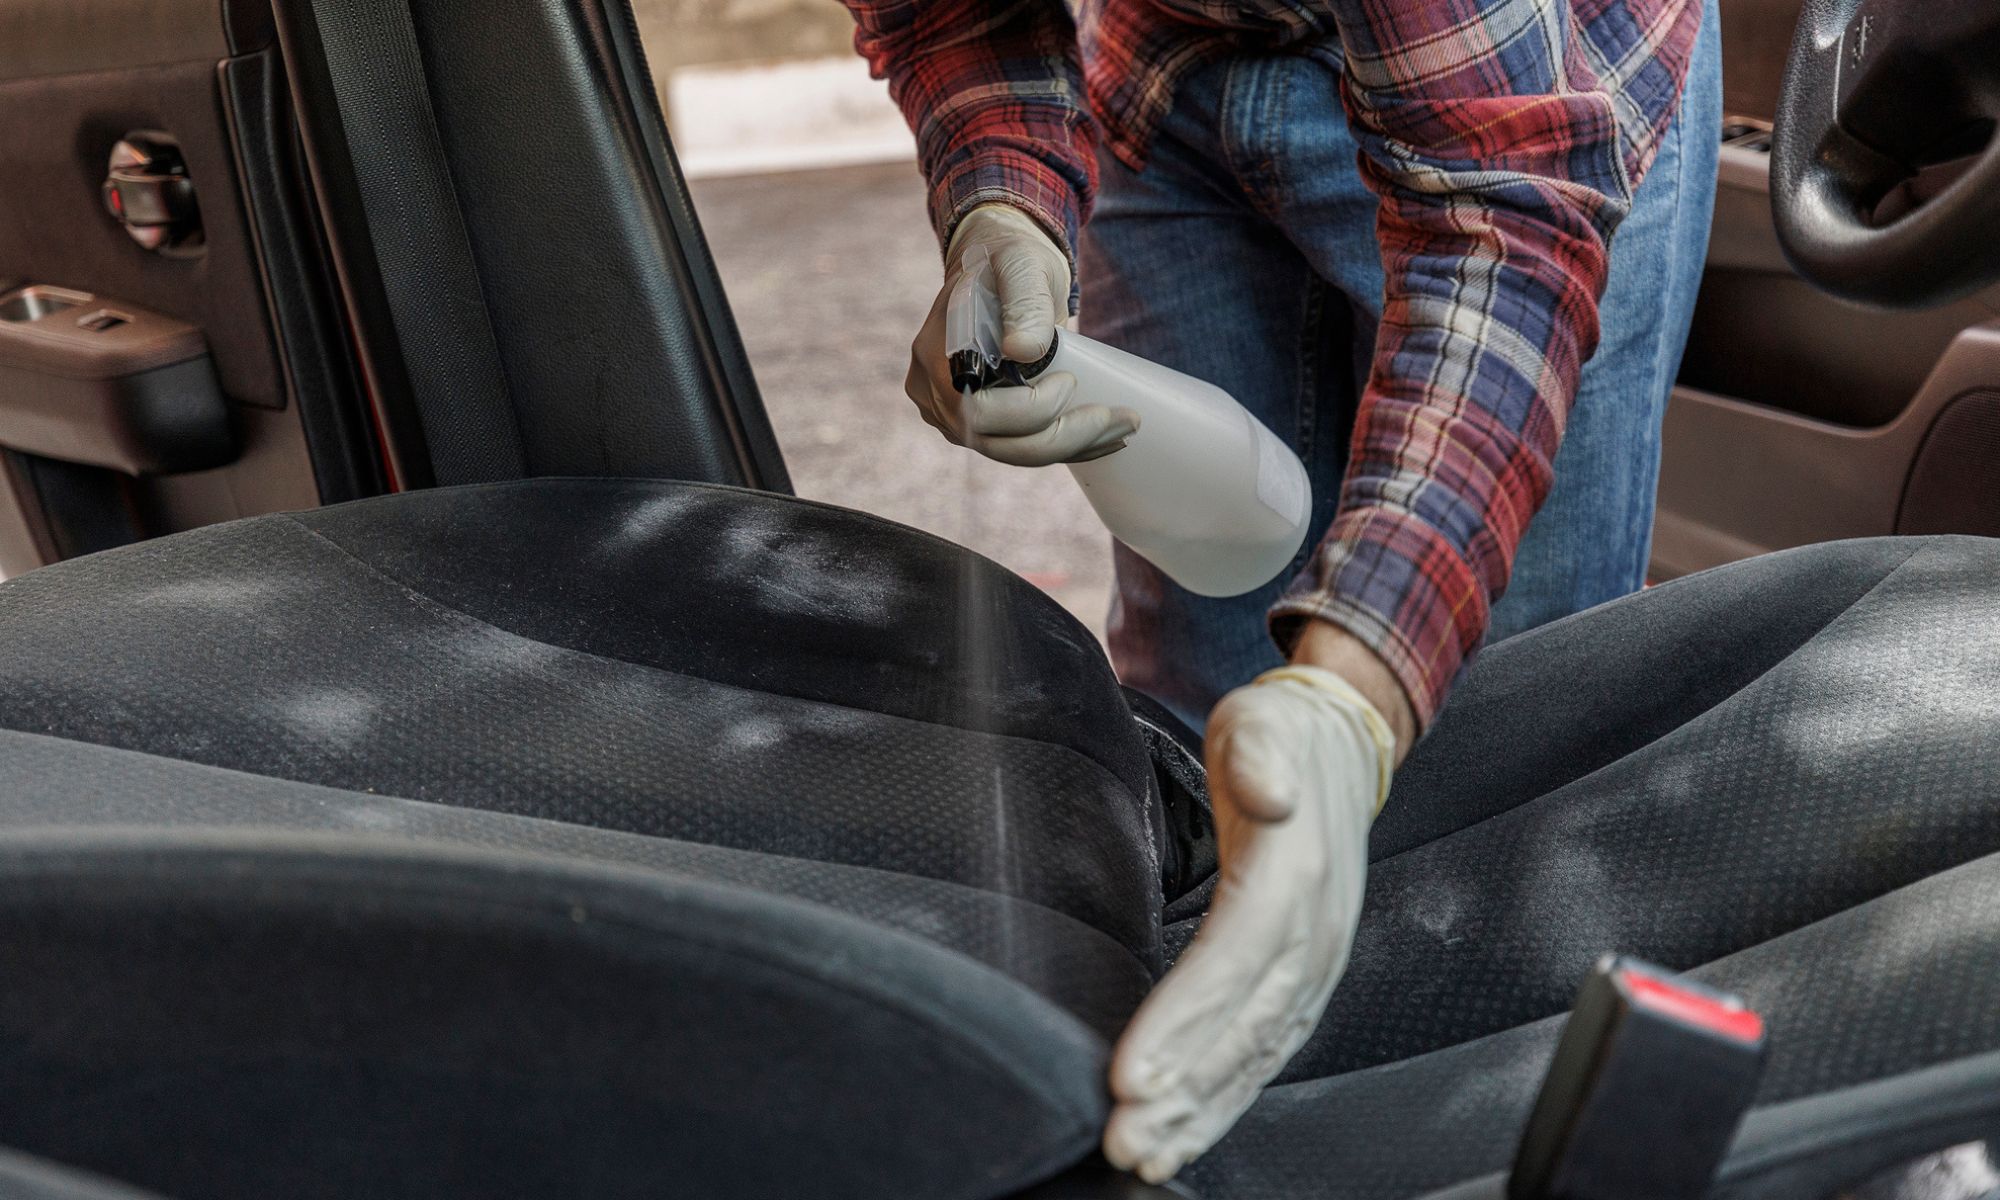
For most stains, put the cleaner on a microfiber cloth or soft brush. Avoid soaking the seat. A light mist may be suitable for a broad carpet area, but do not saturate the foam.
Work on a small section at a time. Gently brush in short strokes. Let the cleaner loosen the soil for the time stated on its label. Do not let the product dry on the fabric unless the label says to do so.
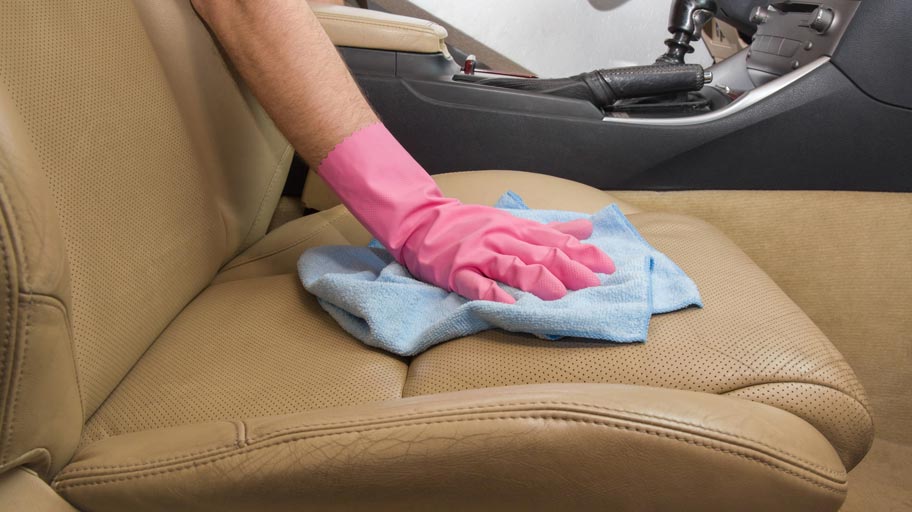
6. Lift the soil with a clean cloth
Blot the area with a separate damp microfiber cloth. Rinse the cloth often in clean water. The goal is to remove both the dirt and the cleaner.
A common mistake is to use more soap when the first pass does not work. Soap residue can attract new dirt. Several light passes are usually safer than one heavy pass.
7. Dry the surface fully
Press dry towels into the fabric to remove extra moisture. Open the doors or windows in a safe location to improve airflow. Use a fan if available.
Do not drive until the driver’s seat, pedals, steering area, and floor are dry and free of slippery residue. If the seat remains damp for many hours or develops a musty smell, it may have been over-wetted.
How to Remove Common Stains from Car Fabric
The right cleaner depends on what caused the stain. No product can safely remove every mark from every fabric.
Coffee, tea, soda, and juice
Blot fresh liquid first. Then use a small amount of mild soap solution or an automotive fabric cleaner. Rinse the area with a lightly damp cloth and dry it well.
Sugary drinks may leave a sticky residue even after the color fades. If the area feels tacky after drying, repeat the light rinse with clean water. Use less cleaner on the second pass.
Grease and oil
Remove surface grease with a dry towel. Then use a cleaner labeled for automotive upholstery and suitable for grease. Apply it to a cloth rather than flooding the seat.
Test first because some degreasers can fade dye or leave a pale spot. Repeat small applications instead of using a strong chemical mixture.
Ink
Ink can spread quickly. Do not scrub it with water. Check the vehicle manual and the cleaner label before using a solvent-based product.
A professional detailer or upholstery technician may be the safer choice, especially on light-colored seats. Household rubbing alcohol may damage some dyes, coatings, or synthetic fibers.
Gum, wax, or hardened candy
Let the material harden. You can use a bag of ice wrapped in a cloth to make gum less soft. Lift it gently with a plastic card.
Do not use a knife or metal scraper. Avoid heating the material with a hair dryer because heat can spread wax and may damage synthetic fabric.
Pet hair
Remove hair before wet cleaning. Vacuum with a suitable attachment, use a rubber pet-hair brush, or wipe the fabric with a slightly damp rubber glove.
Wet hair can mat into the seat and make removal harder. After the hair is gone, vacuum again before treating stains or odors.
Vomit, urine, or other biological spills
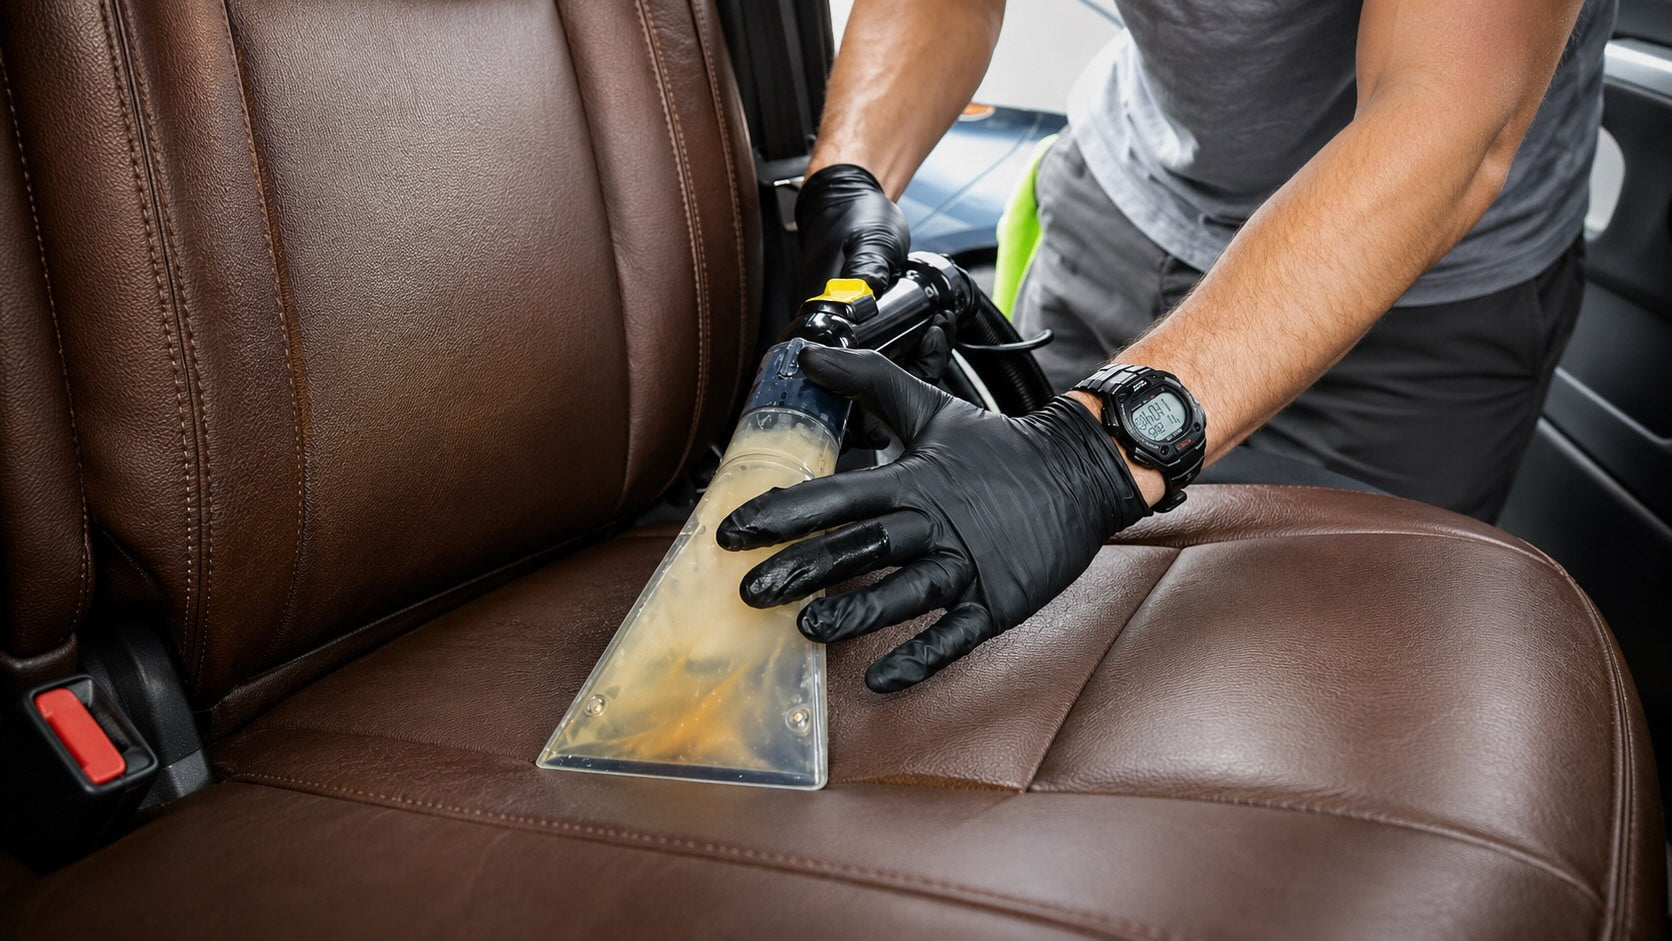
Wear disposable gloves. Remove solid material, blot liquid, and use a cleaner made for automotive fabric and biological odors. Enzyme cleaners may help with organic residue, but the product must be labeled for the fabric and used as directed.
Do not mix cleaners. In particular, never combine bleach with ammonia or other household chemicals. If liquid has soaked deeply into the cushion, surface cleaning may not remove the odor. Professional extraction may be needed.

What Can You Use for Odors in Car Fabric?
The best odor treatment is to remove the material causing the smell. Air freshener, baking soda, or fragrance spray may cover an odor for a short time but will not remove liquid trapped in foam or carpet padding.
Use this order:
- Find the source.
- Remove solid debris.
- Vacuum the area.
- Clean the fabric with a suitable upholstery product.
- Remove cleaner residue with a lightly damp cloth.
- Dry the area completely.
- Replace or clean contaminated floor mats and cargo liners.
Baking soda can absorb some surface odors, but it may be difficult to remove from deep carpet fibers. If you use it, apply a small amount, allow it to sit briefly, and vacuum slowly.
Do not spray deodorizer into air vents, seat-belt retractors, electrical switches, or under seats where wiring and electronic modules may be located.
If the smell returns after cleaning, look for a hidden source such as:
- A wet carpet pad
- A leaking door or sunroof seal
- A spilled drink under a seat
- A damp floor mat
- Mold or mildew after water intrusion
- An air-conditioning drain problem
A recurring musty odor can point to moisture entering the vehicle. Fix the leak before treating the smell.

What Not to Use on Car Interior Fabric
Avoid products that are too harsh, too wet, or not made for the material. Common risks include fading, stiff fabric, residue, water rings, and damage to foam or wiring.
Do not use these without clear approval from the vehicle maker or product label:
- Chlorine bleach
- Strong ammonia cleaners
- Undiluted dish soap
- Bathroom or kitchen degreasers
- Abrasive powders
- Nail-polish remover
- Paint thinner
- Unapproved solvents
- High-pressure steam near electronics or airbags
- Large amounts of water
Dish soap can remove grease, but too much may leave a film. Bleach can weaken fibers and change color. Solvents may dissolve coatings or transfer dye.
Steam cleaning needs special care. Heat and moisture can help with some upholstery, but a steam tool can over-wet a car seat or push moisture into foam. Do not use steam on a headliner, seat belt, electronic control, airbag area, or surface that the manual says to keep dry.
The U.S. Environmental Protection Agency’s Safer Choice program can help shoppers identify products with reviewed chemical ingredients, but a Safer Choice label does not automatically mean that a product is approved for every car fabric. Always check the automotive surface and use directions.

How to Clean a Car Headliner Safely
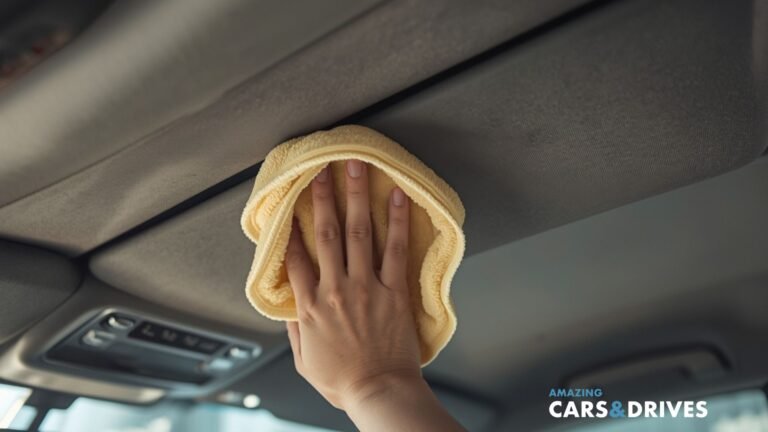
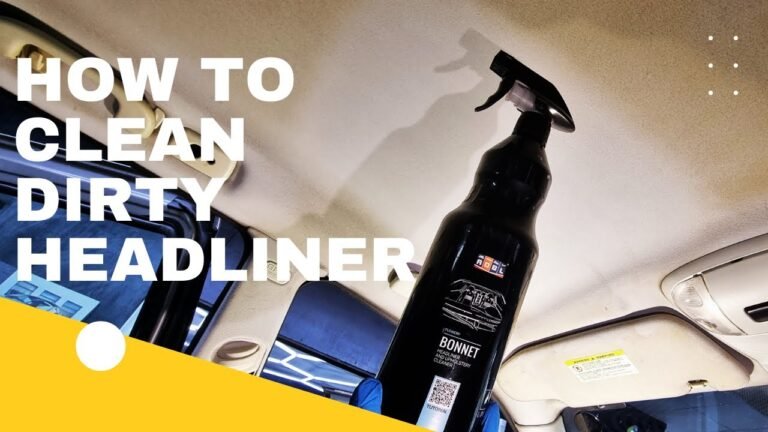
Clean a headliner with much less moisture than a seat or floor carpet. The fabric is often bonded to a thin backing, and excess liquid can loosen the adhesive or cause sagging.
Use this method:
- Vacuum lightly with a soft brush.
- Test a fabric-safe cleaner in an unseen spot.
- Put a small amount of cleaner on a microfiber cloth.
- Dab or lightly wipe a small area.
- Avoid soaking, hard brushing, and steam.
- Allow the headliner to dry with airflow.
Do not scrub a headliner in circles. A heavy hand can create a visible texture change. If the liner is already sagging, stop cleaning it and seek professional repair advice. Cleaning may make the damage worse.

How to Clean Car Seat Belts
Seat belts need a separate method because they are safety equipment. Pull the belt out and hold it extended. Wipe it with mild soap and water on a cloth, then let it dry fully before retracting it.
Do not use bleach, solvents, fabric softener, or harsh stain removers. Do not remove the belt from the vehicle unless a qualified technician instructs you to do so.
If a seat belt is frayed, cut, badly stained with an unknown chemical, or damaged in a crash, have it inspected. Cleaning cannot restore damaged webbing. The National Highway Traffic Safety Administration advises replacing safety belts and related restraint parts after certain crash damage; check the vehicle maker’s guidance for the specific vehicle.

When Should You Use a Professional Detailer?
A professional detailer may be the better choice when the stain is large, old, deeply soaked, or close to sensitive equipment. Professional extraction can remove more water and residue than a simple home cloth method, but the technician still needs to use the correct process.
Seek help when:
- The fabric has mold or a strong recurring odor
- Milk, urine, or another liquid soaked into the foam
- A large area has water marks
- The headliner is loose or sagging
- Dye has transferred from clothing
- A chemical spill occurred
- The seat has an airbag, heater, or ventilation system near the stain
- The fabric is torn or the seat belt is damaged
Ask what method the detailer will use and whether it is suitable for the vehicle’s fabric and seat electronics. A detailer should not promise that every stain can be removed. Some dyes, burns, bleach marks, and permanent discolorations cannot be cleaned away.
Common Mistakes When Cleaning Car Fabric
The most common mistake is using too much water. A car seat may look clean on top while the cushion below stays damp. That can cause odor and may affect adhesives or electronics.
Other mistakes include:
- Skipping the vacuum step
- Rubbing a fresh stain
- Using one dirty cloth across the whole interior
- Applying cleaner without a hidden-spot test
- Mixing cleaning chemicals
- Letting soap dry on the fabric
- Closing the car while the seat is still damp
- Using a stiff brush on a delicate surface
- Spraying near switches, vents, or seat-belt retractors
- Ignoring a water leak
Stop if the fabric changes color, becomes sticky, develops a ring, or starts to pull away from its backing. Blot with a clean, slightly damp cloth if safe, then dry the area. If the problem continues, use a professional service rather than adding a stronger cleaner.
Best Routine for Keeping Car Fabric Clean
A short routine prevents most deep stains:
- Vacuum seats and floors every few weeks.
- Clean spills as soon as possible.
- Use washable floor mats.
- Keep food and open drinks under control.
- Clean pet hair before it works into the weave.
- Check under child seats and cargo items.
- Leave the interior open briefly after wet cleaning.
- Fix leaks instead of masking odors.
For daily care, a dry microfiber cloth and vacuum are safer than repeated wet cleaning. Frequent use of strong products can wear the finish and leave residue.
Frequently Asked Questions
Can I use laundry detergent to clean car seats?
Laundry detergent is not the first choice. It may create too much foam or leave residue that attracts dirt. Use a cleaner labeled for automotive fabric, or use a very small amount of mild soap diluted in water.
Is vinegar safe for car upholstery?
Diluted vinegar may affect dyes, finishes, or odor in some fabrics. It is not a universal car upholstery cleaner. Check the manual and test any solution in a hidden spot before use.
Can I use a carpet cleaner on car seats?
Only if the product is labeled as suitable for upholstery and the machine can control moisture. Car seats contain foam, wiring, heaters, and sensors. Avoid soaking them, and follow both the vehicle manual and cleaner instructions.
How do I stop water rings on fabric seats?
Use a small amount of cleaner, clean the full affected section rather than only the center of a ring, and dry the area evenly. Water rings often come from uneven moisture or leftover product.
How long should car seats take to dry?
Drying time depends on airflow, humidity, fabric, and how much liquid was used. The seat should be fully dry before normal use. If it remains damp for an extended period or smells musty, improve airflow and consider professional extraction.
What is the safest cleaner for a car headliner?
Use the vehicle maker’s recommended product or a fabric-safe cleaner applied sparingly to a cloth. Do not soak, steam, or aggressively scrub the headliner.
Final Recommendation
For most fabric car interiors, start with a vacuum, a microfiber cloth, warm water, and a small amount of mild soap or automotive upholstery cleaner. Test first, use little moisture, blot instead of scrubbing, and dry the surface completely.
Use a separate approach for headliners, seat belts, leather, suede-like trim, and seats with visible damage. When a spill reaches the cushion, wiring, airbag area, or seat-belt system, professional help is safer than repeated home cleaning.