How To Make Car Detailing Slime: Easy DIY Guide
Introduction
You can make a simple car detailing slime with clear school glue, baking soda, and multipurpose contact lens solution. The soft gel can lift dust, crumbs, and light debris from cup holders, vents, seams, and other hard plastic areas in cars used across the United States.
DIY detailing slime is not a replacement for a vacuum, interior cleaner, or professional detailing clay. It works best as a small-area tool for loose surface debris. Use it only on cool, sealed surfaces, and test it first in a hidden spot.

What Is Car Detailing Slime?
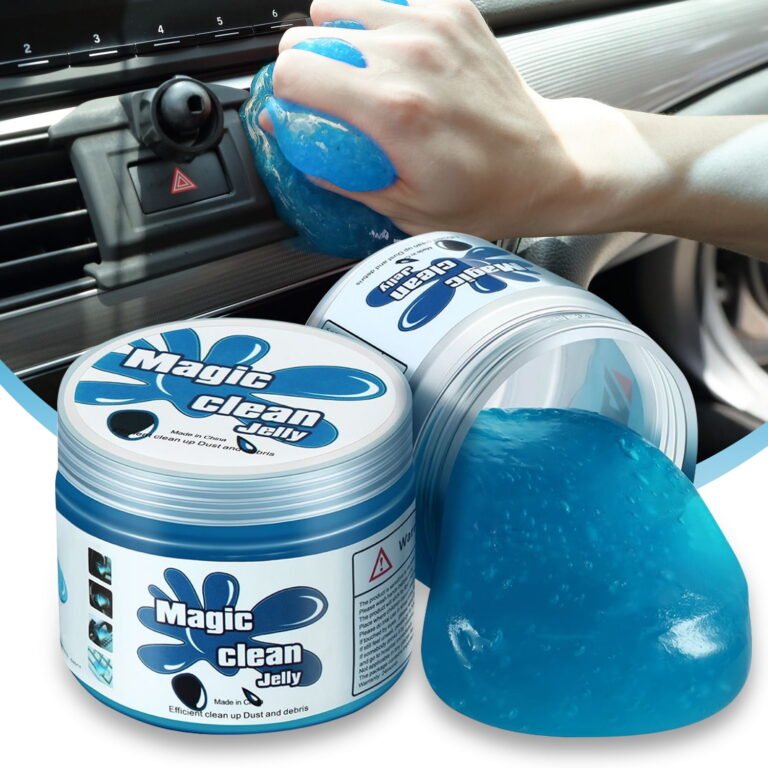
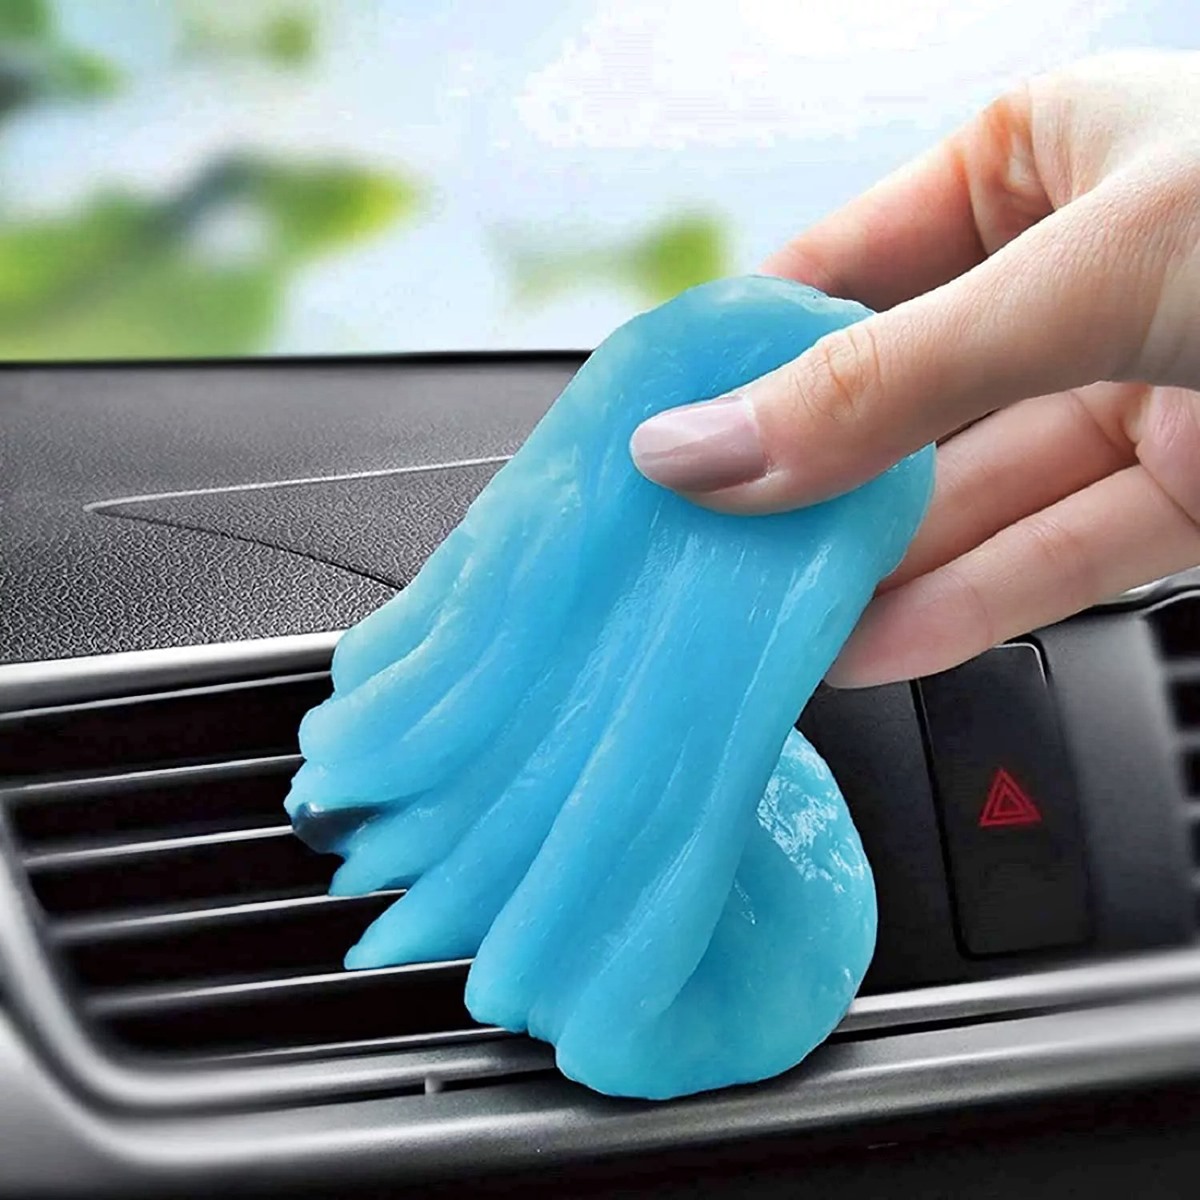
Car detailing slime is a soft, stretchy cleaning gel. It picks up loose dirt when you press it lightly onto a surface and lift it away.
The gel does not scrub like a brush. It also does not dissolve grease like an interior cleaner. Its main job is to collect small particles from narrow spaces that can be hard to reach with a cloth or vacuum nozzle.
Common uses include:
- Dust around dashboard seams
- Crumbs in cup holders
- Dirt near window switches
- Debris around gear selectors
- Light dust in air vent gaps
- Loose particles around door handles
- Small particles in plastic storage bins
Do not confuse detailing slime with automotive detailing clay. Detailing clay removes bonded contaminants from painted surfaces. Slime is a soft interior cleaning gel for loose debris.
Ingredients and Tools You Need
Use the following basic recipe:
| Ingredient or tool | Amount or purpose |
|---|---|
| Clear school glue | 4 fluid ounces |
| Baking soda | ½ teaspoon |
| Multipurpose contact lens solution | 1 to 2 tablespoons, added slowly |
| Mixing bowl | For combining ingredients |
| Spoon or spatula | For mixing |
| Measuring spoons | For consistent amounts |
| Nitrile gloves | Optional hand protection |
| Airtight plastic container | For storage |
Choose the Right Contact Solution
The contact lens solution should contain a borate ingredient, such as boric acid or sodium borate. The label may list these ingredients under the inactive ingredients section.
Not every contact lens solution will make slime. A solution without a suitable activator may leave you with a sticky glue mixture.
Do not use hydrogen peroxide lens cleaner. It is a different product and should not be substituted for multipurpose contact lens solution.
Ingredient Safety
Keep the mixture away from your eyes and mouth. Wash your hands after making or using it. Do not use the slime on food-contact areas unless you clean the surface again with a suitable interior-safe cleaner.
Never mix the slime with bleach, ammonia, solvents, or strong automotive chemicals.

How to Make Car Detailing Slime
Follow these steps in order. Add the contact solution slowly because too much activator can make the slime rubbery and less useful.
1. Prepare a Clean Work Area
Work on a washable counter or tray. Keep the ingredients away from children, pets, food, and drinks.
Wear nitrile gloves if you have sensitive skin. Check the contact solution label before you begin.
2. Add the Glue
Pour 4 fluid ounces of clear school glue into the bowl.
Clear glue usually gives the cleanest-looking result. White school glue can also work, but it may produce a cloudy or white gel.
3. Mix in the Baking soda
add ½ teaspoon of baking soda. Stir for about 30 seconds.
The baking soda helps change the texture of the glue. It also makes the mixture less runny before you add the contact solution.
4. Add Contact Solution Slowly
Add 1 tablespoon of contact solution. Stir well.
If the mixture still sticks heavily to the bowl, add more solution ½ teaspoon at a time. Mix after each small addition. You may need up to 2 tablespoons, but the exact amount can vary by glue and contact solution.
5. Knead the Mixture
When the mixture begins to pull away from the bowl, knead it with clean hands for several minutes.
At first, the slime may feel sticky. Keep folding and pressing it. It should become soft, stretchy, and easy to lift from the bowl.
6. Check the Texture
The finished slime should:
- Hold together as one soft mass
- Stretch slowly without breaking at once
- Lift loose dust when pressed and removed
- Leave little or no wet film on a clean plastic test surface
- Release from your fingers after light kneading
If it feels too wet, add a few drops of contact solution. If it feels too firm, knead in a tiny amount of glue.
Avoid adding large amounts of either ingredient. A small change can alter the texture quickly.

How to Use Detailing Slime in a Car
Use the slime with a press-and-lift motion. Do not rub it across the surface.
1. Park in a Safe Place
Park the car in shade and turn off the engine. The surface should be cool and dry.
Heat can make the slime softer and more likely to leave residue. Never work near moving pedals or controls while the vehicle is in motion.
2. Remove Large Debris First
Pick up large crumbs and dirt by hand. Use a vacuum for loose sand and heavy debris.
Slime works best after the larger particles are gone. This also helps keep grit from scratching delicate plastic when you press the gel down.
3. Test a Hidden Area
Press a small amount into an unseen corner. Lift it after a few seconds.
Check for:
- Color transfer
- Oily residue
- A sticky film
- Surface dulling
- Cracks or flakes pulled from an old finish
Stop if you see any problem.
4. Press and Lift
Place the slime lightly on the target area. Press just enough to let it enter seams or gaps. Lift it straight up.
Repeat with a clean section of the slime. Fold the used surface inward as it collects dirt.
5. Use Short Contact Times
Do not leave the slime on a surface for a long time. A short press is enough for loose dust and crumbs.
If the gel sticks, pull it away slowly. Do not scrape it off with a tool.
6. Wipe the Area Afterward
Use a clean, dry microfiber towel to remove any remaining film. If the area still feels sticky, use an interior cleaner that is labeled safe for that surface.
Do not saturate electronic controls, switches, speakers, or vents.

Where You Can and Cannot Use Car Cleaning Slime
The surface matters more than the dirt. Smooth, sealed plastic is usually the best match.
| Surface | Recommendation | Reason |
|---|---|---|
| Hard, sealed plastic | Usually suitable after testing | The gel can lift loose dust |
| Cup holders | Suitable with care | Remove drink residue first |
| Dashboard seams | Suitable with light pressure | Avoid pushing gel into gaps |
| Air vent faces | Use small pieces | Prevent gel from entering the vent |
| Touchscreens | Generally avoid | The gel may leave film or enter edges |
| Instrument panels | Avoid unless the vehicle maker allows it | Scratching and residue are concerns |
| Leather seats | Test only with care | Texture and finish vary |
| Perforated leather | Avoid | Gel can enter the holes |
| Suede or Alcantara-style trim | Avoid | The material can hold residue |
| Fabric seats and carpet | Avoid | Slime can embed in fibers |
| Steering wheel | Avoid | Residue can affect grip |
| Pedals and floor mats | Never use | Slippery residue can create a safety risk |
| Painted exterior surfaces | Do not use as clay | It is not designed to remove bonded contaminants |
Keep slime away from airbags, seat-belt webbing, heated-seat controls, and electronic openings.
A manufacturer’s interior-care guide takes priority over a general DIY recipe. If your owner’s manual says to avoid gel cleaners or certain chemicals, follow that guidance.

How to Fix Common Slime Problems
The most common problems are too much activator, too little activator, or use on the wrong surface.
The Slime Is Too Sticky
Possible causes include:
- Not enough contact solution
- Not enough kneading
- A glue and activator combination that does not work well
Add contact solution in very small amounts. Knead after each addition. Stop when the slime holds together without leaving a heavy film.
The Slime Is Too Hard
Too much contact solution can create a stiff, rubbery gel.
Work in a small amount of glue and knead it well. If the slime remains hard, it may be easier and safer to make a new batch.
The Slime Breaks Apart
The mixture may contain too much activator or may not have been mixed evenly.
Knead it for another minute. If it still crumbles, add a small amount of glue and mix again.
The Slime Leaves Residue
Residue may result from:
- A surface that is warm
- A formula that is too wet
- Excessive pressing
- Long contact time
- A textured or porous surface
Remove the gel at once. Wipe the area with a clean microfiber towel. Then use a surface-approved interior cleaner if needed.
Do not use alcohol, acetone, paint thinner, or household solvents to remove residue unless the vehicle maker specifically approves the product for that surface.
The Slime Smells Bad or Changes Color
Discard the batch if it develops an unusual odor, visible mold, or a major texture change. Do not try to restore it with extra ingredients.
Store the slime in a clean, sealed container. Keep it away from heat and direct sunlight. Because homemade mixtures lack a tested preservative system, do not treat them as a long-term product.
Important Safety Rules
Use car detailing slime as a limited cleaning aid, not as a universal interior cleaner.
Follow these precautions:
- Keep it away from children and pets. The ingredients are not food, and the finished gel should not be swallowed.
- Wash your hands after use. Avoid touching your eyes while handling the mixture.
- Use ventilation. Work in a well-ventilated area, especially if you later use another cleaner.
- Never mix chemicals. Do not combine slime with bleach, ammonia, disinfectants, or solvent-based products.
- Avoid safety controls. Do not use it on pedals, steering wheels, seat belts, airbags, or control surfaces.
- Do not push it into openings. Keep it out of vents, speakers, switches, USB ports, and screen edges.
- Use a new batch when it becomes dirty. Dirt can act like grit and may scratch glossy plastic.
- Dispose of it in household trash. Do not flush it down a drain, toilet, or storm sewer.
- Follow product labels. Contact lens solution labels and vehicle-care instructions may include warnings that apply to your situation.
If the mixture contacts your eyes, rinse with clean water and follow the product label’s first-aid instructions. Seek medical help if irritation continues.

Homemade Slime vs. Other Car Cleaning Tools
The right tool depends on the type of dirt.
| Cleaning need | Better choice |
|---|---|
| Loose crumbs and heavy dust | Vacuum with a soft brush |
| Dust in narrow plastic seams | Detailing slime |
| Greasy fingerprints | Interior cleaner and microfiber towel |
| Dirt on fabric | Fabric-safe cleaner and extraction method |
| Bonded particles on exterior paint | Automotive detailing clay |
| Sand in carpet | Vacuum, brush, and repeated passes |
| Sticky drink residue | Surface-safe cleaner, not slime |
| Cleaning screens | Manufacturer-approved screen method |
Slime is useful because it is quiet and easy to shape. A vacuum is usually better for larger amounts of dirt. A microfiber towel is better for films, oils, and cleaner residue.
Using the wrong tool can spread dirt or damage a finish. Match the tool to the soil and the surface.
Key Takeaways
- Make car detailing slime with 4 ounces of clear school glue, ½ teaspoon of baking soda, and contact solution added slowly.
- Check that the contact solution contains a suitable borate ingredient.
- Knead the mixture until it is soft, stretchy, and easy to lift.
- Use it on cool, hard, sealed surfaces after a hidden-spot test.
- Press and lift the slime instead of rubbing it.
- Avoid screens, leather perforations, fabric, suede, steering wheels, pedals, and electronic openings.
- Discard the batch if it smells bad, grows mold, or leaves repeated residue.
Frequently Asked Questions
Can I make detailing slime without contact solution?
You can try other slime activators, but the result may vary. Contact solution works in this recipe because some formulas contain borate compounds that help turn glue into a gel. Check the label before using a substitute.
Can I use laundry detergent instead?
Laundry detergent is not a reliable substitute. Its dyes, fragrances, surfactants, and other ingredients may leave residue or react unpredictably. It also may not be suitable for use near vehicle interiors.
Can I use this slime on car paint?
No. This recipe is not automotive detailing clay. It is not designed to remove bonded brake dust, tree sap, overspray, or road film from exterior paint.
How long does homemade car slime last?
There is no fixed reliable shelf life for a homemade batch. Keep it sealed and inspect it before each use. Throw it away if it develops mold, an unusual odor, excessive separation, or a texture that leaves residue.
Why does my slime not pick up dust?
It may be too wet, too stiff, or already full of dirt. Knead it and test it on a clean plastic area. If it leaves a film or has collected grit, make a fresh batch. Also remember that slime cannot replace a vacuum for heavy debris.
Is car detailing slime safe for leather?
Do not assume it is safe for all leather. Leather coatings, textures, and finishes differ. Avoid perforated leather and test any smooth leather in a hidden area first. Use a leather cleaner made for the specific finish when in doubt.
Final Recommendation
Homemade car detailing slime can help with small amounts of loose dust and crumbs in hard, sealed interior areas. Make a small batch, add the contact solution slowly, and test the finished gel before using it in a visible part of the car.
For the safest result, use slime only as a finishing tool. Vacuum first, avoid sensitive surfaces, and wipe away any residue after cleaning.