How To Make Car Cleaning Slime Without Contact Solution: DIY 2027
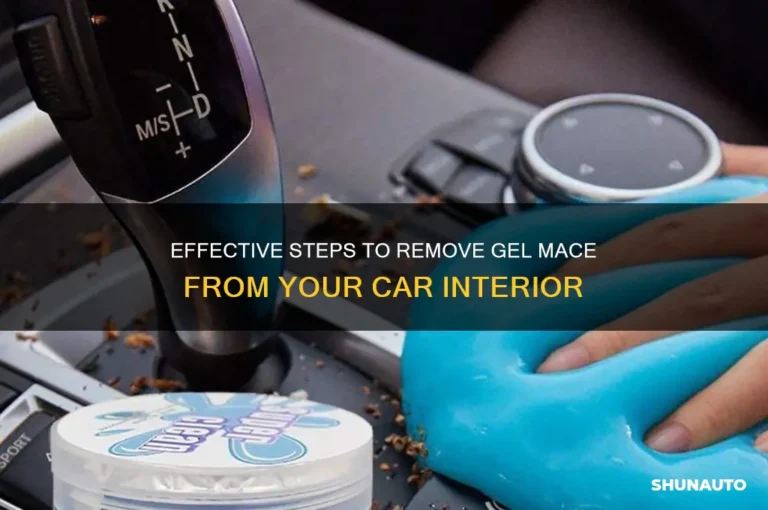
You can make car cleaning slime without contact solution by mixing white school glue, baking soda, and liquid starch. The finished putty can pick up loose dust, crumbs, hair, and grit from hard-to-reach areas in cars, such as cup holders, console seams, and around gear shifters.
This DIY car cleaning slime is best for hard, nonporous surfaces. It is not a replacement for an interior cleaner, and it should not be pushed into vents, speakers, seat seams, or electronic controls.
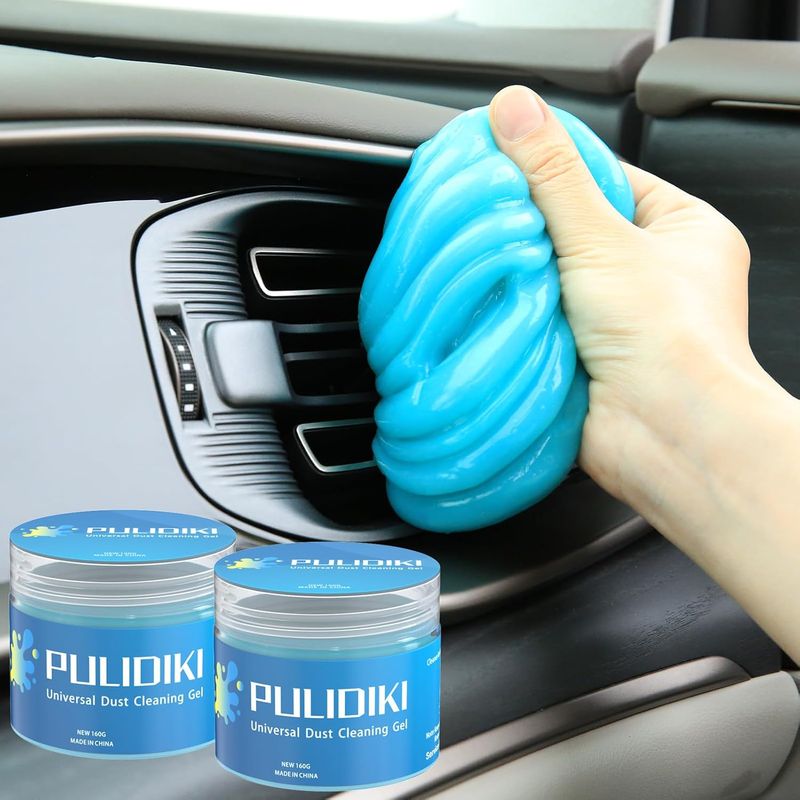
What You Need
Use these simple supplies:
- ½ cup white school glue
- ½ teaspoon baking soda
- 1 to 2 tablespoons liquid starch
- A small mixing bowl
- A spoon or craft stick
- Clean hands or disposable gloves
- An airtight container with a lid
White school glue contains polyvinyl acetate, often called PVA. Liquid starch helps the glue form a stretchy, soft putty. Baking soda gives the mixture more body.
Check the liquid starch label
Liquid starch formulas vary by brand. Some contain borate-based ingredients, while others use different stabilizers. Read the label and follow its safety directions. If you want a completely borate-free recipe, the mixture below may not be suitable because many traditional slime activators use a borate compound.
How to Make Car Cleaning Slime Without Contact Solution
Follow these steps for a soft cleaning putty that is easy to handle.
-
Pour the glue into a bowl.
Add ½ cup of white school glue. -
Add the baking soda.
Stir in ½ teaspoon of baking soda until the mixture looks smooth. -
Add liquid starch slowly.
Start with 1 tablespoon. Stir for about 30 seconds. Add more liquid starch 1 teaspoon at a time if the mixture remains very runny. -
Knead the slime.
Remove the mixture from the bowl and knead it with clean hands for 3 to 5 minutes. It may feel sticky at first. Kneading helps the ingredients combine. -
Adjust the texture.
If the slime sticks heavily to your fingers, add a few drops of liquid starch. If it feels stiff or breaks apart, knead in a few drops of water. -
Let it rest.
Leave the slime in a clean container for 5 to 10 minutes. The texture often improves as it rests.
The final putty should stretch slowly and pull away from your hands without leaving a wet coating. It should feel soft, not watery or greasy.
Quick recipe ratio
| Ingredient | Starting amount | Purpose |
|---|---|---|
| White school glue | ½ cup | Main putty base |
| Baking soda | ½ teaspoon | Adds body |
| Liquid starch | 1–2 tablespoons | Helps form the slime |
Do not add all the liquid starch at once. A small amount can change the texture quickly.

How to Use Cleaning Slime in a Car
Use the slime as a press-and-lift cleaner, not as a scrubber.
- Remove large crumbs and trash by hand.
- Make sure the surface is cool and dry.
- Press a small piece of slime onto the dirty area.
- Lift it straight up.
- Fold the dirty part into the center of the slime.
- Repeat with a clean section.
- Stop when the slime becomes dark, oily, or crumb-filled.
- Wipe the area with a dry microfiber cloth if needed.
The slime works by trapping loose particles on its surface. It does not dissolve grease, remove stains, or disinfect the car interior.
Good places to use car cleaning slime
A small amount can work well on:
- Plastic cup holders
- Center-console edges
- Door-handle recesses
- Around hard plastic buttons
- Dashboard seams
- Shallow storage compartments
- Gaps around a gear selector
- Hard plastic trim
- Loose dust on vinyl surfaces
Use only a small piece. A large blob is harder to control and more likely to stretch into a gap.
Surfaces to avoid
Do not use homemade slime on:
- Touchscreens
- Speaker grilles
- Air vents
- Seat-belt webbing
- Fabric seats
- Carpet
- Suede or Alcantara-style trim
- Unsealed leather
- Deep seams
- Soft rubber parts
- Exposed wiring
- Open switches or electronic controls
- Hot surfaces
Slime can leave residue, pull loose fibers, or become trapped in openings. For vents and electronics, use a soft brush or a vacuum with a narrow attachment instead.

Test the Slime Before Cleaning the Whole Interior
Always test the putty first in a hidden area. Press a pea-sized amount onto a low-visibility section of hard plastic for a few seconds, then lift it away.
Check for:
- Sticky residue
- Color transfer
- A dull or shiny patch
- Softened plastic
- Oily marks
- Pieces left behind
Wait a few minutes and inspect the test area again. If the surface changes, do not use the slime on that material.
This step matters because car interiors use many different plastics, coatings, dyes, and soft-touch finishes. A recipe that behaves well on one dashboard may leave residue on another.
What to Do If the Slime Is Too Sticky
Sticky slime usually contains too much glue or too little activator.
Try these fixes in order:
- Knead the slime for another 2 minutes.
- Add ½ teaspoon of liquid starch.
- Knead again.
- Repeat with small amounts until the putty pulls away from your hands.
- Let it rest for 5 minutes.
Do not pour in a large amount of starch. Too much can make the slime rubbery and more likely to break into pieces.
If the slime leaves a film on your skin, it is not ready for use in the car.
What to Do If the Slime Is Too Hard
Hard slime may contain too much liquid starch or may have dried out.
Try one of these options:
- Knead in a few drops of water.
- Add a tiny amount of glue.
- Place it in an airtight container for 10 minutes.
- Warm it between your hands before using it.
If the putty cracks, crumbles, or leaves small pieces behind, discard it. Do not use crumbly slime near buttons, vents, or seams.
What to Do If the Slime Does Not Form
Several issues can prevent the mixture from setting.
| Problem | Likely cause | Fix |
|---|---|---|
| Very runny mixture | Not enough liquid starch | Add starch ½ teaspoon at a time |
| Sticky hands | Needs more kneading or activator | Knead, then add a small amount of starch |
| Tough, rubbery texture | Too much starch | Add a few drops of water or glue |
| Slime separates | Ingredients were not mixed well | Stir and knead longer |
| Slime crumbles | Too much activator or drying | Add a few drops of water |
| Strong chemical smell | Product formula or old ingredients | Stop using it and discard the batch |
Different glue and starch brands can produce different results. The amounts are starting points, not exact laboratory measurements.
How to Store Homemade Car Cleaning Slime
Place the slime in an airtight plastic container after each use. Keep it in a cool, dry place away from direct sunlight.
Label the container “Do not eat.” Keep it away from children and pets. Wash your hands after handling it, especially before eating.
Discard the slime when it:
- Develops mold
- Smells sour or unusual
- Becomes oily
- Leaves residue
- Collects too much dirt
- Dries into hard pieces
- Cannot be cleaned by folding and kneading
Do not rinse homemade slime down a sink or drain. It can stick to pipes and collect other debris. Put unwanted slime in a sealed trash bag.
Can You Make Car Cleaning Slime Without Glue?
You can make a simple soft dough with cornstarch and water, but it will not behave like traditional cleaning slime.
Try:
- 1 cup cornstarch
- About ⅓ cup water
Add the water slowly and stir. The result may pick up some loose dust, but it can also leave powder behind. It is less stretchy and less reusable than glue-based putty.
For car interiors, a clean microfiber cloth, soft detailing brush, or vacuum may be a better choice than a cornstarch mixture.
Is Liquid Starch Better Than Contact Solution?
Liquid starch is a practical alternative to contact solution because it can activate PVA glue without using lens-care liquid. It also lets you control the texture by adding small amounts.
However, liquid starch has limits:
- Brands use different formulas.
- Some contain borate-based ingredients.
- It may irritate skin or eyes.
- It can leave residue if too much is used.
- It is not a car-safe cleaner by itself.
The important point is that contact solution is not the only possible activator. The correct substitute depends on the ingredients in the starch and glue.
Safety Tips for Homemade Car Cleaning Slime
Follow these precautions:
- Work in a well-ventilated area.
- Keep the ingredients away from your eyes and mouth.
- Wear gloves if you have sensitive skin.
- Wash your hands after making or using the slime.
- Do not mix the slime with bleach, ammonia, or other cleaners.
- Do not heat the mixture in a microwave.
- Keep it away from children and pets.
- Follow the safety directions on the liquid starch label.
- Test the finished putty on a hidden surface first.
If the slime gets in your eyes, rinse with clean water. For persistent irritation or accidental swallowing, contact a medical professional or Poison Control in the United States at 1-800-222-1222.
Key Takeaways
- Make car cleaning slime with white glue, baking soda, and liquid starch.
- Add the liquid starch slowly to control the texture.
- Use the slime by pressing and lifting it from hard surfaces.
- Do not use it on screens, vents, fabric, suede, seat belts, or electronics.
- Test it in a hidden area before cleaning visible trim.
- Throw it away when it becomes dirty, crumbly, oily, or moldy.
Frequently Asked Questions
Can I use laundry detergent instead of contact solution?
Laundry detergent is not a reliable substitute. Its ingredients vary widely, and some detergents can leave fragrance, dyes, or residue on car surfaces. Use liquid starch designed for laundry if the label supports that use.
Can I add essential oils to car cleaning slime?
It is better not to. Essential oils may leave an oily film, affect some plastics, or create a strong smell in the enclosed space of a car. The slime does not need fragrance to pick up dust.
Will car cleaning slime remove grease?
No. Slime can collect loose particles, but it does not break down grease or oil. Use a suitable interior cleaner on a microfiber cloth, and check its label before applying it to the surface.
How long does homemade cleaning slime last?
Its usable life depends on storage, ingredients, and how much dirt it collects. A clean batch kept in an airtight container may last longer than one used in a dusty or oily area. Discard it if it smells bad, grows mold, or leaves residue.
Can I use this slime on leather car seats?
Avoid using homemade slime on leather unless the vehicle or material maker specifically approves it. Leather can have coatings that react differently to moisture and adhesives. Use a leather-safe product and a soft cloth instead.
Conclusion
The simplest way to make car cleaning slime without contact solution is to combine ½ cup of white school glue, ½ teaspoon of baking soda, and 1 to 2 tablespoons of liquid starch. Add the starch slowly, knead the mixture well, and test it before using it inside the car.
Use the putty only on cool, hard, nonporous surfaces. For screens, vents, upholstery, leather, and electronic controls, choose a soft brush, microfiber cloth, or properly designed interior-cleaning tool instead.