How To Make Car Cleaning Slime: Easy DIY Guide
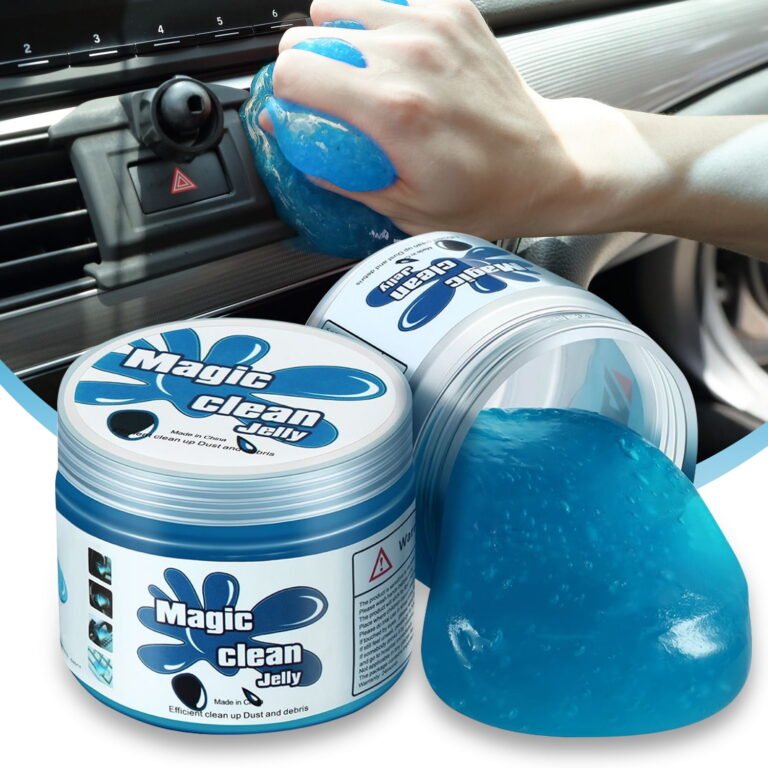
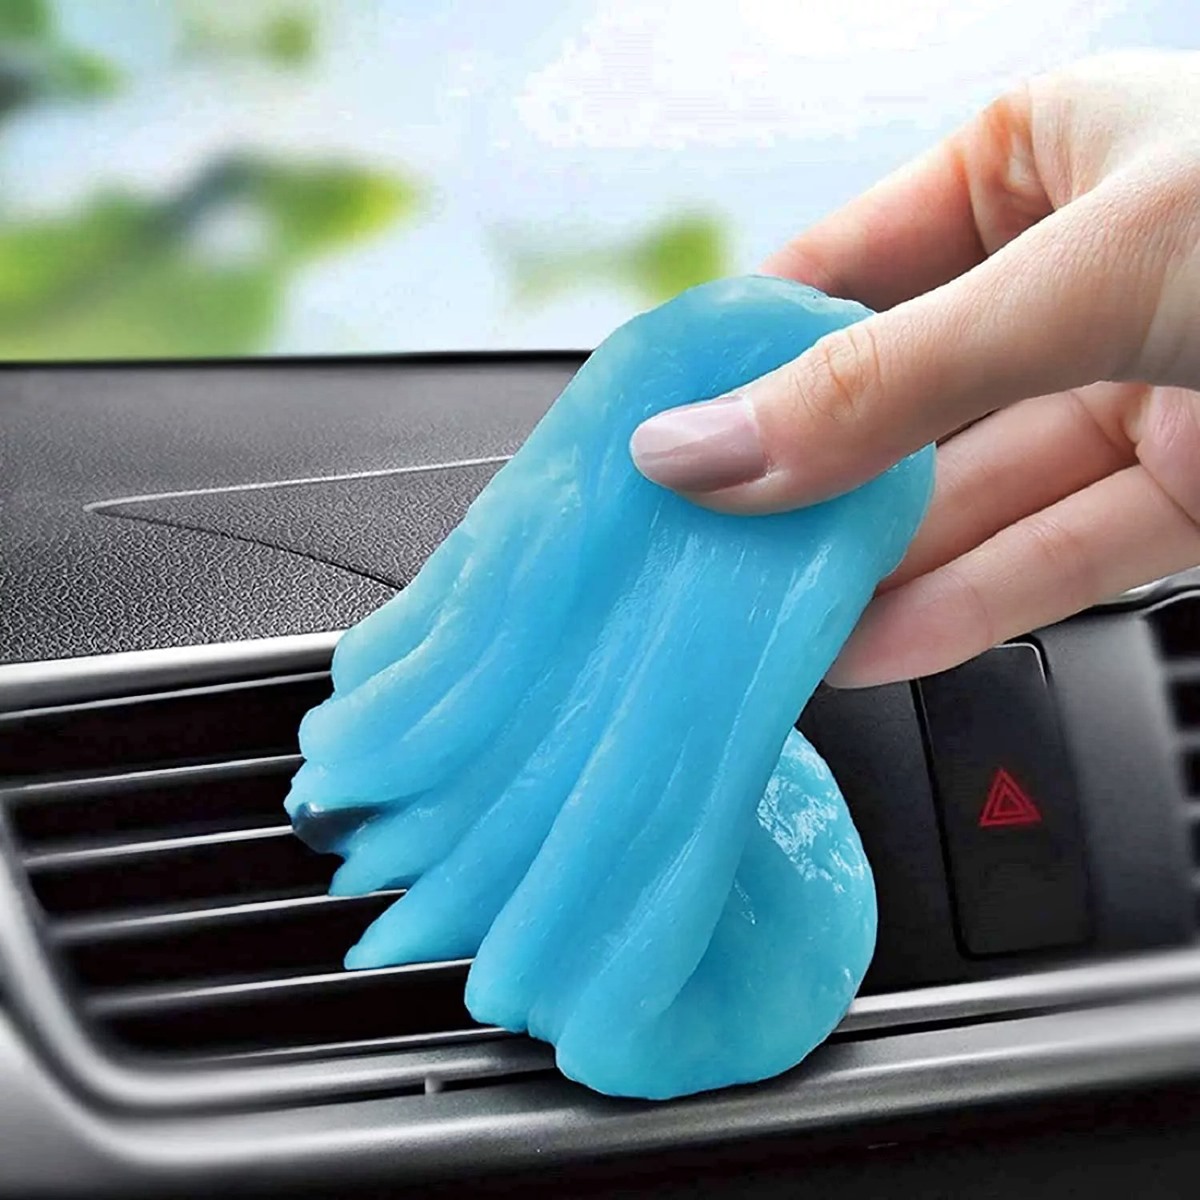
You can make car cleaning slime at home with white school glue, baking soda, and saline contact-lens solution. The soft gel can lift loose dust, crumbs, and lint from cup holders, vents, seams, and other hard surfaces inside a car.
Use this slime only on small, hard, non-porous areas. Do not press it into fabric, leather, suede, screens, buttons, pedals, or safety parts. Homemade slime is a dust picker, not a full car cleaner.
What You Need to Make Car Cleaning Slime
A simple slime recipe needs only three main items. Choose plain white PVA school glue. Avoid glitter glue, colored glue, and glue with added oils.
Ingredients
- 4 fluid ounces white school glue
- ½ teaspoon baking soda
- 1 tablespoon saline contact-lens solution
- A small bowl
- A spoon or craft stick
- Optional: disposable gloves
The saline solution must list boric acid or sodium borate in its ingredients. These compounds help the glue form a stretchy gel. A saline product without a suitable activator may not work.
Do not add food coloring. Color can stain light trim, fabric, or porous plastic. Do not add perfume or essential oil, either. These ingredients may leave an oily film.
Why These Ingredients Work
White school glue contains polyvinyl acetate, often called PVA. Baking soda helps change the texture of the glue. The activator in the saline solution links the glue chains and turns the liquid into slime.
The result should feel soft and slightly tacky. It should pick up loose debris without leaving wet residue. If the slime feels oily, very wet, or strongly scented, do not use it in the car.

How to Make Car Cleaning Slime Step by Step
Make the slime in a clean bowl before you bring it to the vehicle. This keeps dirt, grit, and outdoor debris out of the mixture.
1. Add the glue
Pour 4 fluid ounces of white school glue into the bowl. Scrape the sides so you use the full amount.
2. Mix in the baking soda
Add ½ teaspoon of baking soda. Stir for about 30 seconds, or until the powder blends into the glue.
3. Add the saline solution
Pour in 1 tablespoon of saline solution. Stir slowly. The glue should begin to thicken and pull away from the bowl.
4. Knead the mixture
Use clean hands to knead the slime for 1 to 2 minutes. At first, it may feel sticky. Keep working it until it becomes smooth and stretchy.
Wash your hands after handling the slime. Even a mild activator can irritate sensitive skin or eyes.
5. Adjust the texture
Use small changes if the texture is wrong.
| Problem | Likely cause | What to do |
|---|---|---|
| Slime is very sticky | It needs more activator | Add a few drops of saline and knead |
| Slime is stiff | It has too much activator | Knead in a small amount of glue |
| Slime falls apart | It needs more mixing or glue | Knead it longer, then add a little glue |
| Slime is runny | Too much liquid was added | Add a little glue and knead |
| Slime leaves a film | It is too wet or overworked | Stop using it and make a fresh batch |
Add only a few drops at a time. A large amount of saline can make the slime hard and rubbery.
Signs the Slime Is Ready
Good car cleaning slime should:
- Hold together when lifted
- Stretch without breaking at once
- Pick up loose dust and crumbs
- Release from clean plastic with little effort
- Feel slightly tacky, not wet
- Leave no visible oily layer
If it sticks to your fingers but not to hard trim, knead it longer. If it remains sticky after several minutes, add a few drops of saline.

How to Use Cleaning Slime in a Car
Start with a small test spot. Pick an area under the dashboard or inside a center-console lid. Press the slime lightly, then lift it straight up.
Do not rub it across the surface. Rubbing can spread dirt and push debris into seams. Fold the used side into the center before pressing the slime again.
Good Places to Use It
Car cleaning slime works best on firm, non-porous surfaces, such as:
- Hard plastic cup holders
- Center-console storage bins
- Dashboard seams
- Door-handle recesses
- Air-vent frames
- Shallow trim grooves
- Around non-sensitive switches
- Gaps beside hard plastic panels
Use a small piece rather than the whole batch. A piece about the size of a walnut is easier to control.
Areas to Avoid
Do not use homemade slime on:
- Touchscreens or infotainment displays
- Instrument-cluster screens
- Speaker grilles
- Fabric seats or carpet
- Leather, faux leather, or suede
- Steering wheels
- Gear selectors
- Brake and accelerator pedals
- Seat-belt webbing
- Air-bag covers or seams
- Electrical ports
- USB and power sockets
- Deep air vents
- Buttons with open edges
Keep slime away from controls that affect driving. A sticky film on a steering wheel, pedal, shifter, or button can create a safety problem.
For screens, use the cleaning method in the vehicle or screen maker’s manual. A clean microfiber cloth is usually a better choice than slime.

How to Clean a Car With Slime Safely
Cleaning slime is most useful after you remove large debris. It cannot replace vacuuming or a proper interior cleaner.
Follow this order:
- Park the car in a shaded area.
- Remove trash and large crumbs by hand.
- Vacuum loose dust from seats, carpet, and floor mats.
- Wipe greasy or stained surfaces with a suitable interior cleaner.
- Use a small slime piece on leftover dust in hard, narrow areas.
- Check the area under bright light.
- Wipe the surface with a clean, dry microfiber cloth if needed.
Do not use slime on hot surfaces. Heat can soften the gel and increase transfer. Wait until the interior feels cool to the touch.
Use light pressure. The slime should contact the surface, not force its way into a gap. Lift it after one or two seconds, then inspect the area.
If you see a shiny film, stop. Remove the residue with a clean microfiber cloth that is lightly dampened with a surface-safe cleaner. Test that cleaner first.
How Often Can You Use It?
Use slime only when dust collects in small gaps. Frequent use is not needed for normal car care.
A vacuum with a soft brush is better for regular cleaning. A detailing brush can loosen dust before you vacuum it. Slime is most useful for the last small particles that a brush cannot lift.

Common Mistakes When Making Car Cleaning Slime
Small recipe errors can change the texture. Use these fixes before making another batch.
Adding Too Much Saline
Extra saline can make the slime firm, stringy, or rubbery. Add it in drops, not large pours.
Using the Wrong Saline Product
Some saline products do not contain the activator needed for slime. Read the label before mixing. If the mixture stays liquid, the solution may not be suitable.
Adding Borax Without Care
Some recipes use borax powder dissolved in water. Borax can irritate the skin, eyes, and airways if it is mishandled. The saline method avoids measuring loose borax, but the finished slime still should not touch your eyes or mouth.
Keep all ingredients away from children and pets. Do not let a child use the slime in a car without adult supervision.
Making the Slime Too Wet
Wet slime is more likely to leave a film. Stop adding liquid when the mixture first comes together. Kneading often improves the texture without more ingredients.
Using Food Coloring
Food coloring may look fun, but it can transfer to light plastic, vinyl, fabric, and stitching. Clear or white slime is the safer choice for a car interior.
Reusing Dirty Slime Too Long
Slime collects dust, oil, and grit. Fold it often, but discard it when it becomes dark, smells bad, feels oily, or stops holding together.
Never place used slime back into the clean batch. Store clean slime in a sealed container and keep it away from heat.

Is Homemade Car Cleaning Slime Safe?
Homemade slime is reasonably manageable when used on the right surfaces and handled with care. It is not safe for every car material.
Always test an unseen area first. Some interior plastics have soft-touch coatings. These coatings can react differently from hard plastic and may become dull or sticky after contact with cleaners or gels.
Wear gloves if you have sensitive skin. Wash your hands after use. If the slime gets in your eyes, rinse with clean water and follow the instructions for the ingredients used. Seek medical help for ongoing pain, redness, or vision changes.
Never use slime as a substitute for cleaning a spill, mold, bodily fluid, or strong odor. Those problems may need a proper interior-cleaning process. Water damage or mold in a vehicle may also require professional help.

Store or Dispose of Car Cleaning Slime
Keep unused slime in a clean, airtight container. A small food-storage container works well. Label it so no one mistakes it for food.
Store it at room temperature and away from direct sun. Do not leave it in a hot car. High heat can change the texture and increase residue.
Throw the slime away when it becomes dirty or starts to break down. Put it in household trash. Do not wash it down a sink or flush it into a drain, since gel can cling to pipes.
Clean the bowl and tools with disposable paper towels first. Then wash them with soap and water. Avoid sending large pieces of slime into the drain.

Key Takeaways
- Use white PVA school glue, baking soda, and saline solution.
- Confirm that the saline contains boric acid or sodium borate.
- Make a soft, slightly tacky gel—not a wet or oily mixture.
- Use it only on cool, hard, non-porous surfaces.
- Avoid screens, fabric, leather, pedals, steering wheels, and air-bag areas.
- Test a hidden spot before cleaning visible trim.
- Lift the slime instead of rubbing it.
- Discard it when it becomes dirty, oily, smelly, or weak.
FAQs About Car Cleaning Slime
Can I use car cleaning slime on leather seats?
No. Do not use homemade slime on leather, faux leather, or suede unless the material maker specifically approves it. Slime can leave residue in pores, seams, and textured finishes.
Can I put cleaning slime inside air vents?
Use caution. Only touch the outer, easy-to-reach vent frame. Do not push slime into the vent slots. It may tear, remain inside, or interfere with airflow.
What can I use if the slime is too sticky?
Knead it for another minute. If it remains too sticky, add a few drops of saline solution and knead again. Do not pour in a large amount at once.
Can I make car cleaning slime without glue?
You can find recipes that use starch or other materials, but they may not form the same stretchy gel. For a reliable dust-picking texture, white PVA glue is the key ingredient.
How long does homemade car cleaning slime last?
Its useful life depends on cleanliness, storage, and moisture. Keep it sealed and discard it when it smells bad, grows mold, becomes oily, or no longer holds together. Make a fresh batch if you are unsure.
Is commercial car cleaning gel better?
A commercial cleaning gel may offer a more consistent texture and usage instructions. Homemade slime can work for small, hard surfaces, but neither type replaces vacuuming, microfiber cleaning, or a material-safe interior cleaner.
Conclusion
To make car cleaning slime, mix 4 fluid ounces of white school glue with ½ teaspoon of baking soda and 1 tablespoon of suitable saline solution. Knead it until smooth, then test it on a hidden hard-plastic area.
Use gentle presses to lift loose dust from cup holders, seams, and trim. Keep the gel away from screens, fabrics, leather, pedals, steering controls, electrical ports, and air-bag areas. For the safest result, vacuum first and use the slime only as a small finishing tool.