
How To Use A Portable Car Jump Starter: Easy Guide
To use a portable car jump starter, connect it correctly, start the engine, then remove the clamps safely.
Learning how to use a portable car jump starter can save time, money, and stress when your battery dies. This guide explains the correct connection order, safety checks, charging tips, common mistakes, and real-world limits so you can handle a dead car battery with confidence.
What Is a Portable Car Jump Starter?
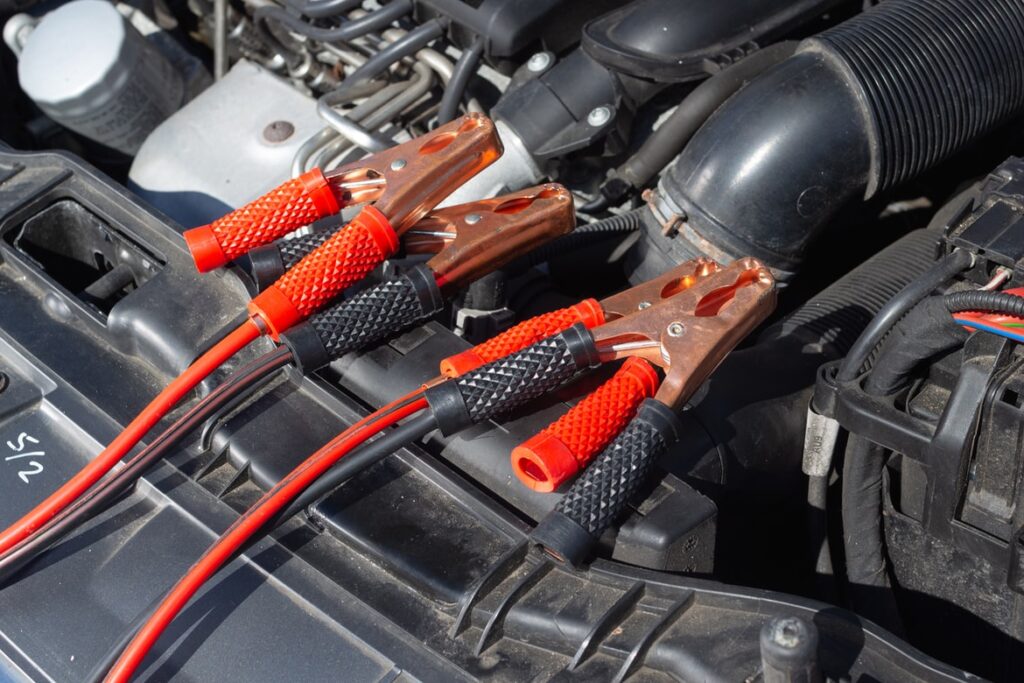
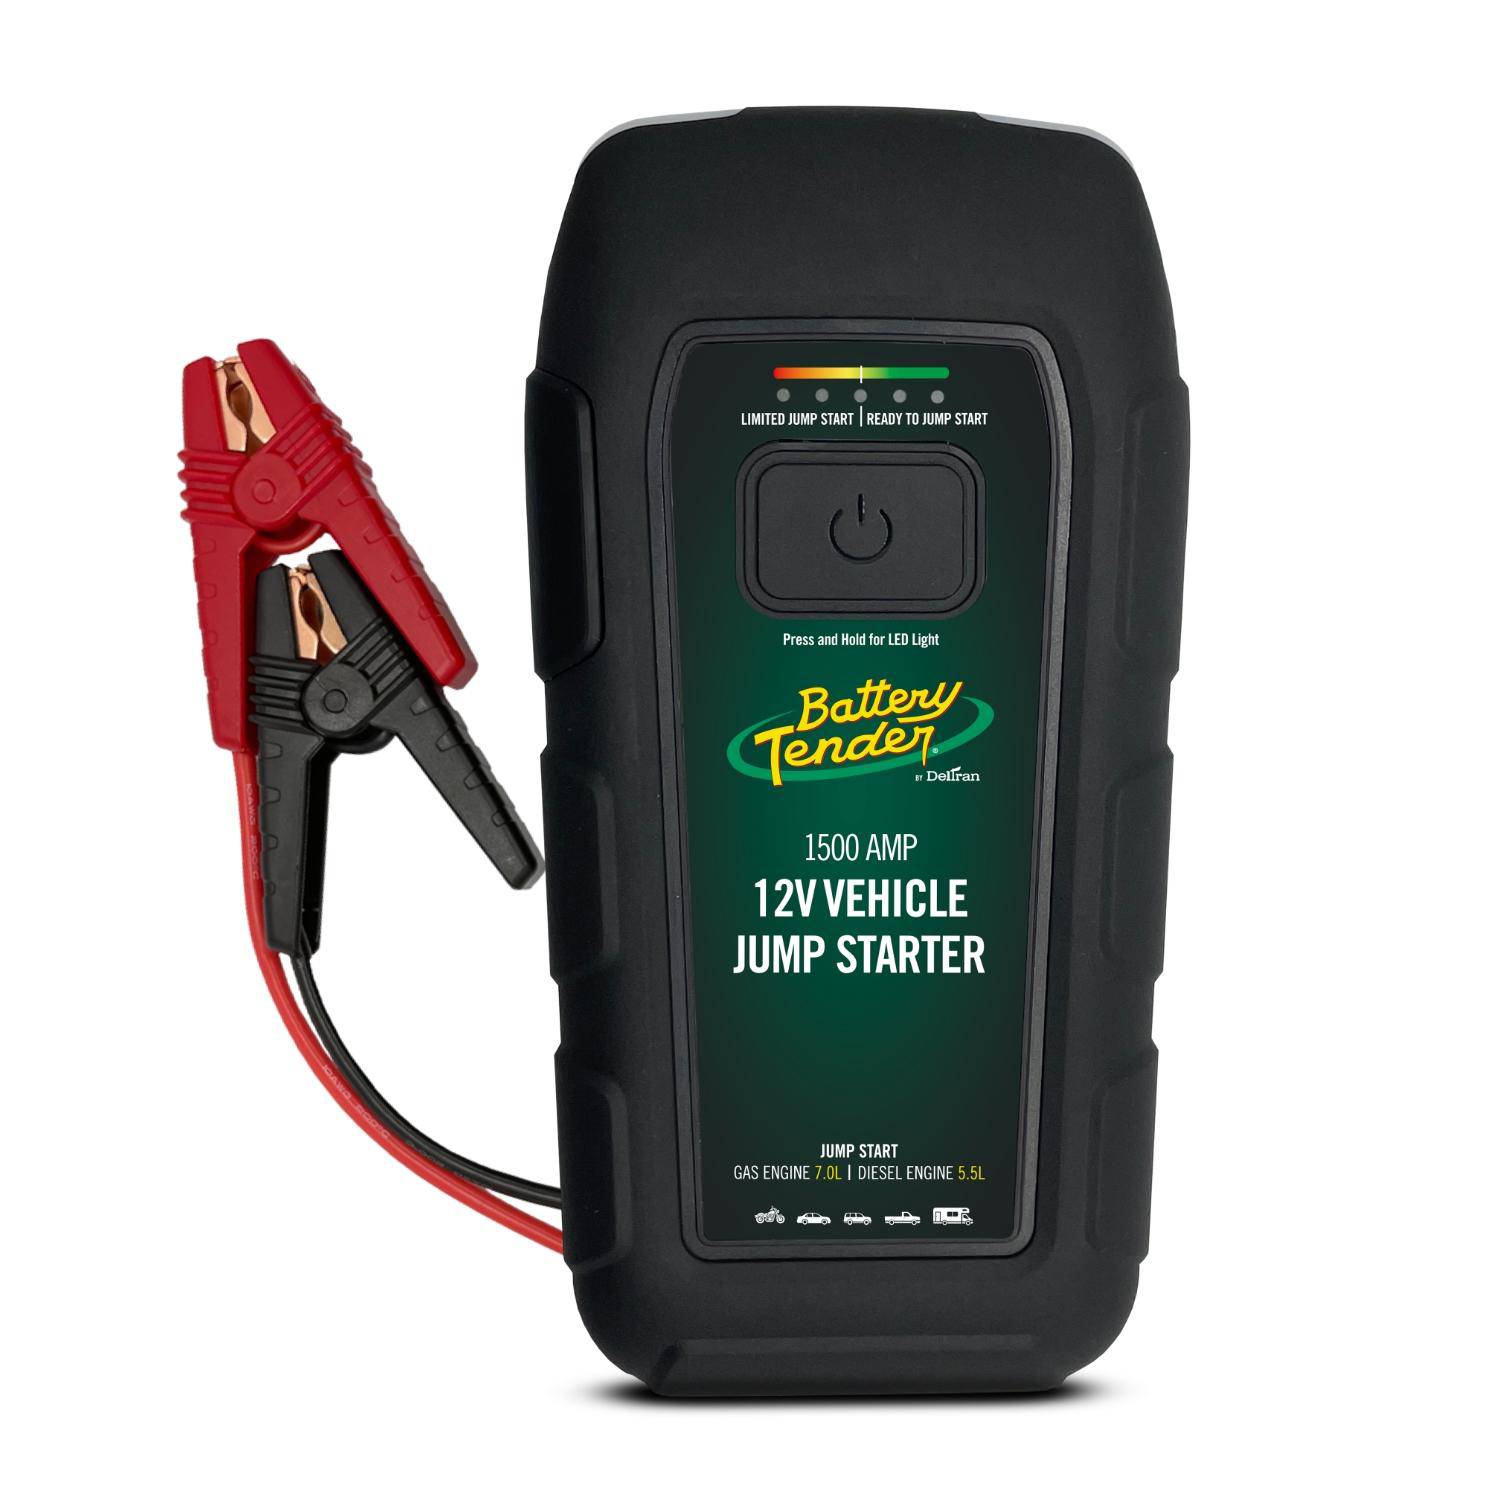
A portable car jump starter is a rechargeable battery pack that sends power to a vehicle’s 12-volt battery. It can provide enough current to start the engine when the car battery is too weak to crank the starter motor.
Unlike traditional jumper cables, a jump starter does not need another vehicle. It works as a temporary power source, much like carrying a small emergency power station in your trunk.
Most models include:
• A lithium-ion battery pack
• Red and black jumper clamps
• A power button
• LED battery indicators
• USB charging ports
• A built-in flashlight
• Safety alerts for reverse polarity or poor connections
Some larger models can start trucks, SUVs, motorcycles, boats, and diesel vehicles. Always check the product label before using one. A small unit made for a compact car may not have enough power for a large diesel engine.
Before You Use a Portable Car Jump Starter
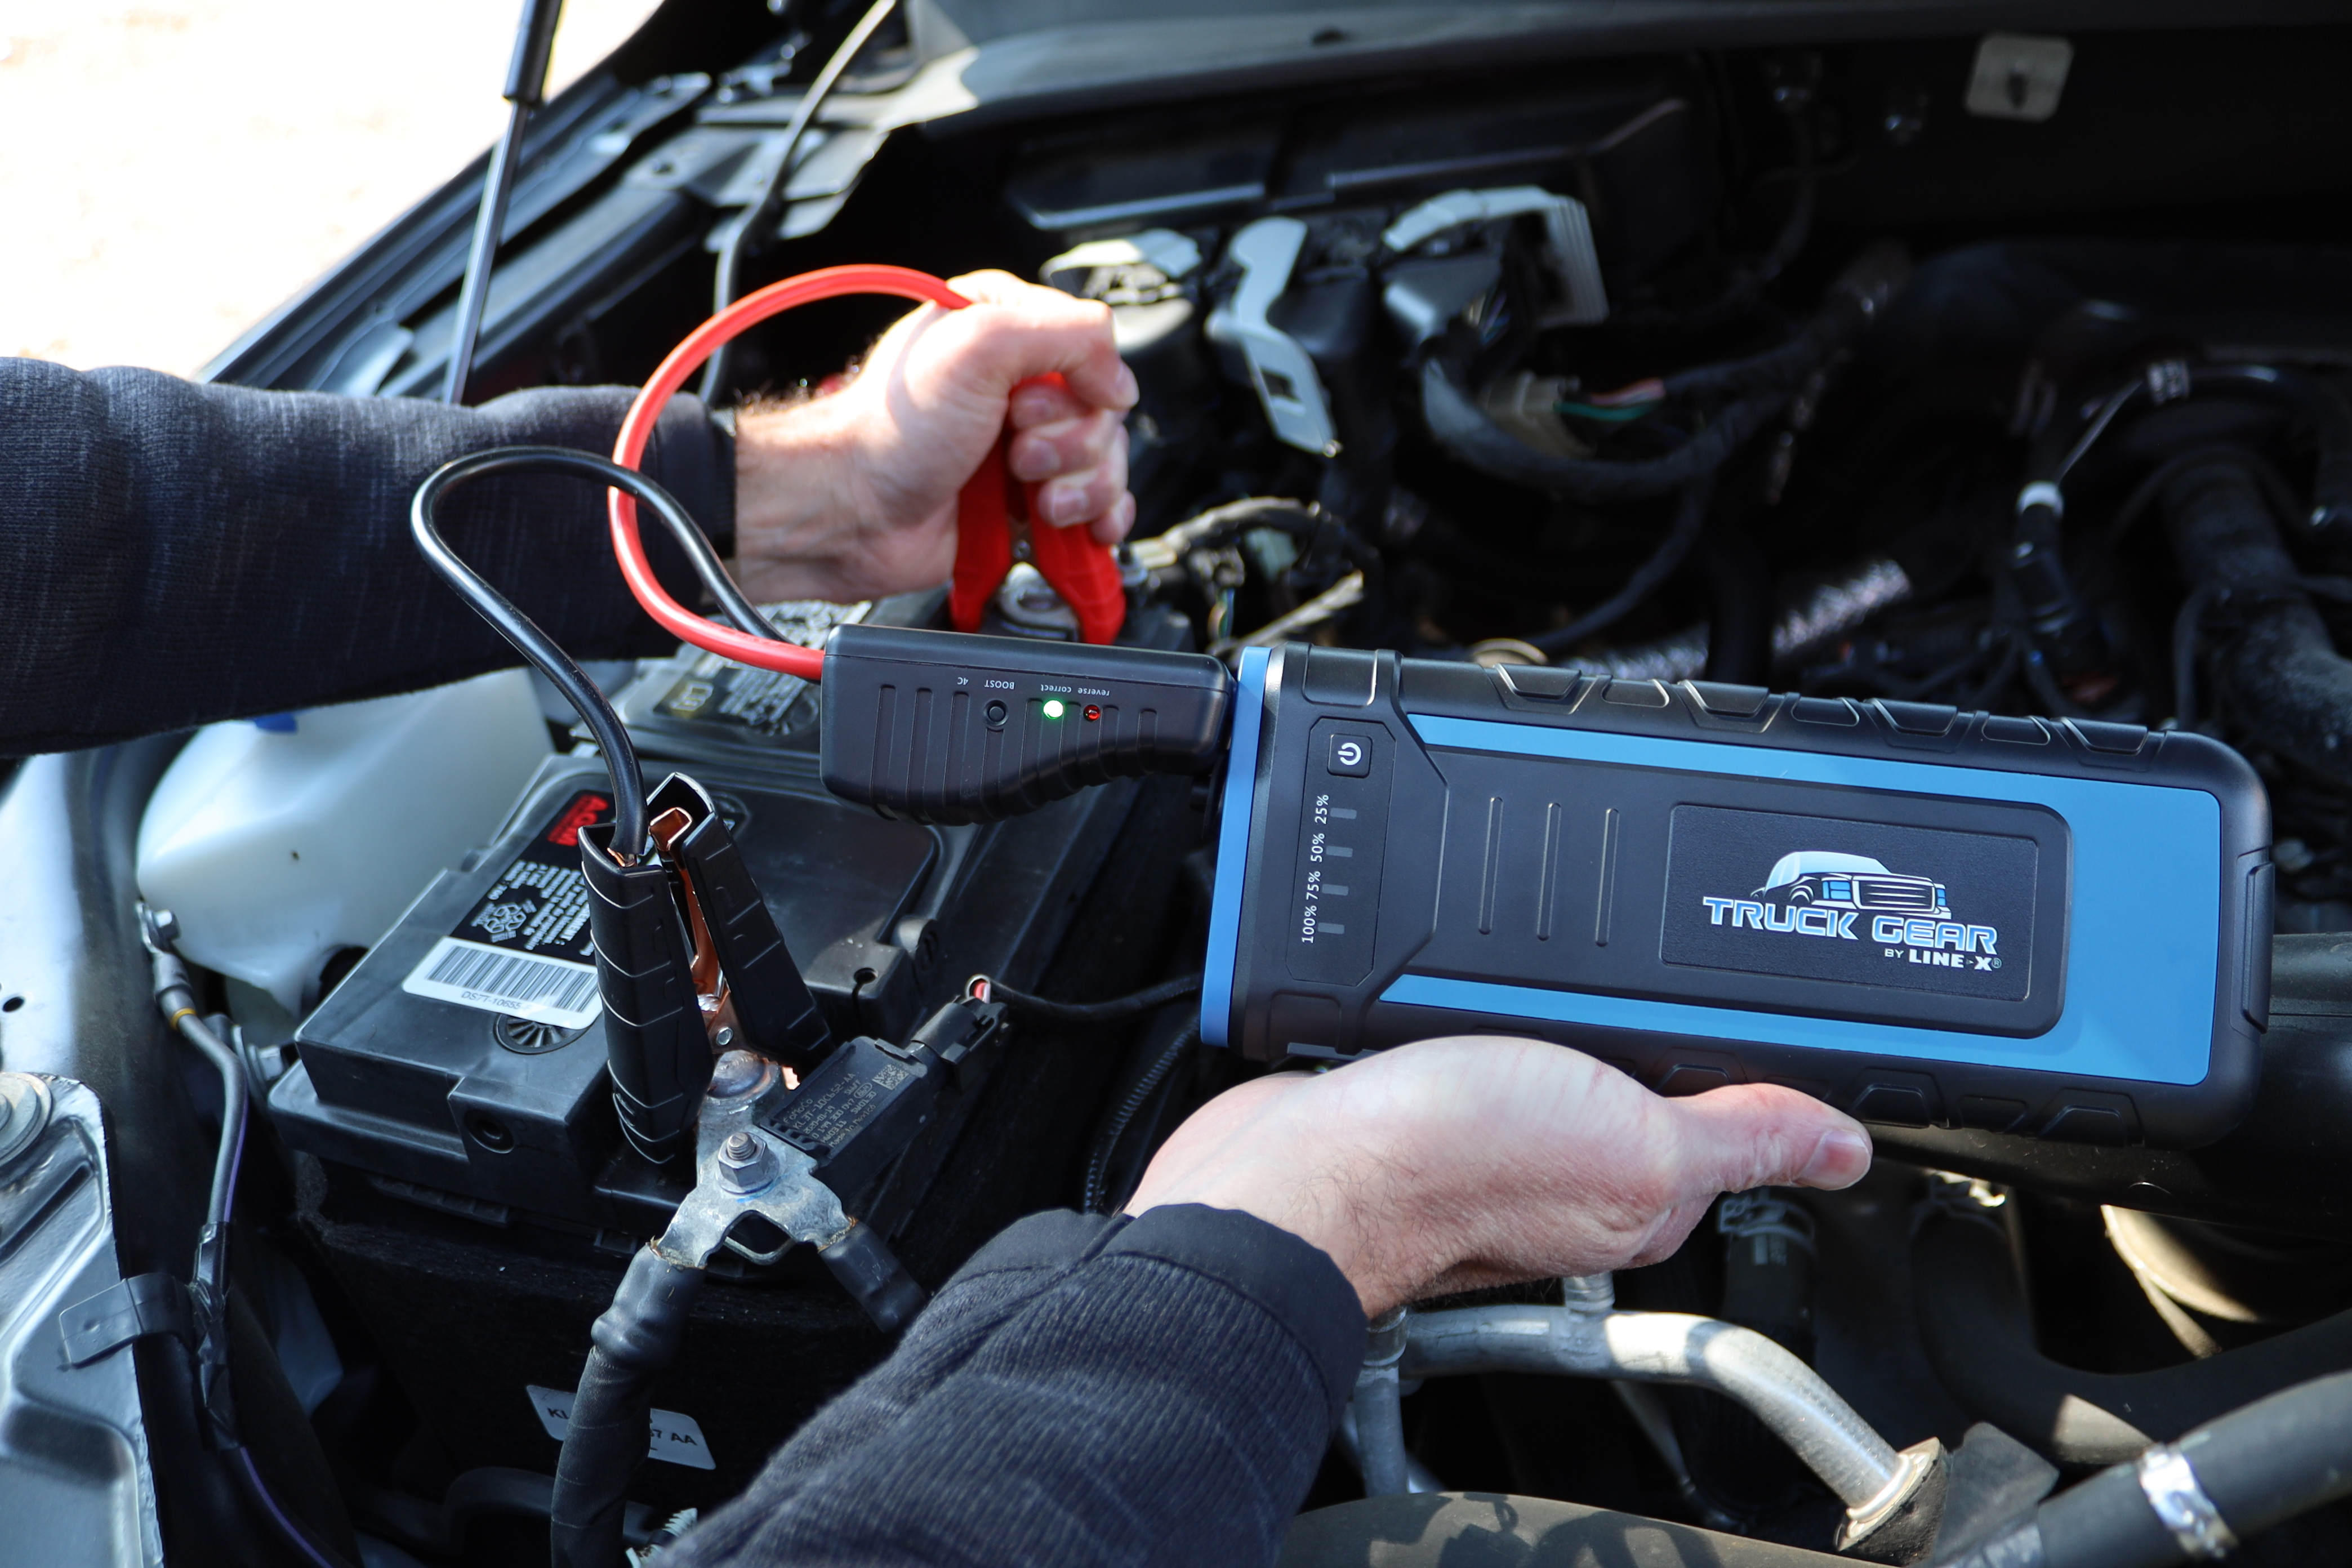
Knowing how to use a portable car jump starter starts with preparation. A few quick checks can prevent sparks, equipment damage, and injury.
Park the vehicle safely and switch off all electrical equipment. Turn off the headlights, radio, climate system, heated seats, and interior lights.
Then check the following:
• Place the vehicle in Park, or Neutral with the parking brake engaged for a manual transmission.
• Keep the ignition switched off until the clamps are connected.
• Make sure the jump starter is charged.
• Read the jump starter’s instructions.
• Check that the battery is a 12-volt automotive battery.
• Remove watches, rings, and loose metal items near the battery.
• Keep cigarettes, flames, and sparks away from the battery.
• Make sure the area has good airflow.
Do not use a jump starter if the vehicle battery is cracked, leaking, swollen, frozen, or badly damaged. A damaged battery may release flammable gas or fail in a dangerous way.
Cold weather also matters. A frozen battery should not be jump-started. Let it warm naturally first, and inspect it for cracks or leaks.
How to Use a Portable Car Jump Starter Step by Step
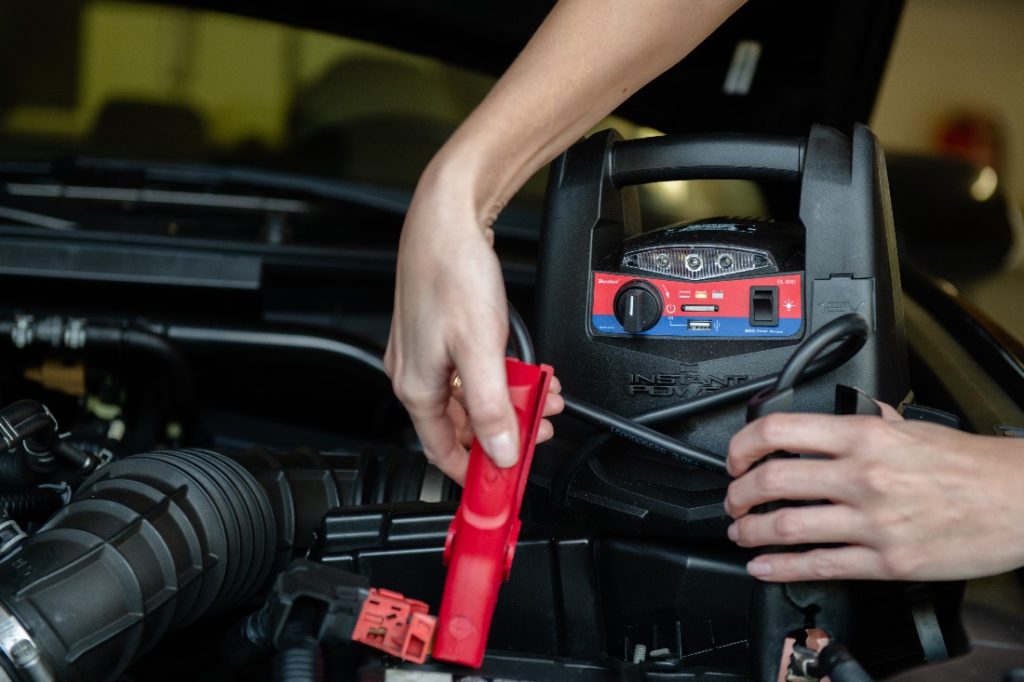
The correct clamp order is the most important part of how to use a portable car jump starter. Follow these steps unless your vehicle or jump starter manual gives different instructions.
1. Check the jump starter charge
Look at the LED display or charge lights. Most jump starters should be at least 50 percent charged before use. A nearly full charge is better, especially in cold weather or when starting a large engine.
A low charge may not provide enough power. It can also make the unit shut down during the starting attempt.
2. Locate the vehicle battery
Open the hood and find the 12-volt battery. In some cars, the battery is in the trunk, under a seat, or behind a cover.
Many newer vehicles have designated positive and negative jump points under the hood. Use those points when the vehicle manufacturer recommends them.
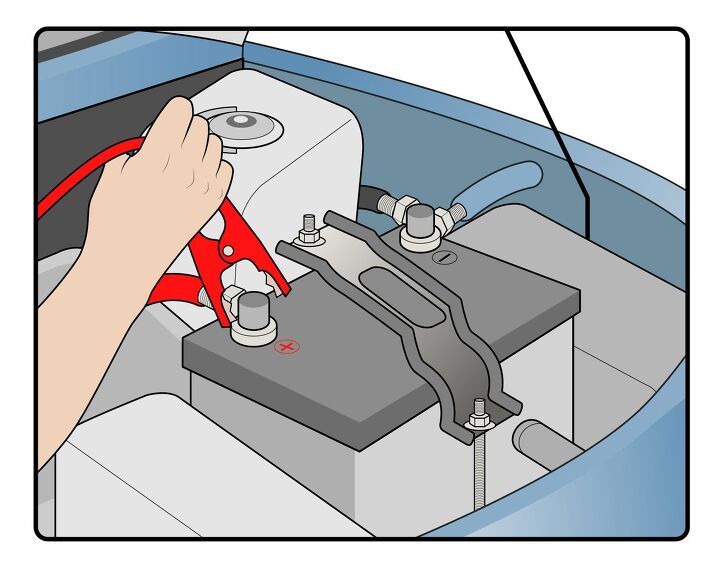
3. Connect the red clamp
Attach the red positive clamp to the battery’s positive terminal. The positive terminal usually has a plus sign or a red cover.
Make sure the clamp grips clean metal. Do not attach it to a loose bolt, painted surface, or dirty area.
4. Connect the black clamp
Attach the black negative clamp to a clean, unpainted metal part of the engine block or vehicle frame. This is often safer than attaching it directly to the negative battery terminal.
Some jump starters allow the black clamp to connect to the negative terminal. Follow the instructions for your specific model and vehicle.
Keep both clamps from touching each other.
5. Turn on the jump starter
Press the power button if your unit has one. Some models detect the connection and turn on automatically.
Watch for warning lights or beeps. A reverse-polarity alert means the clamps may be connected incorrectly. Turn the unit off and check the connections before continuing.
6. Start the engine
Wait a few seconds after connecting the unit. Then start the vehicle.
Do not hold the key or push the start button for a long time. Try for about three to five seconds, then stop. If the engine does not start, wait at least 30 seconds before trying again.
Most jump starters allow only a few attempts within a short period. Repeated long cranking can overheat the starter motor and drain the jump starter.
7. Let the engine run
Once the engine starts, let it run for several minutes. This allows the vehicle’s charging system to stabilize.
Do not rev the engine hard. A gentle idle is usually enough while you disconnect the equipment.
8. Remove the clamps in reverse order
Turn off the jump starter if the instructions require it. Then remove the clamps in this order:
-
Remove the black negative clamp.
-
Remove the red positive clamp.
-
Store the clamps and cables safely.
Keep the clamps away from metal objects while they are connected to the jump starter.

The Correct Clamp Order Explained
The safest general connection order is red to positive first, then black to a suitable ground point. For removal, black comes off first, followed by red.
This order reduces the chance of creating a spark near the battery. Lead-acid batteries can release hydrogen gas, which can ignite if a spark occurs close to the battery.
Some vehicles and jump starters use special procedures. For example, certain hybrid vehicles have separate 12-volt jump points. A hybrid’s high-voltage system is not the same as its small 12-volt battery.
Never connect a jump starter to orange high-voltage cables or components. If you are unsure, use the vehicle manual or call a qualified technician.
Safety Rules for Using a Portable Car Jump Starter
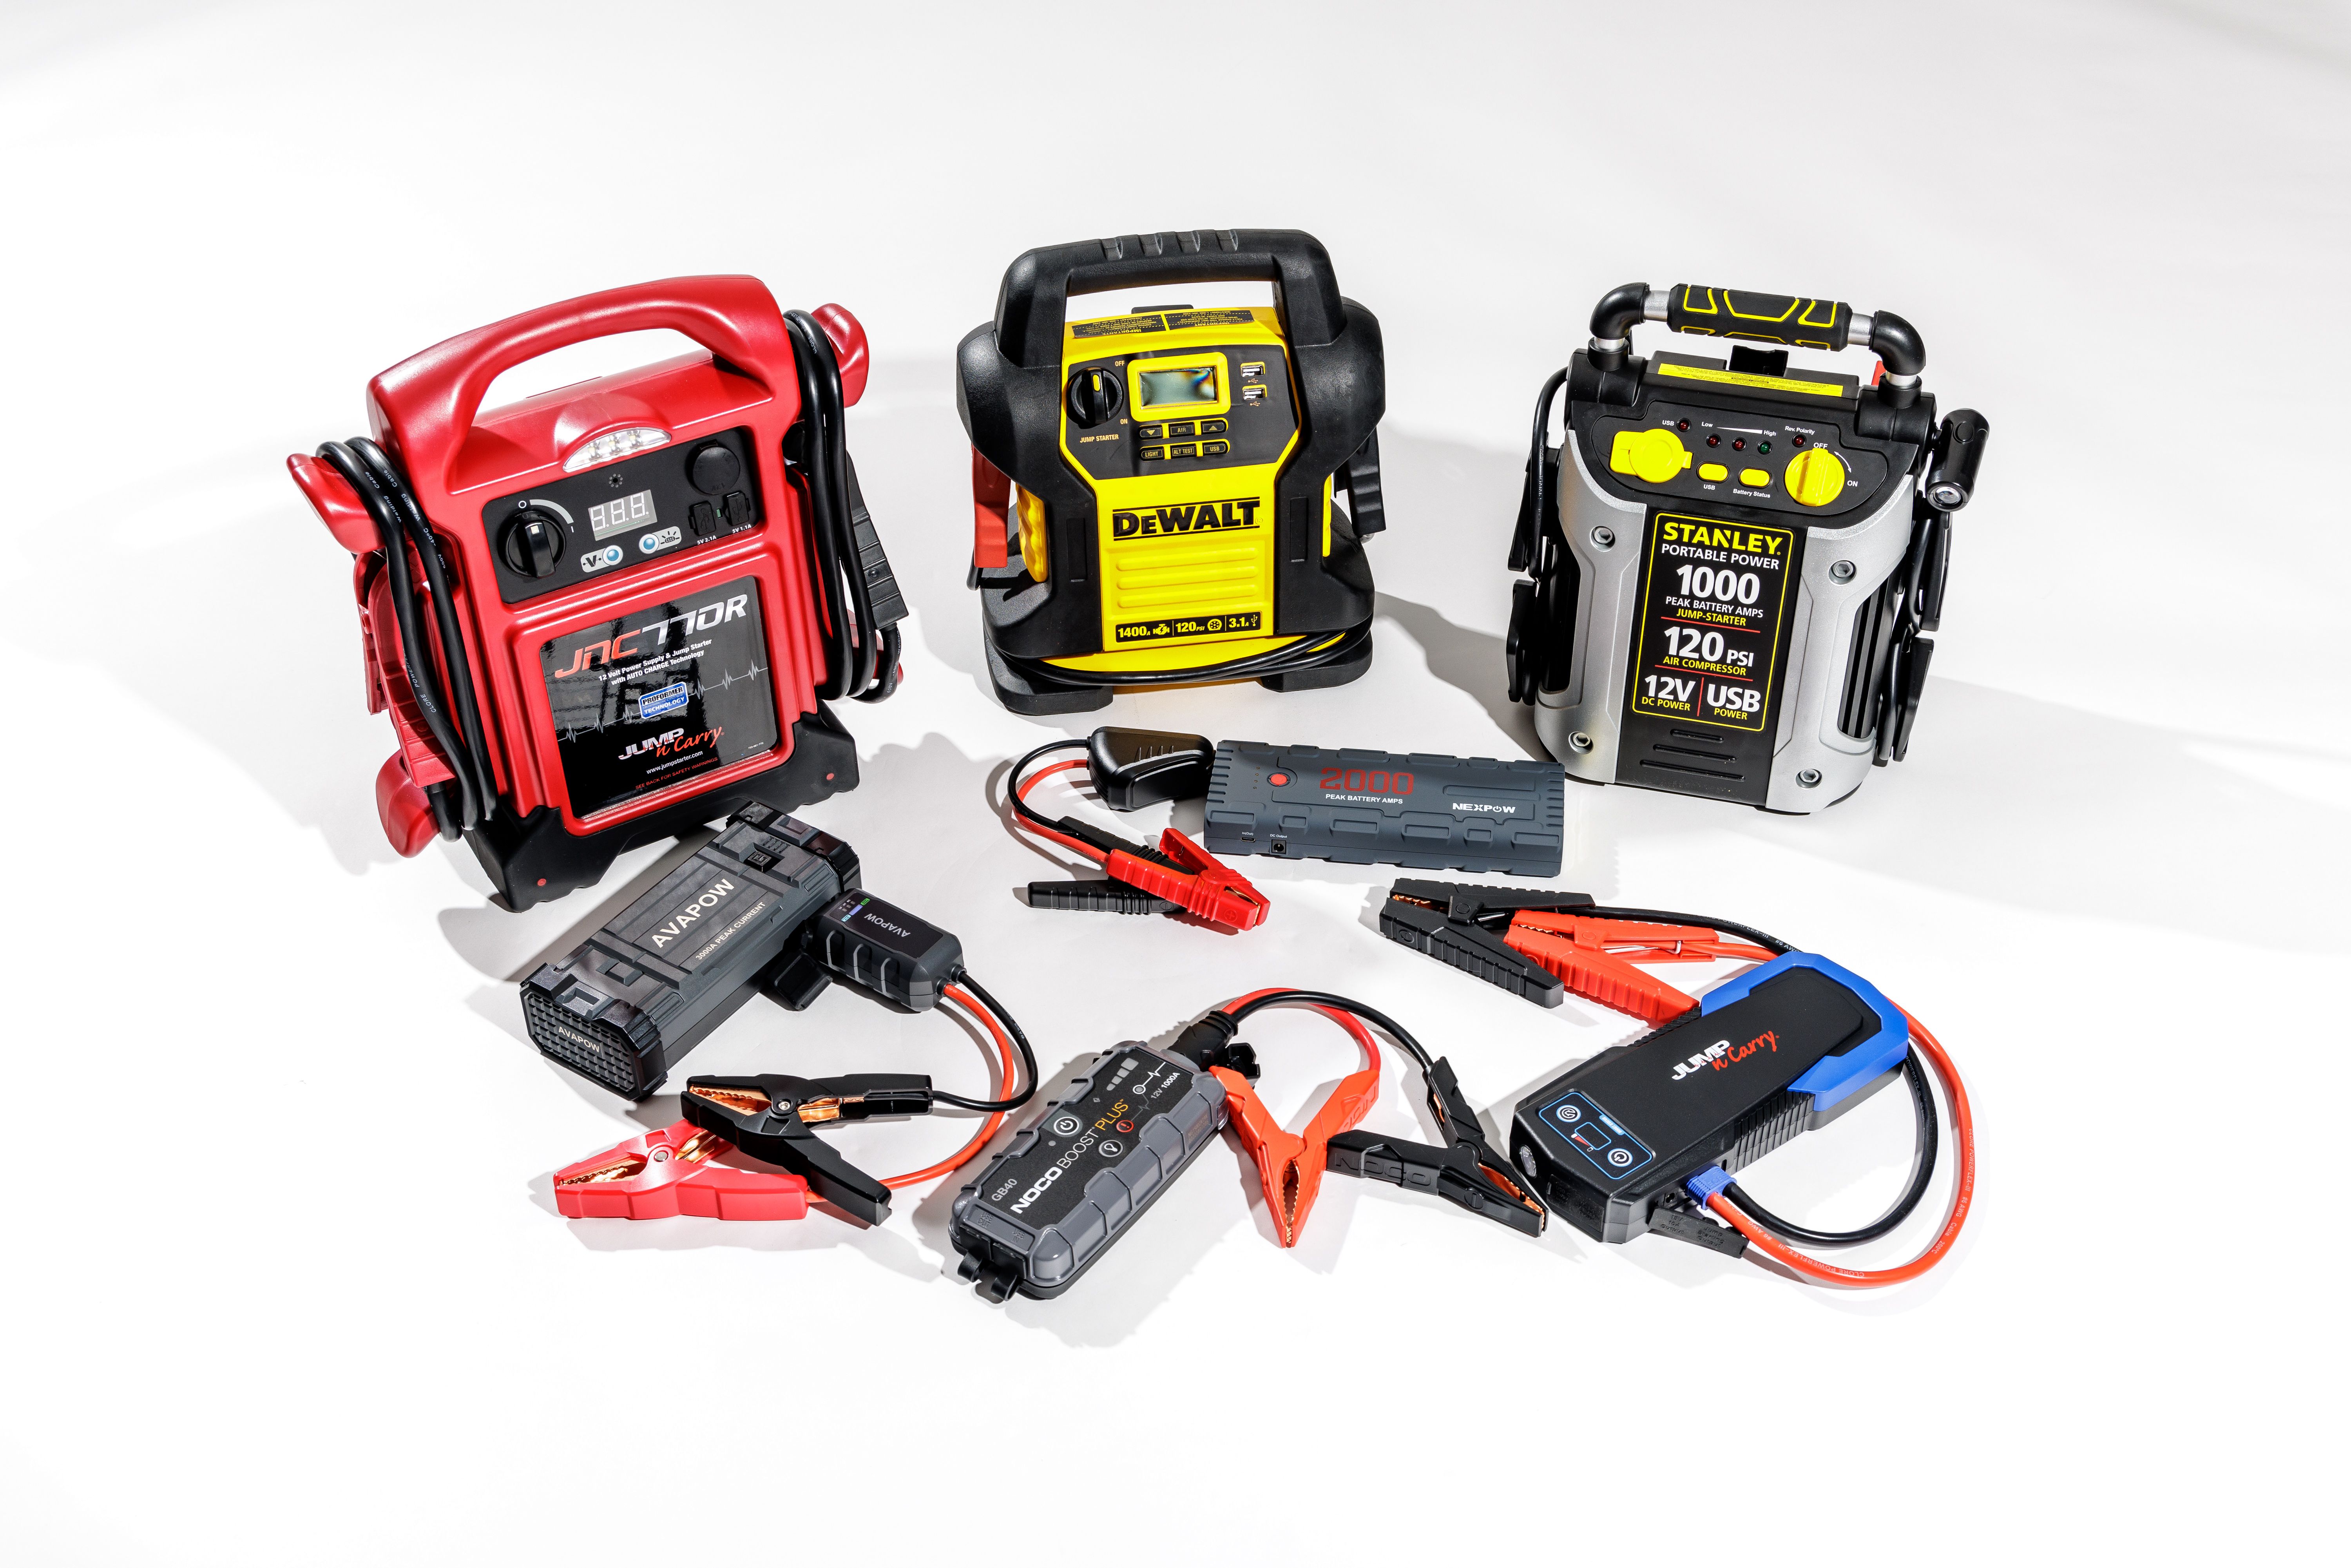
Safety should come before speed. Understanding how to use a portable car jump starter also means knowing when not to use it.
Follow these rules:
• Never allow the red and black clamps to touch.
• Never reverse the positive and negative connections.
• Do not use a damaged cable, clamp, or jump starter case.
• Do not jump-start a battery that is leaking or swollen.
• Keep the jump starter away from water unless it is specifically waterproof.
• Do not place the jump starter on a hot engine.
• Keep children and pets away from the work area.
• Do not use a lithium jump starter near open flames.
• Do not leave the unit connected longer than the manual allows.
• Do not jump-start a vehicle with the wrong voltage system.
Reverse-polarity protection is helpful, but it is not a guarantee. Electronics can fail, and some older jump starters have limited safety features. Always confirm the connection yourself.
If the battery is badly corroded, clean the terminals only when it is safe to do so. Wear eye protection, and avoid brushing corrosion into your eyes or onto your skin.

Why Your Car May Not Start After a Jump
A jump starter does not fix every no-start problem. It mainly helps when the battery is discharged but otherwise able to accept power.
The vehicle may still fail to start because of:
• A dead or damaged battery
• A failed alternator
• A faulty starter motor
• Loose or corroded battery terminals
• A blown fuse
• A fuel delivery problem
• A failed ignition component
• A malfunctioning key or immobilizer system
• Extreme cold
If the engine cranks normally but does not fire, the problem may not be the battery. If you hear a single click, the battery, starter, or cable connection may be at fault.
If the jump starter shuts down immediately, check the clamp contact and battery charge. Some units also shut down when they detect a deeply discharged battery. The manual may provide an override or boost mode, but use that feature carefully.
In my own roadside testing, the most common mistake has been poor clamp contact. A clamp can look connected while gripping corrosion instead of clean metal. Moving it slightly onto clean metal often makes the difference.
How Long Should You Run the Car After a Jump?
After the engine starts, drive for at least 20 to 30 minutes if traffic and road conditions allow. This may add some charge to the battery, but it does not fully recharge a severely drained battery.
A short idle in a driveway may not be enough. The alternator often charges more effectively while driving, but the charging rate depends on the vehicle, alternator, battery condition, and electrical load.
Use a proper battery charger when possible. If the battery repeatedly dies, have the battery and charging system tested. A healthy battery should not need frequent jump-starts.
Many auto parts stores offer basic battery and alternator testing. A test can help identify whether you need a new battery or a repair.
How to Choose the Right Portable Jump Starter
Choosing the right unit makes how to use a portable car jump starter easier and safer. Focus on real electrical ratings rather than large marketing claims.
Look for these features:
Peak amps and starting amps
Peak amps describe the highest current the unit may deliver for a short time. Starting amps are often more useful because they describe sustained output during engine cranking.
A compact car may need less power than a large truck or diesel SUV. Check the manufacturer’s recommended engine size and fuel type.
Battery capacity
Capacity is often shown in milliamp-hours or watt-hours. A higher capacity may provide more starting attempts, but it can also make the unit larger and heavier.
Reverse-polarity protection
This feature warns you when the clamps are connected incorrectly. It is valuable, but you should still connect the clamps carefully.
Overload and short-circuit protection
These features help protect the unit and vehicle from excessive current or accidental contact.
Cable length and clamp quality
Short cables can be difficult to use in crowded engine bays. Look for sturdy clamps with strong springs and clear positive and negative markings.
Temperature rating
Cold weather reduces battery performance. If you live in a cold region, choose a model designed for low temperatures and keep it fully charged.
Extra features
A flashlight, USB port, air compressor, or digital display can be useful. These features should not replace strong starting performance and reliable safety systems.
How to Maintain a Portable Car Jump Starter
A jump starter is useful only when it has power. Check and maintain it before an emergency.
Use these habits:
• Charge the unit after every use.
• Check its charge level every one to three months.
• Store it in a dry, cool place.
• Avoid leaving it in extreme heat.
• Keep it away from direct sunlight.
• Inspect the cables for cuts or exposed wires.
• Clean dirty clamps with a dry cloth.
• Replace the unit if the battery swells or the case cracks.
Do not leave a lithium jump starter in a hot car year-round. High heat can shorten battery life and create safety risks. The trunk may be convenient, but a temperature-controlled storage space is better when possible.
I once found that a jump starter showed a full charge but failed after sitting unused for many months. The lesson was simple: check the unit before a trip, not during a storm on the side of the road.
Common Mistakes to Avoid
Many problems come from rushing. Slow down and check each connection.
Avoid these mistakes:
• Connecting the black clamp to the positive terminal
• Connecting the red clamp to the negative terminal
• Starting the engine before checking the warning light
• Letting the clamps touch
• Using a jump starter with too little power
• Trying to start a frozen or damaged battery
• Cranking the engine repeatedly without pauses
• Forgetting to recharge the jump starter afterward
• Assuming a jump-start repairs a failing battery
• Ignoring repeated battery failures
Another common mistake is connecting the jump starter and walking away. Stay with the vehicle. Watch for heat, smoke, unusual sounds, or warning alerts. Disconnect everything immediately if something seems wrong.
Portable Jump Starter vs. Jumper Cables
A portable jump starter is more convenient because it does not need a second vehicle. It is also useful in remote areas, parking lots, and situations where another driver cannot safely position a car nearby.
Jumper cables may still be useful. They are simple, inexpensive, and do not need charging. However, they require another vehicle with a compatible electrical system and enough space to park safely.
A good emergency kit can include both:
• A portable jump starter
• Jumper cables
• Work gloves
• Eye protection
• A flashlight
• A tire pressure gauge
• Basic tools
• Reflective warning gear
The best choice depends on your driving habits. A jump starter is ideal for independence, while cables are a useful backup.
Can You Use a Jump Starter on a Hybrid or Electric Vehicle?
You can often use a portable jump starter on the 12-volt battery of a hybrid vehicle, but the process varies by model. The jump starter does not recharge or activate the high-voltage traction battery.
Fully electric vehicles may also have a small 12-volt battery that powers locks, computers, and other systems. However, the correct jump points and instructions differ between manufacturers.
Never attempt to connect a jump starter to high-voltage components. These systems can cause severe injury or death. Check the owner’s manual or contact roadside assistance if you cannot identify the correct 12-volt terminals.
When to Call for Professional Help
Stop and seek professional help if the battery is damaged, the cables become hot, or the vehicle will not start after a few careful attempts.
Call roadside assistance when:
• The battery is cracked, leaking, or frozen.
• You smell burning plastic or sulfur.
• The jump starter or cables become very hot.
• The vehicle has exposed electrical damage.
• You cannot identify the correct terminals.
• The car has a high-voltage hybrid or electric system you do not understand.
• The engine will not start after a successful connection.
A professional can test the battery, alternator, starter, and electrical system. This is safer than repeatedly forcing power into a vehicle with an unknown fault.
Frequently Asked Questions
How long does it take to use a portable car jump starter?
The connection usually takes a few minutes. After the engine starts, leave it running for several minutes and then drive for about 20 to 30 minutes if safe.
Can a portable jump starter start a completely dead battery?
Often, yes, if the battery is discharged but not physically damaged. A cracked, swollen, leaking, or frozen battery should not be jump-started.
Do I connect the red or black clamp first?
Connect the red clamp to the positive terminal first. Then connect the black clamp to a suitable ground point or the negative terminal as directed by the vehicle and jump starter manuals.
Can I use a jump starter while it is charging?
Most manufacturers advise against it. Use the jump starter only when it is disconnected from its charger unless the manual specifically permits pass-through starting.
How often should I recharge a portable jump starter?
Recharge it after each use and check it every one to three months. Store it with a healthy charge so it is ready during an emergency.
Why does my car still not start with a jump starter?
The problem may be a bad battery, starter, alternator, cable, fuse, fuel system, or ignition component. Check the connections once, then seek professional diagnosis if the vehicle still will not start.
Conclusion
Knowing how to use a portable car jump starter can turn a stressful breakdown into a manageable task. Check the vehicle first, connect red to positive and black to a safe ground, allow the unit to activate, start the engine briefly, and remove the clamps in reverse order.
Choose a jump starter that matches your vehicle, keep it charged, and never use it on a damaged or frozen battery. Practice finding your vehicle’s jump points before you need them. For more practical car care guides, explore additional roadside safety resources or share your own jump-start experience in the comments.

2 Comments